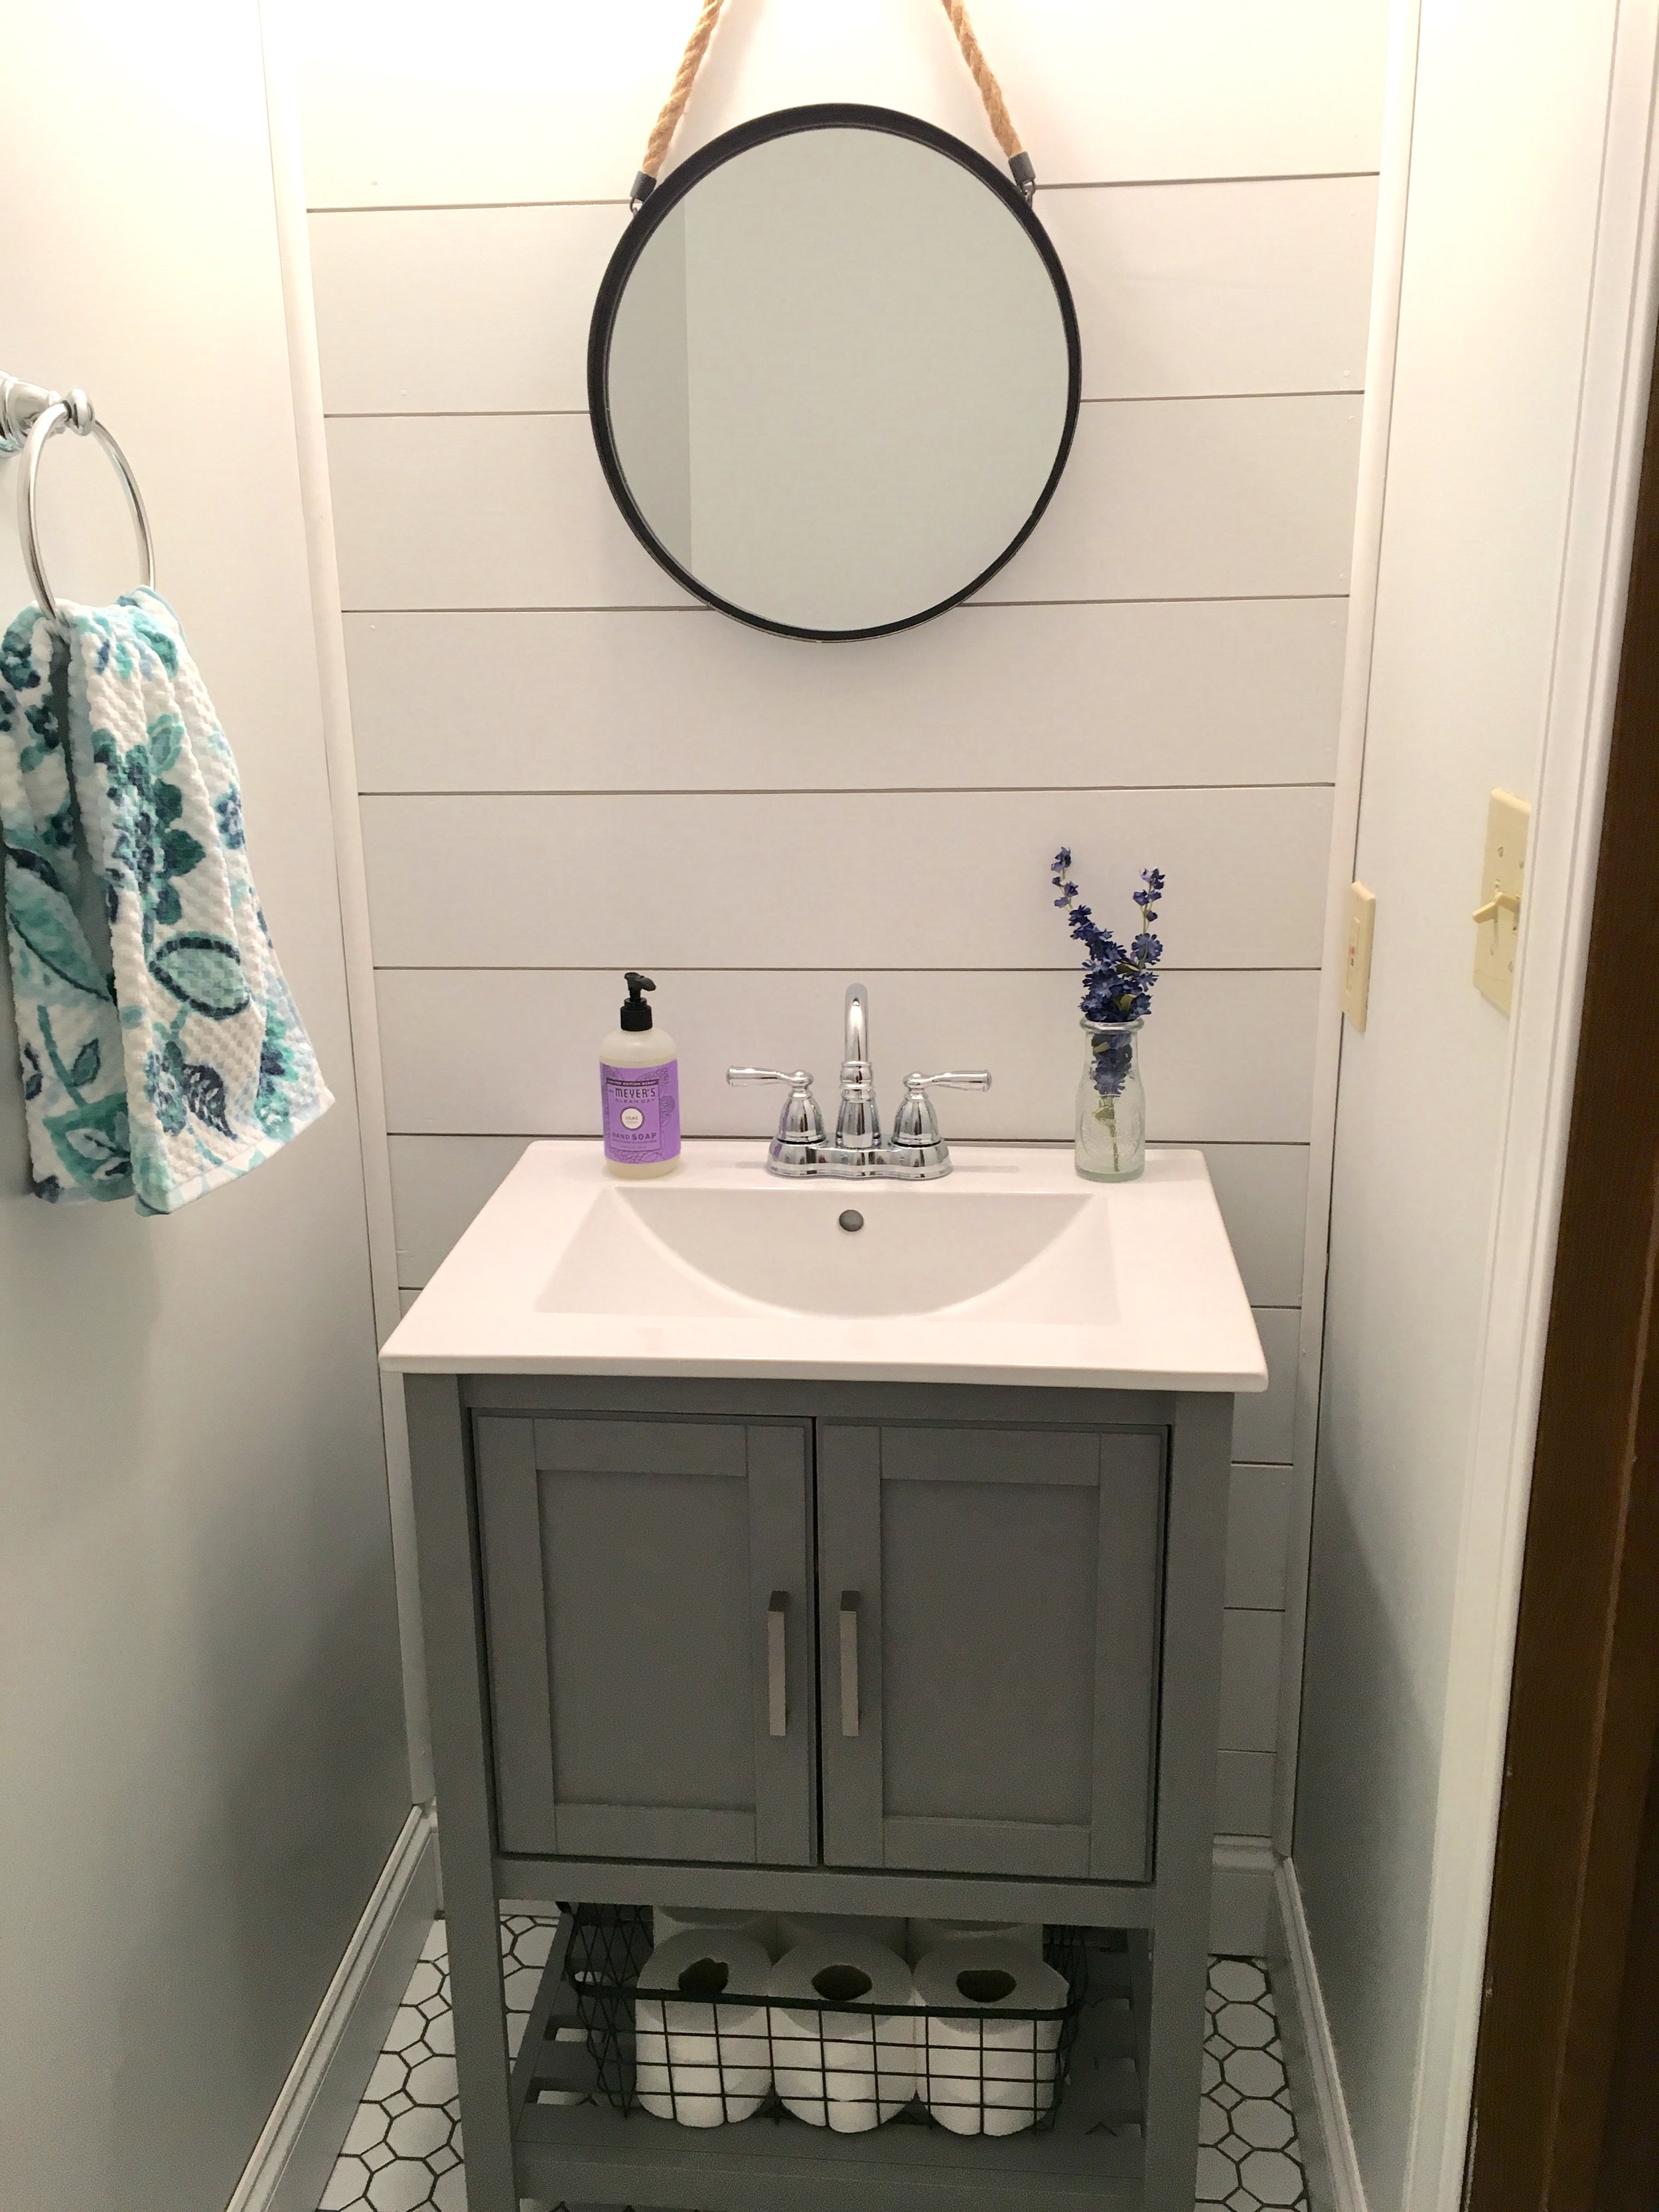
I am so excited to write this post because it's about SHIPLAP! I love shiplap and was so excited when we decided to put some in our half bath remodel. I told you when I shared our after photos that I would do a tutorial so here it is! We are not experts and this was our first time doing it but I wanted to share with you all how we did it and show you that you can do it too! Enjoy!
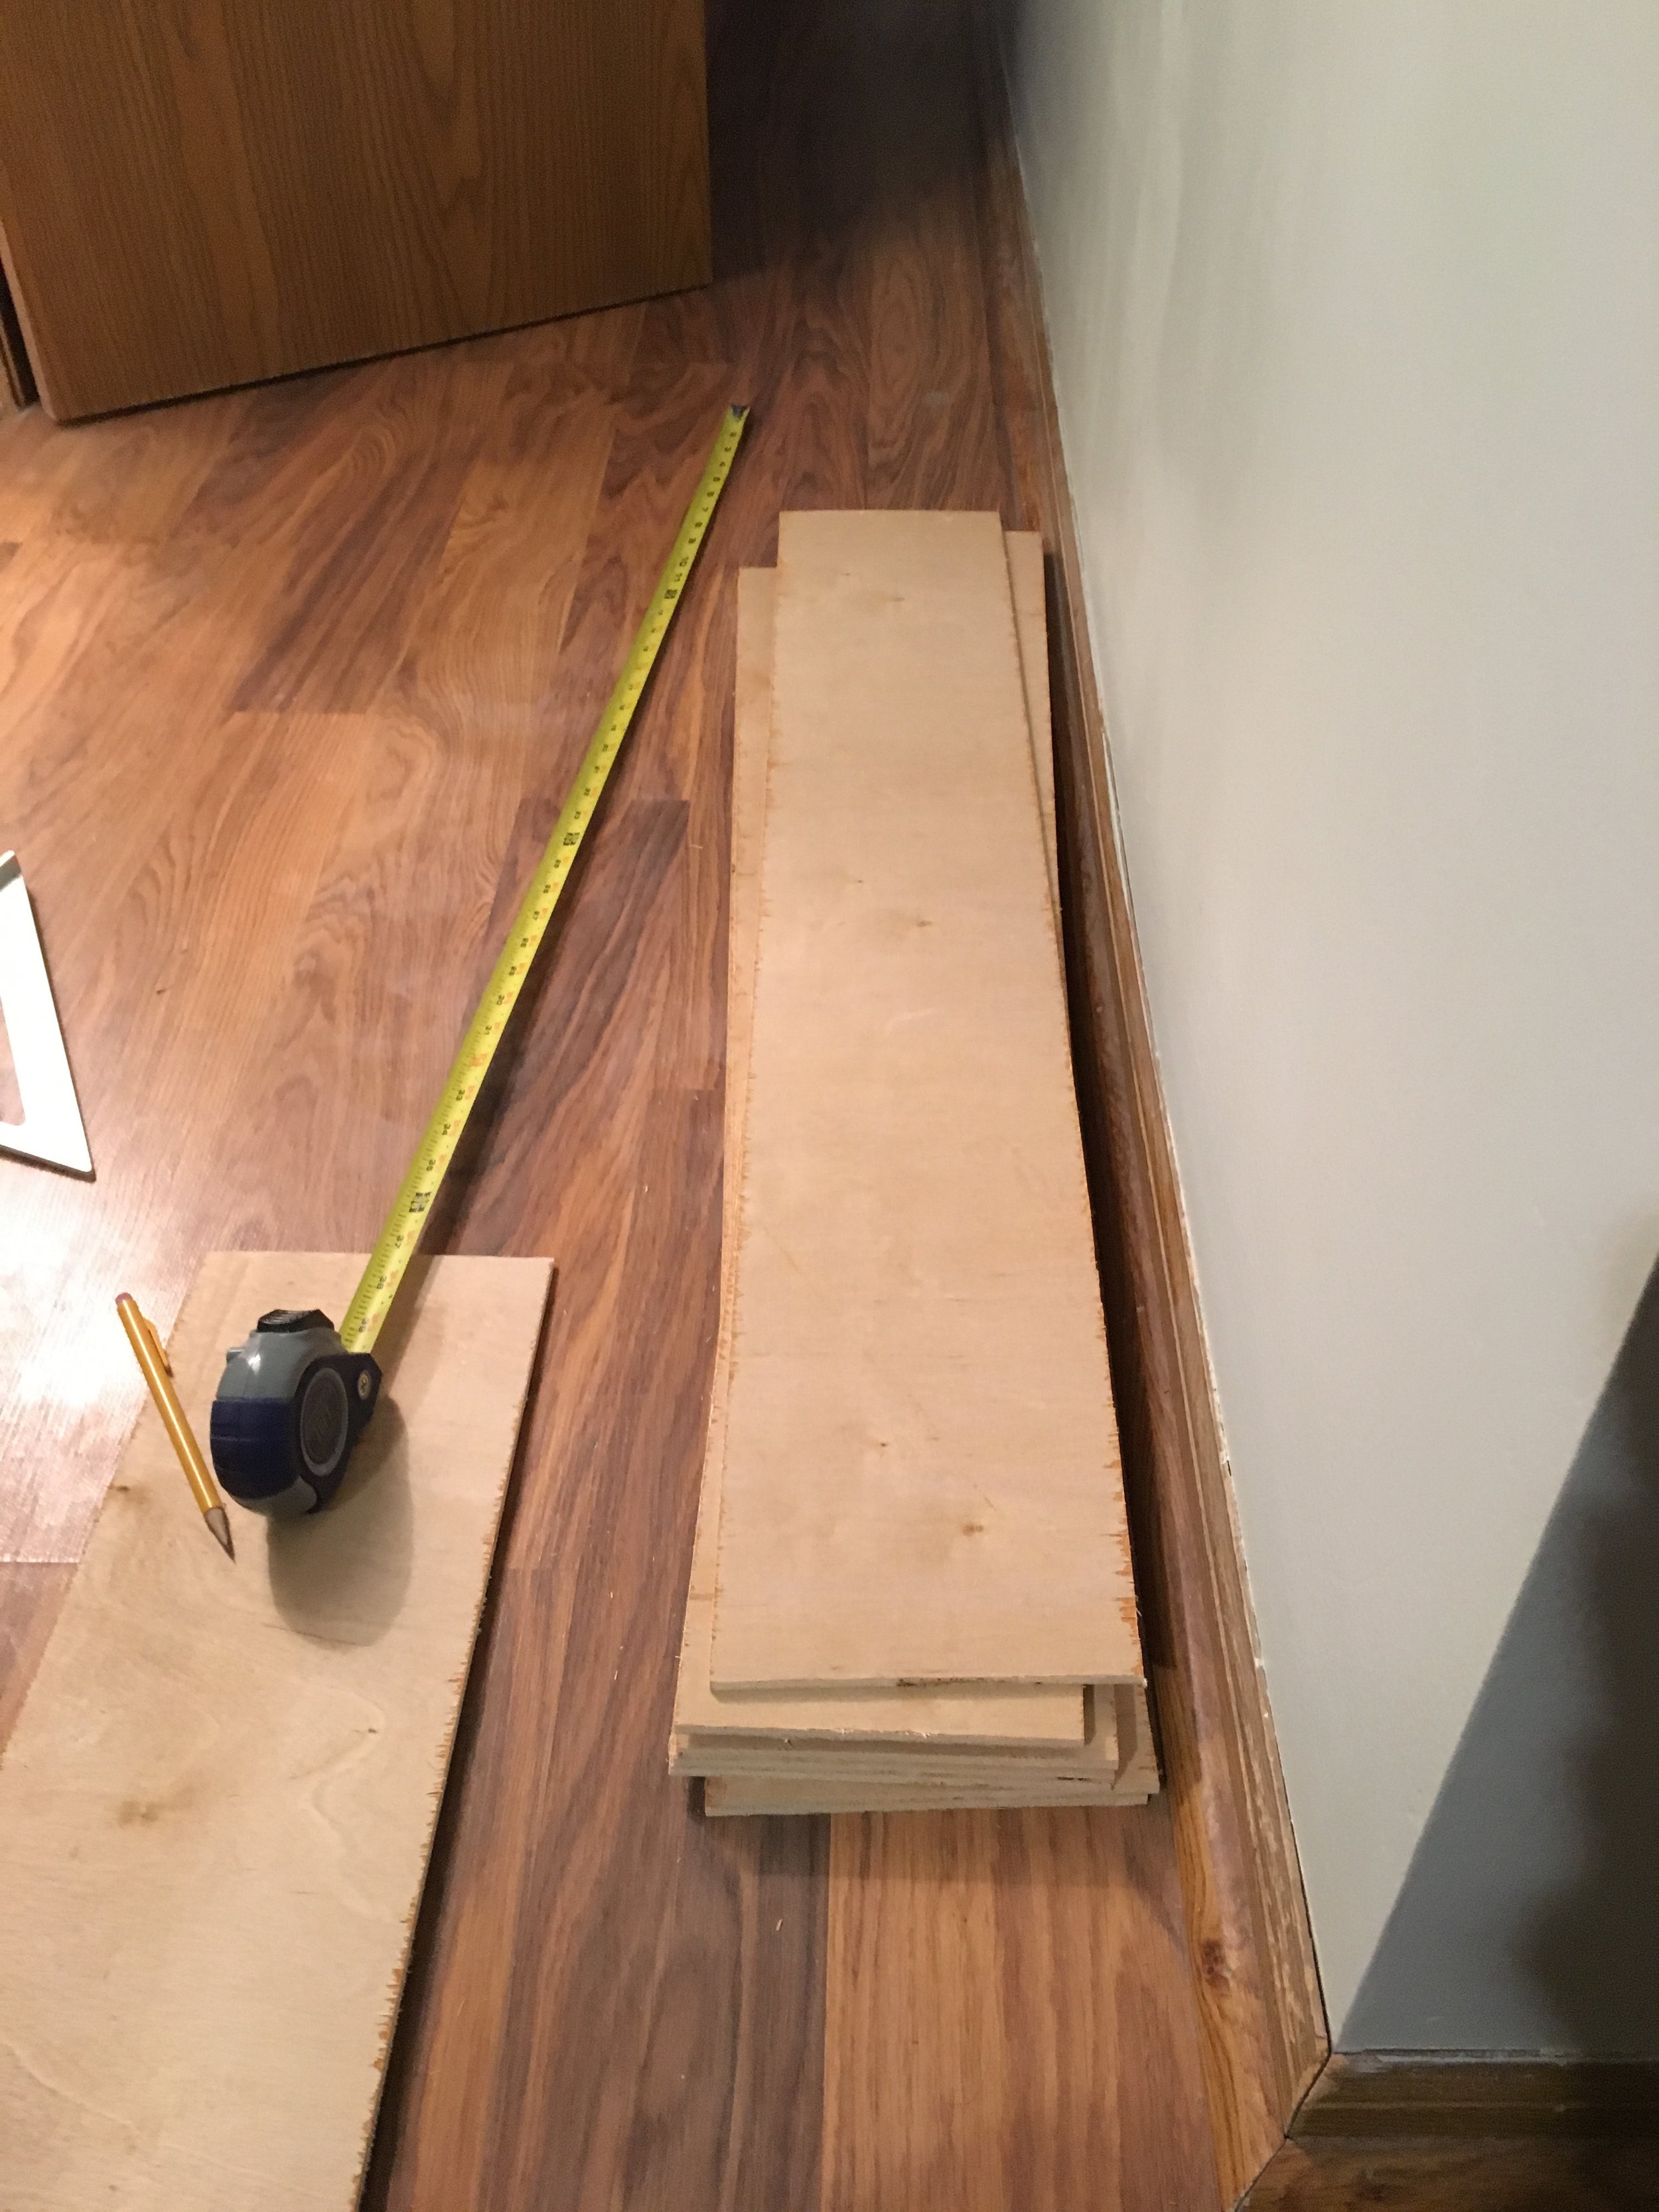
First off you want to measure the wall that you will be installing the shiplap on. You want to measure the height and width. Once you have those measurements it's time to head to the store. We used a plywood that was 5 mm thick but you could really use whatever. We wanted our boards to be cut into 6 in. wide strips so that each plank was 6 in. They will cut it for you at Home Depot, which is a huge help. We also had them cut the board down to about 4 ft. long. So we left with boards measuring 6 in x 4 ft.
Once we got home we cut those stips down even more to the correct length, I believe ours were about 3 feet long. Once you have the strips cut down to the correct size, it's time to sand.
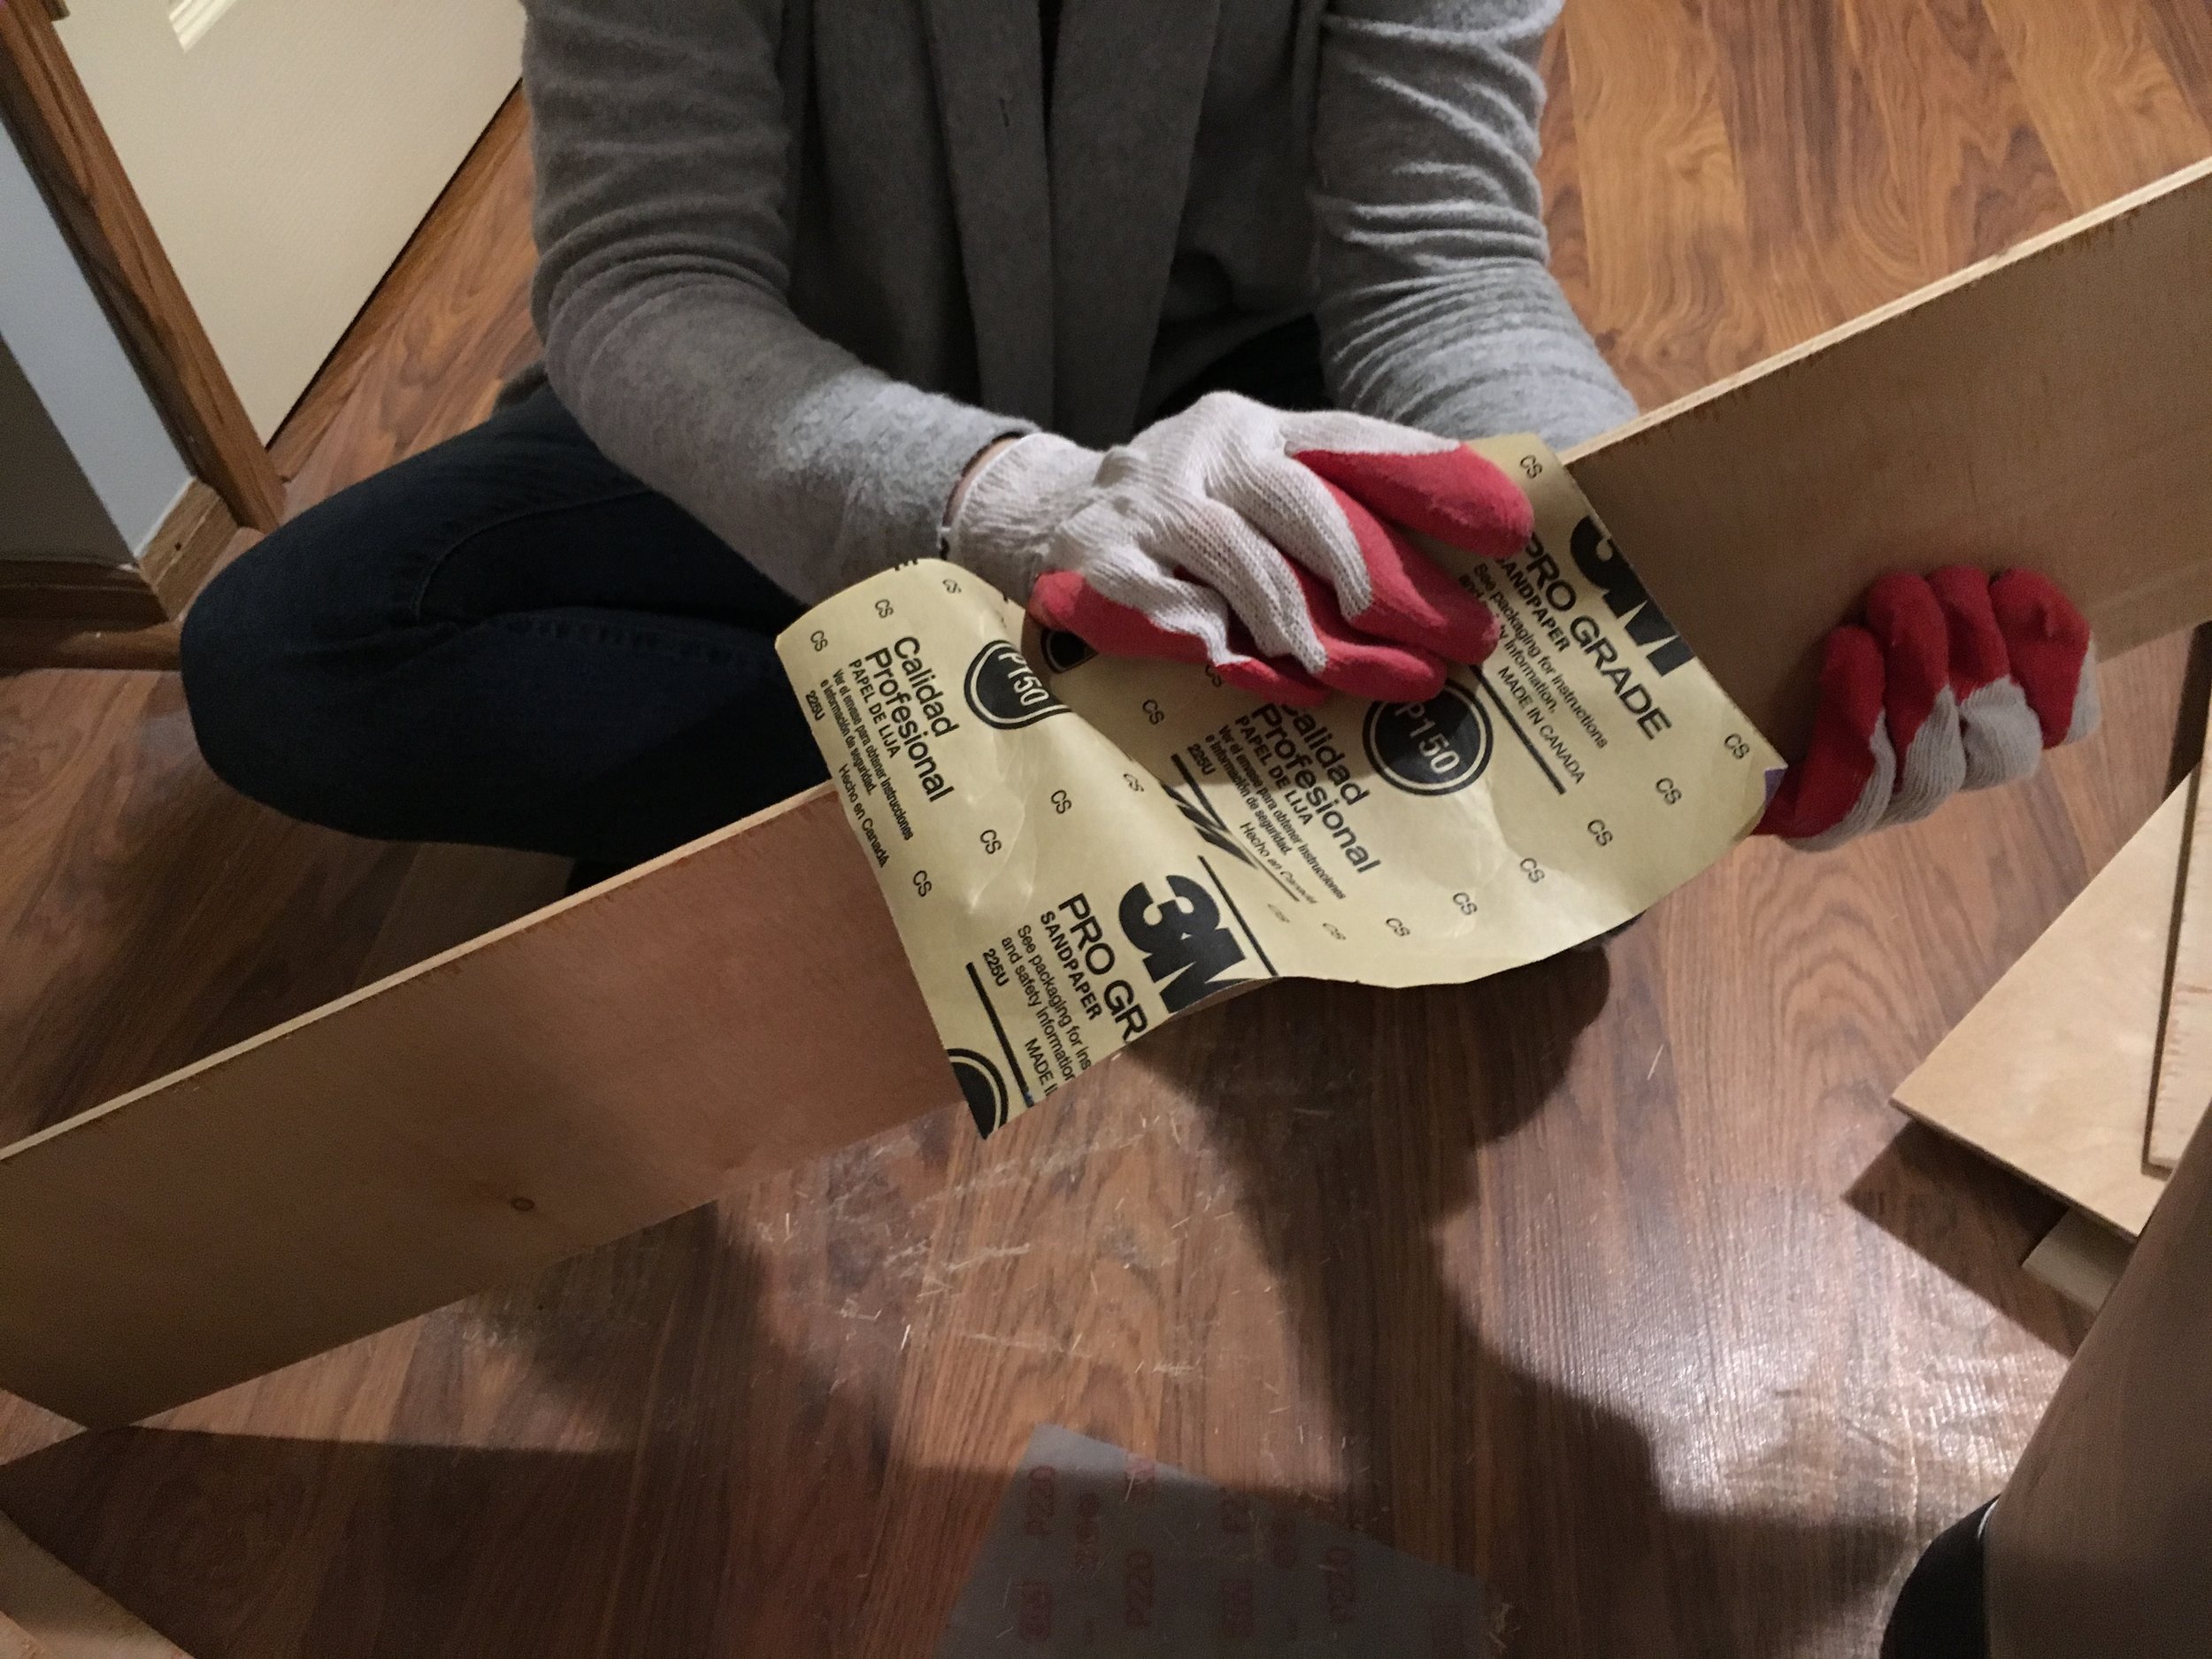
You want to sand down the edges to make them as smooth as possible.
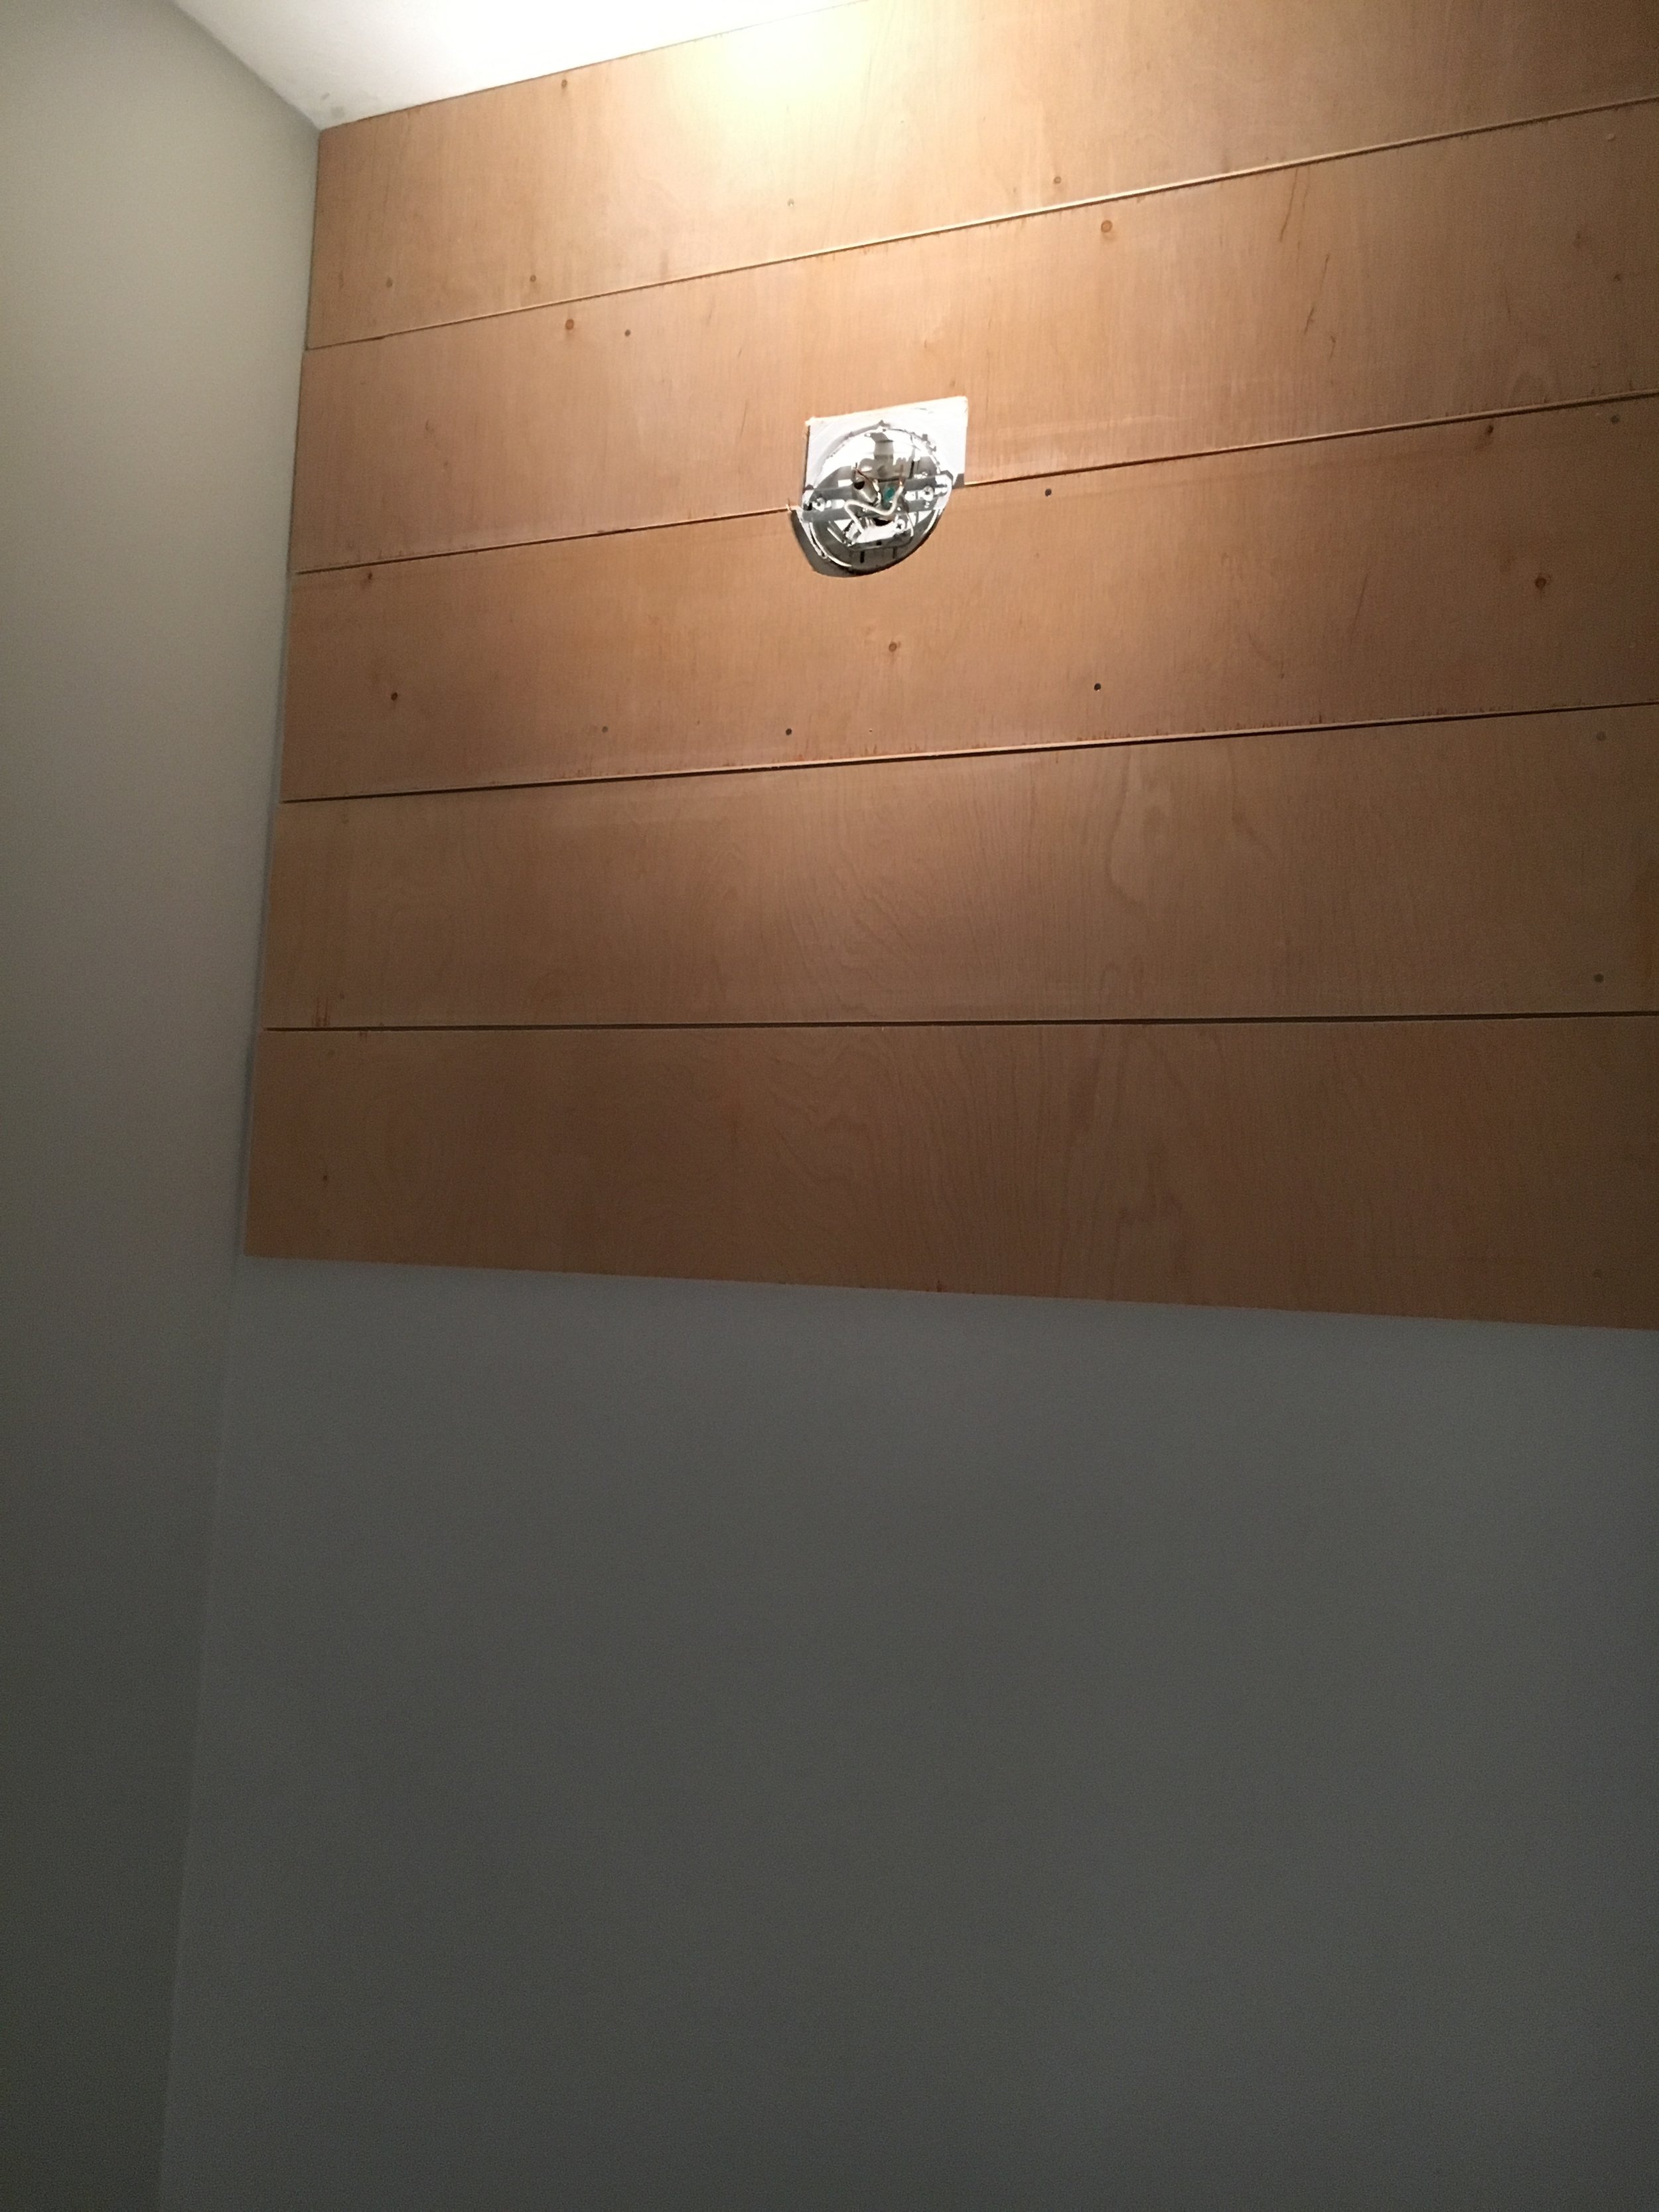
Next it's time to nail them up!
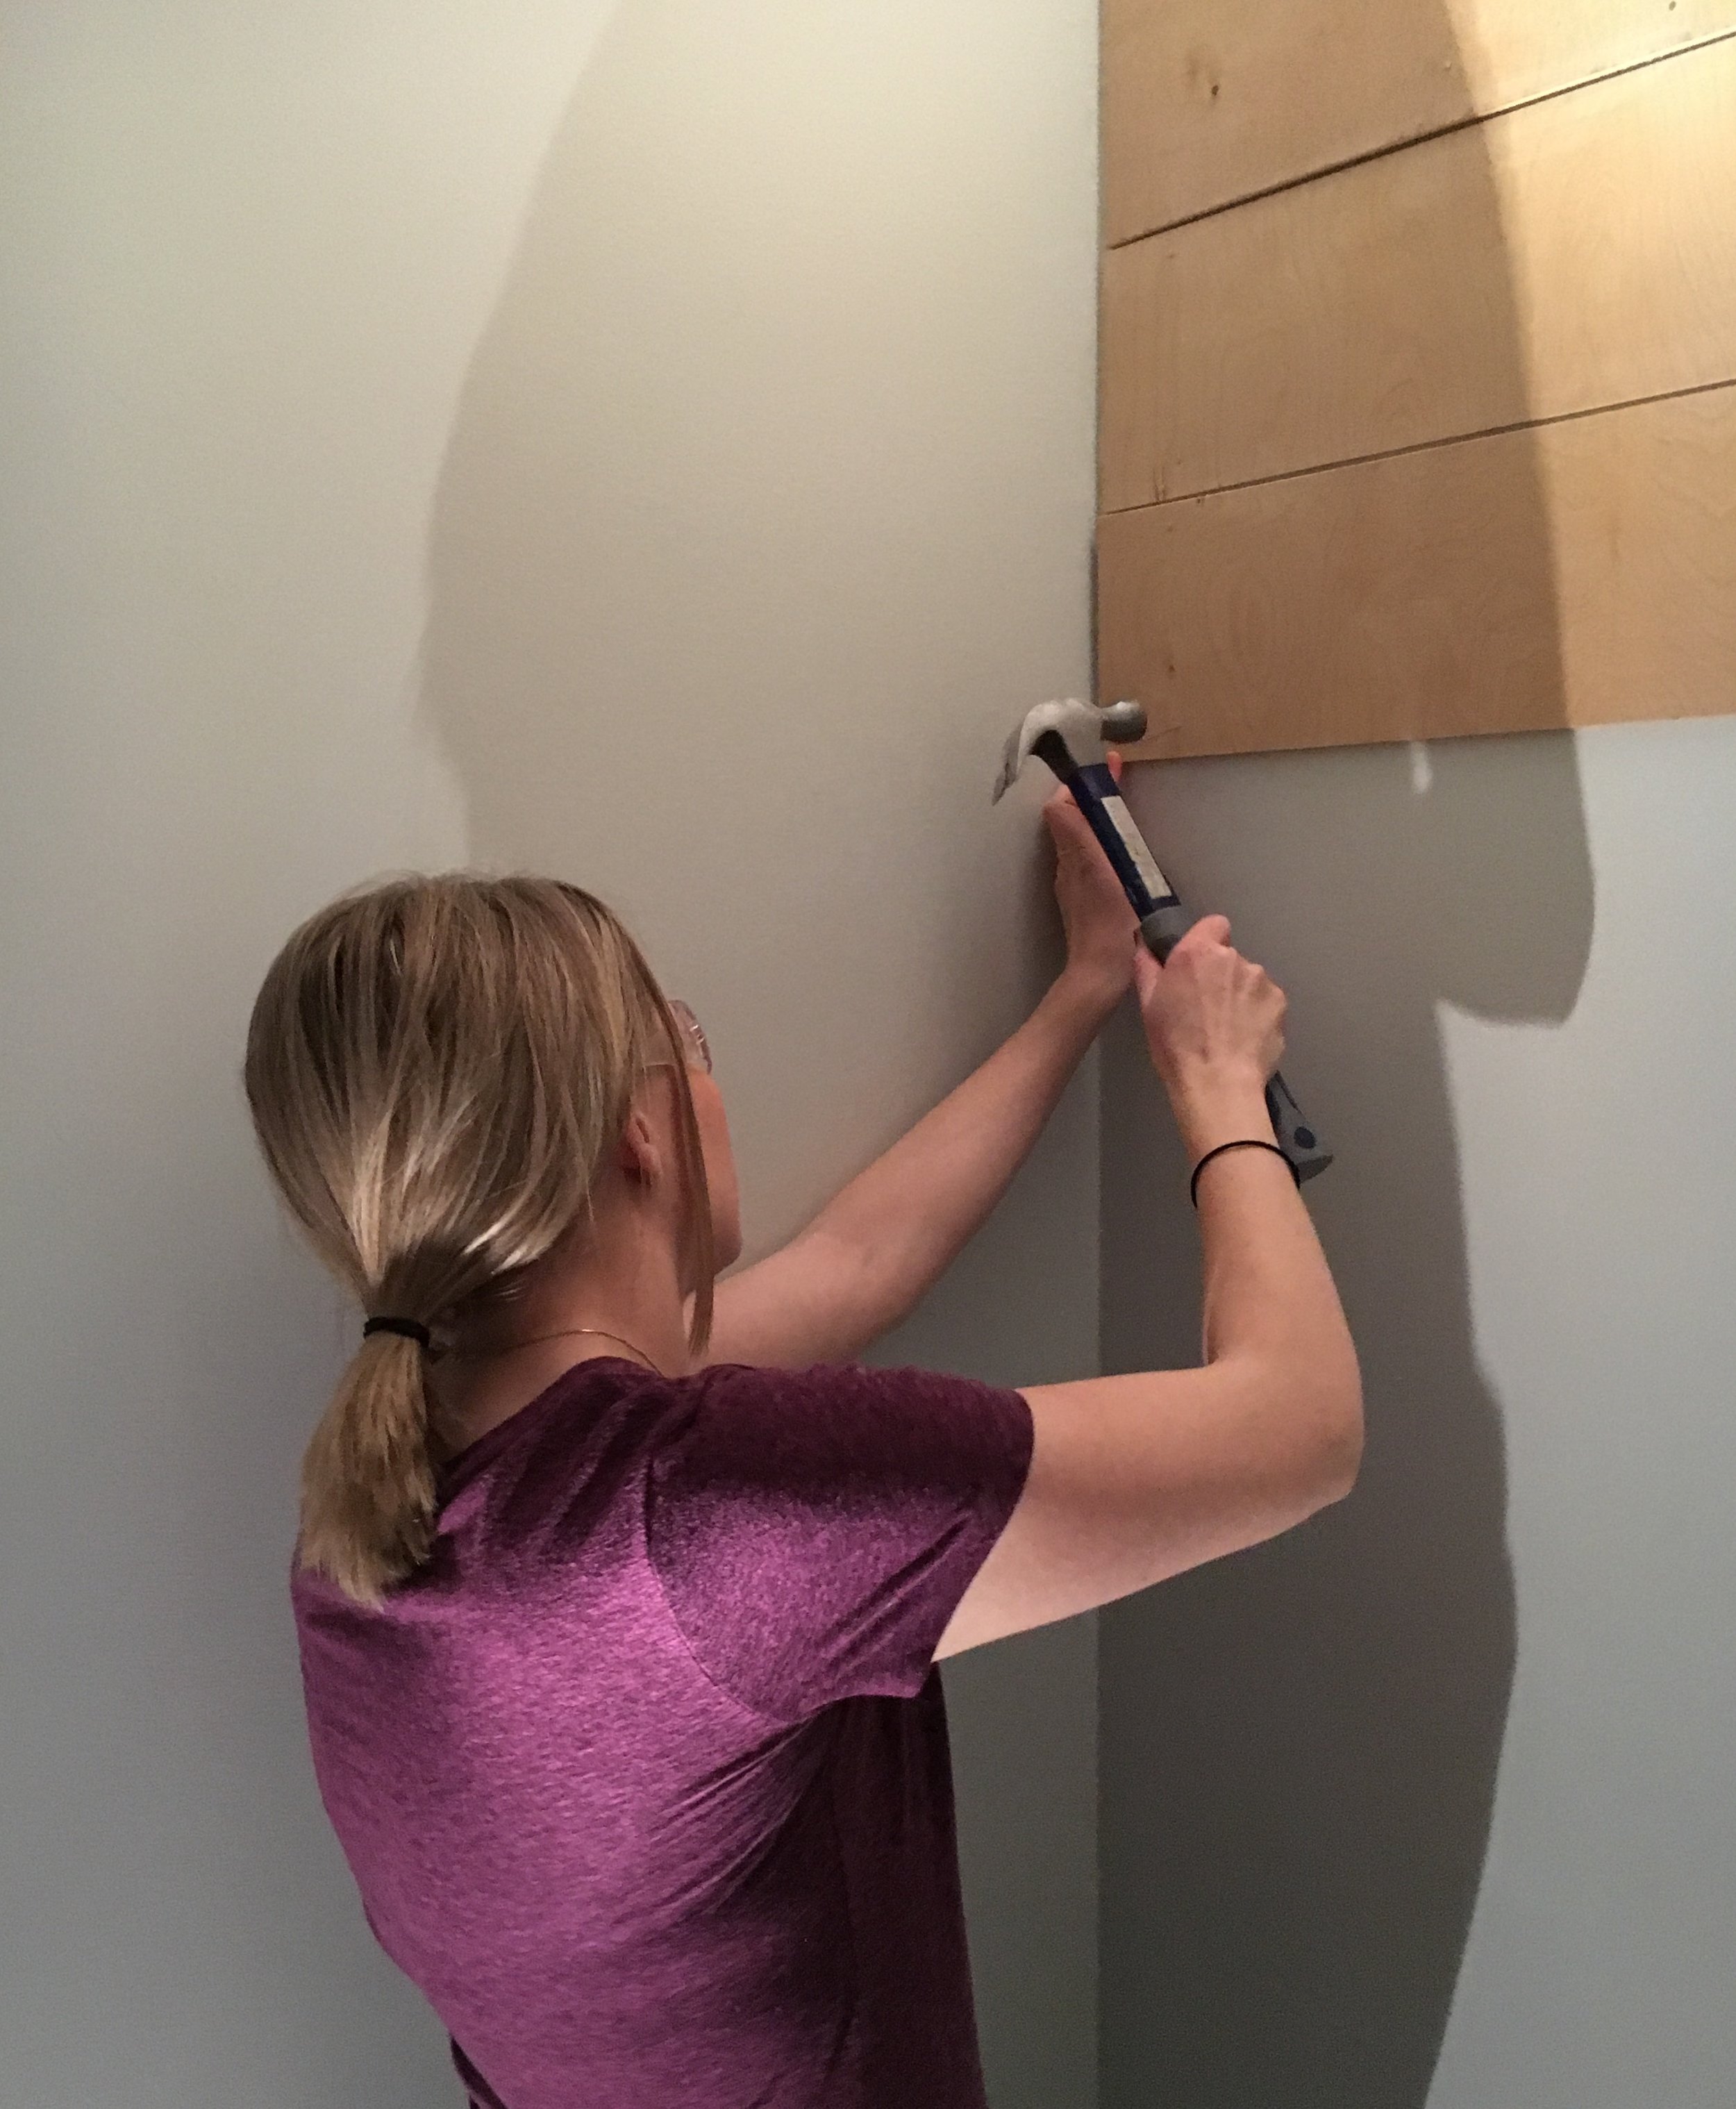
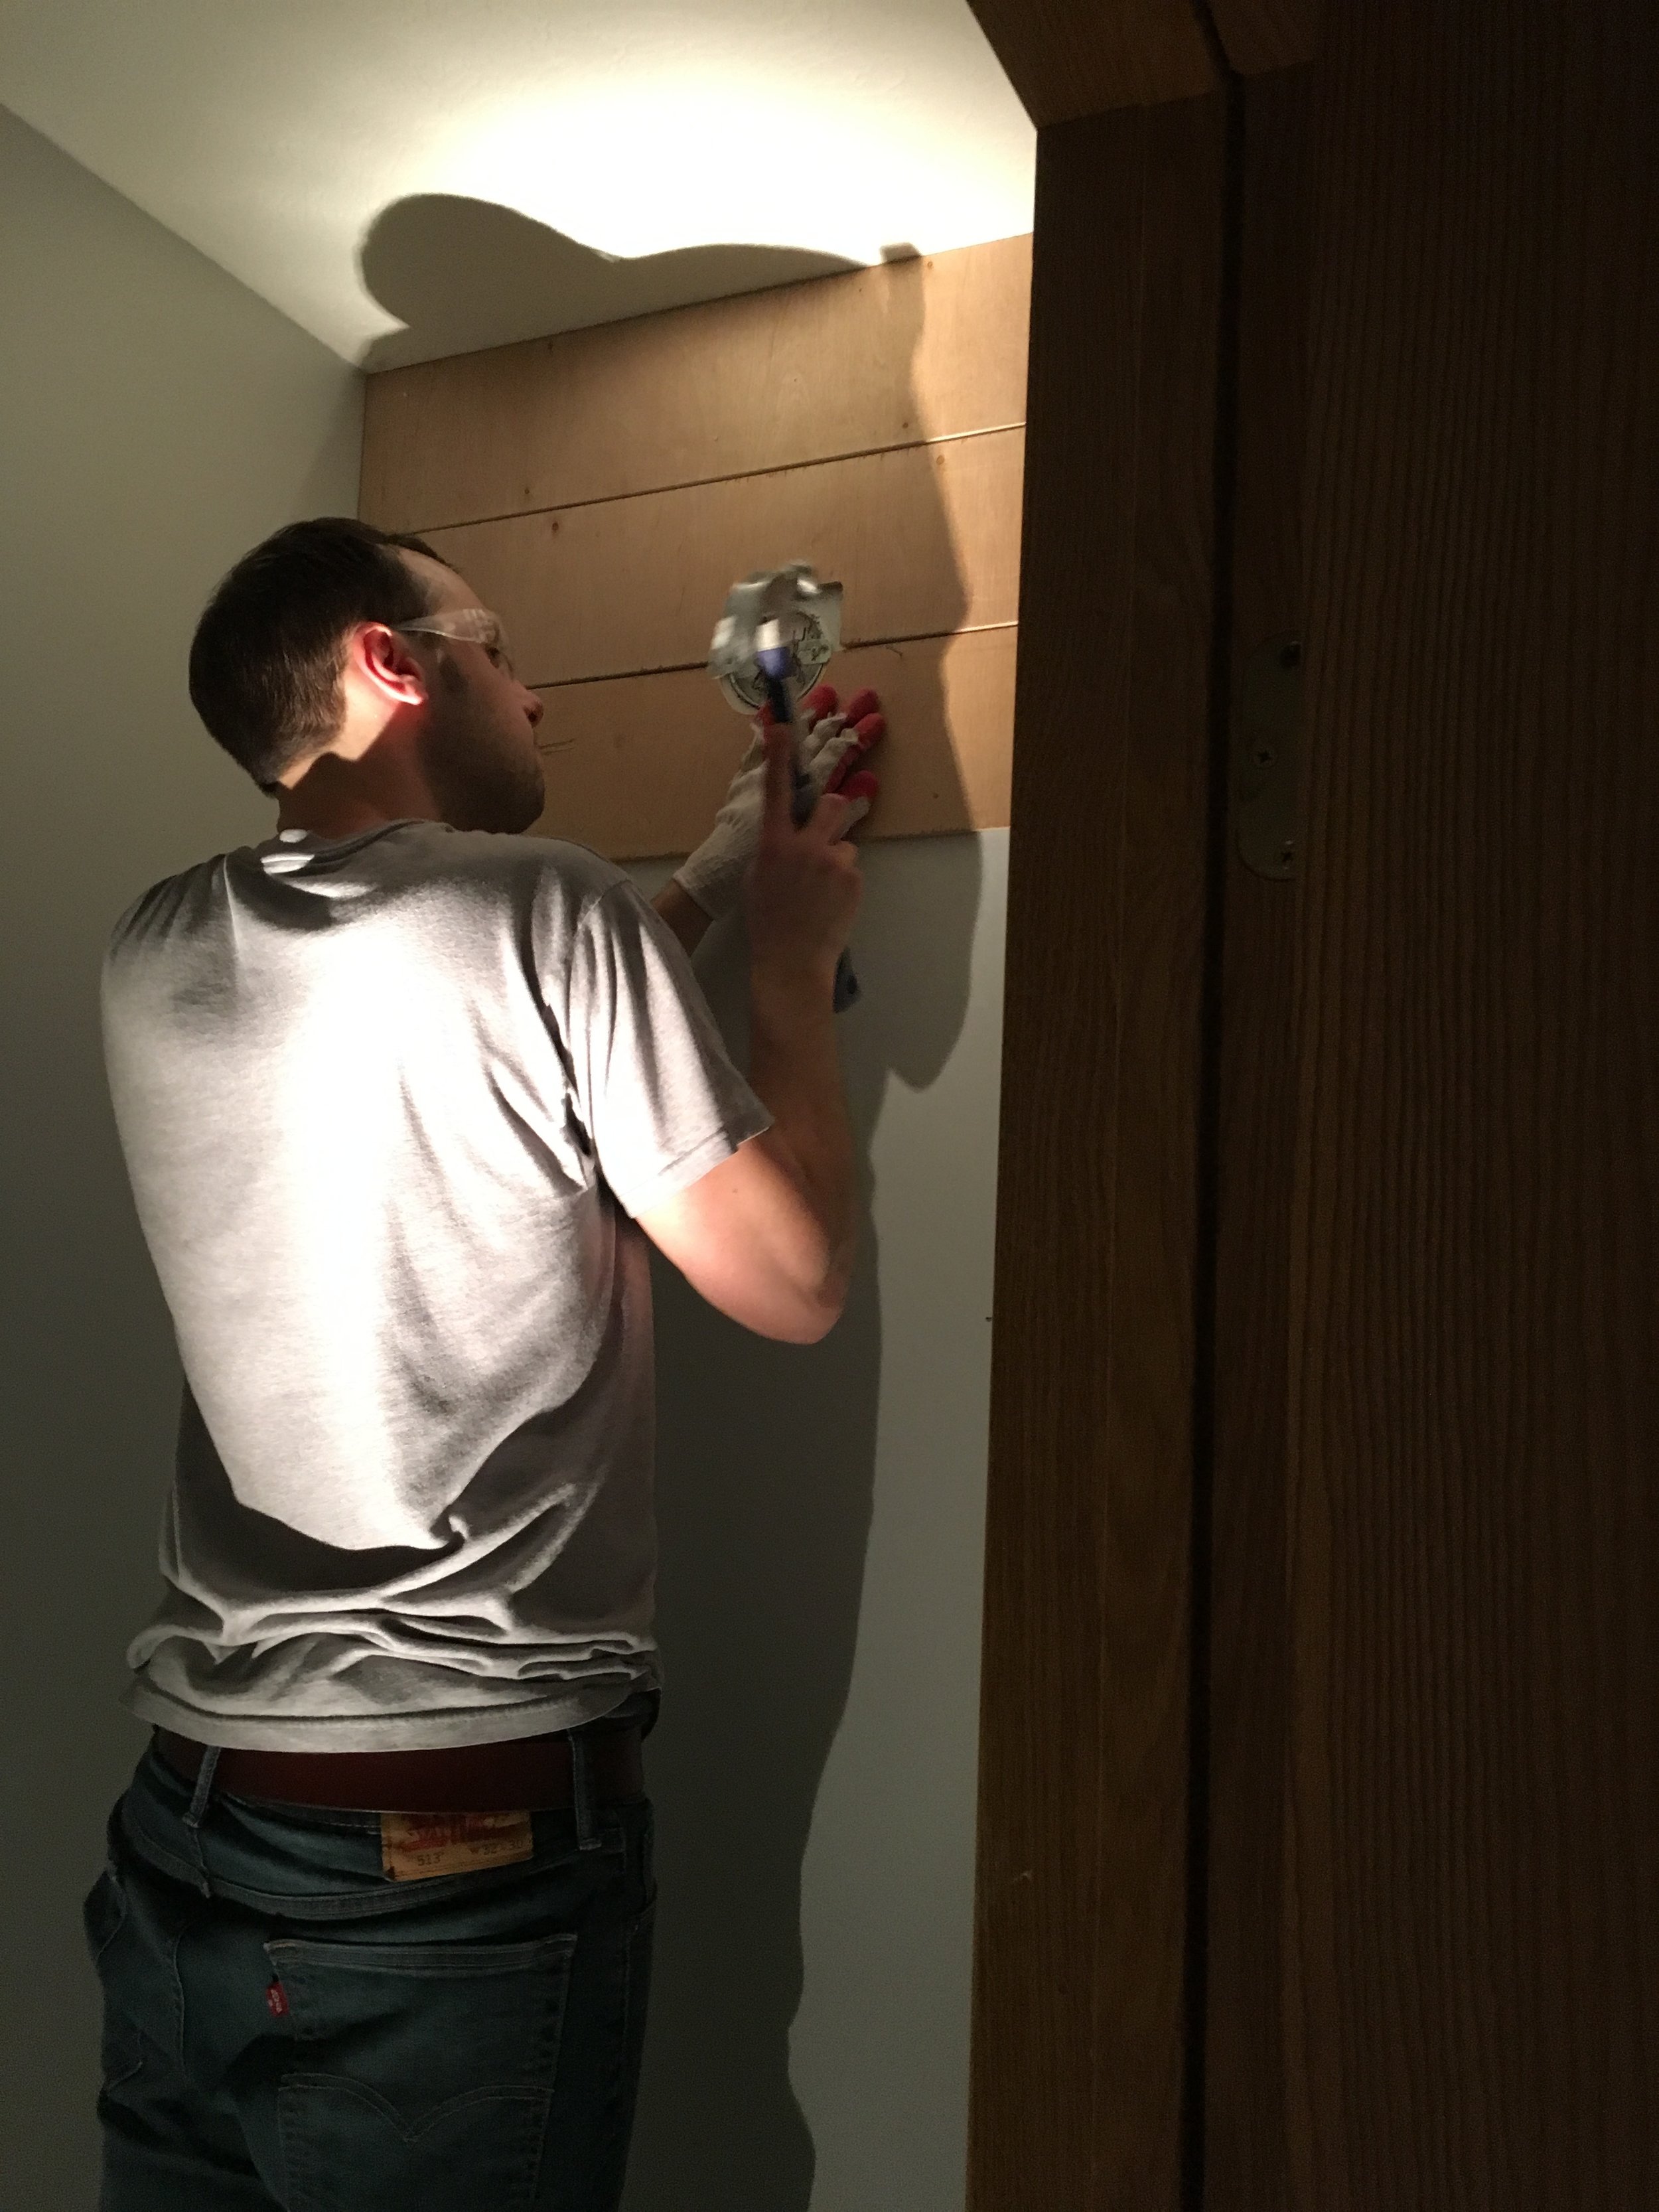
We didn't have a nail gun to use so we did it the old fashion way. By hand. We tried using spacers to make the space in between the boards even, but they kept falling out. I've seen where some people use quarters as spacers, whatever works for you. We were able to kind of eye ball the spaces to make them even.
I started off doing some and I had big ambitions. I thought, I can nail a few boards to the wall. Easy.
Not easy. It's hard nailing them each by hand. My first tip would be to get a nail gun. It would go a lot quicker and you will be a lot less frustrated.
So after I nailed a few in, I handed the hammer over to John.
When you are nailing the boards to the wall you want to be nailing into the studs. You can use a stud finder or just knock on the wall to find them. Nailing them into the studs will make the boards more secure to the wall.
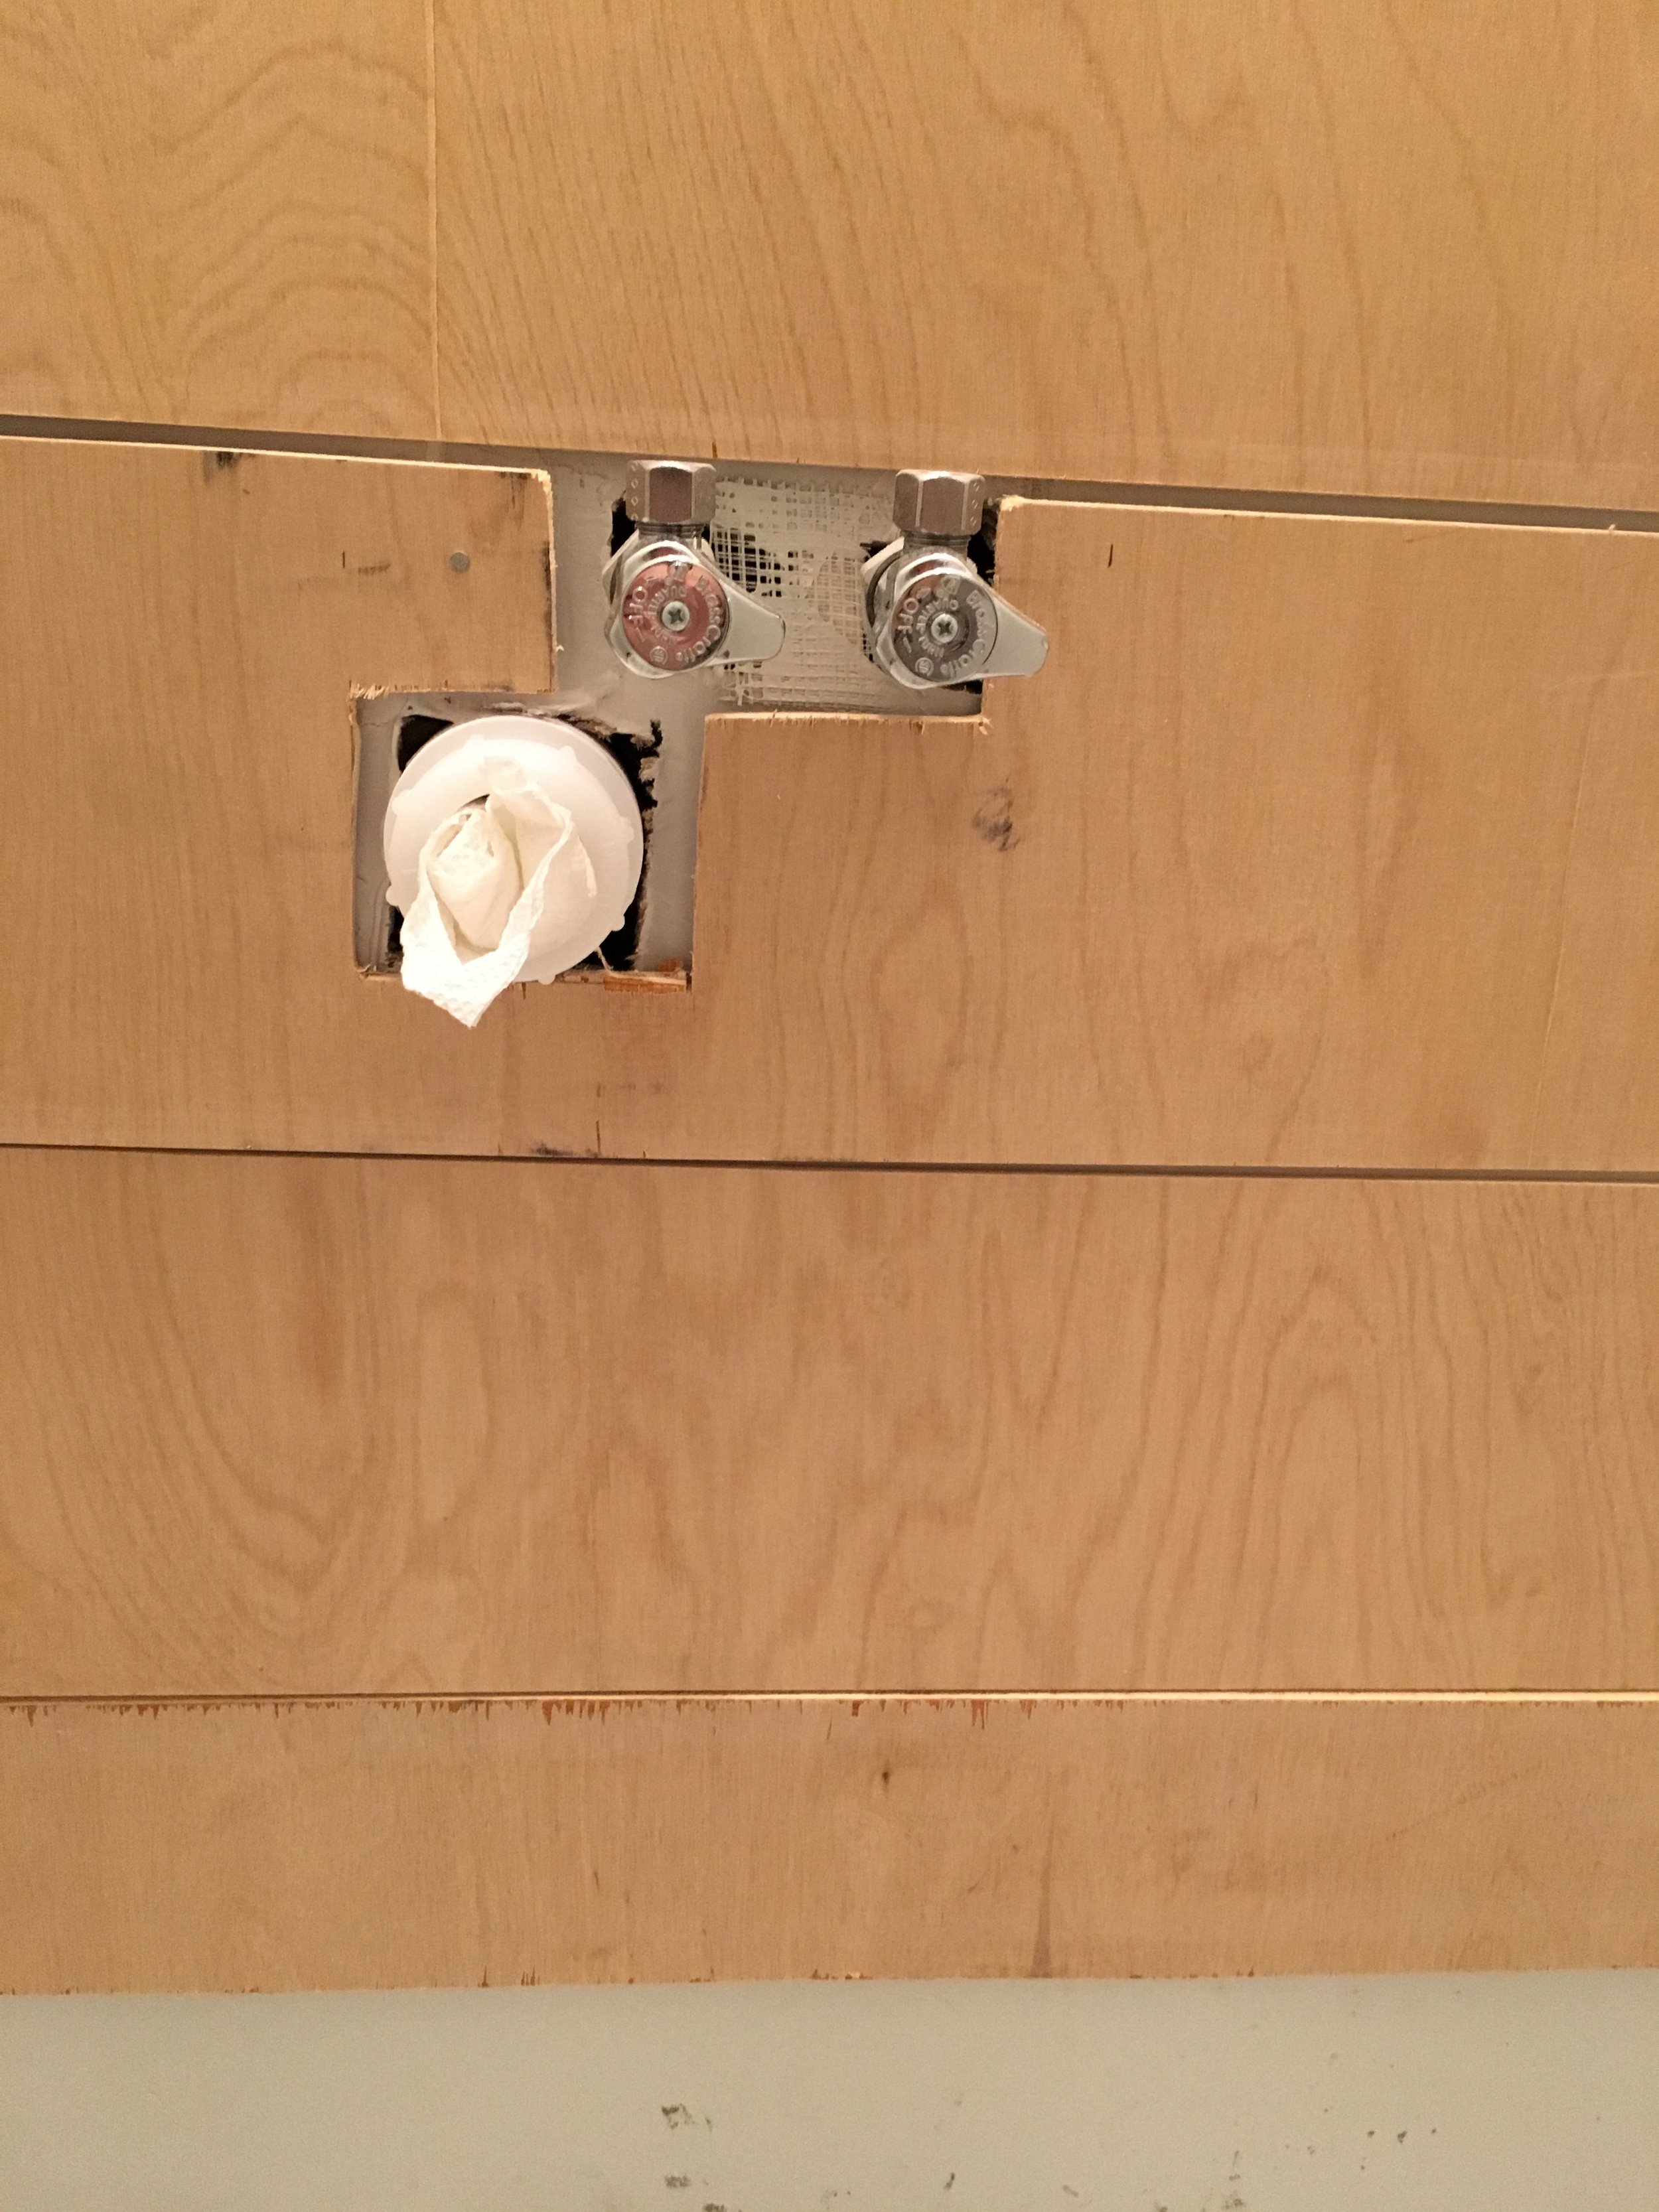
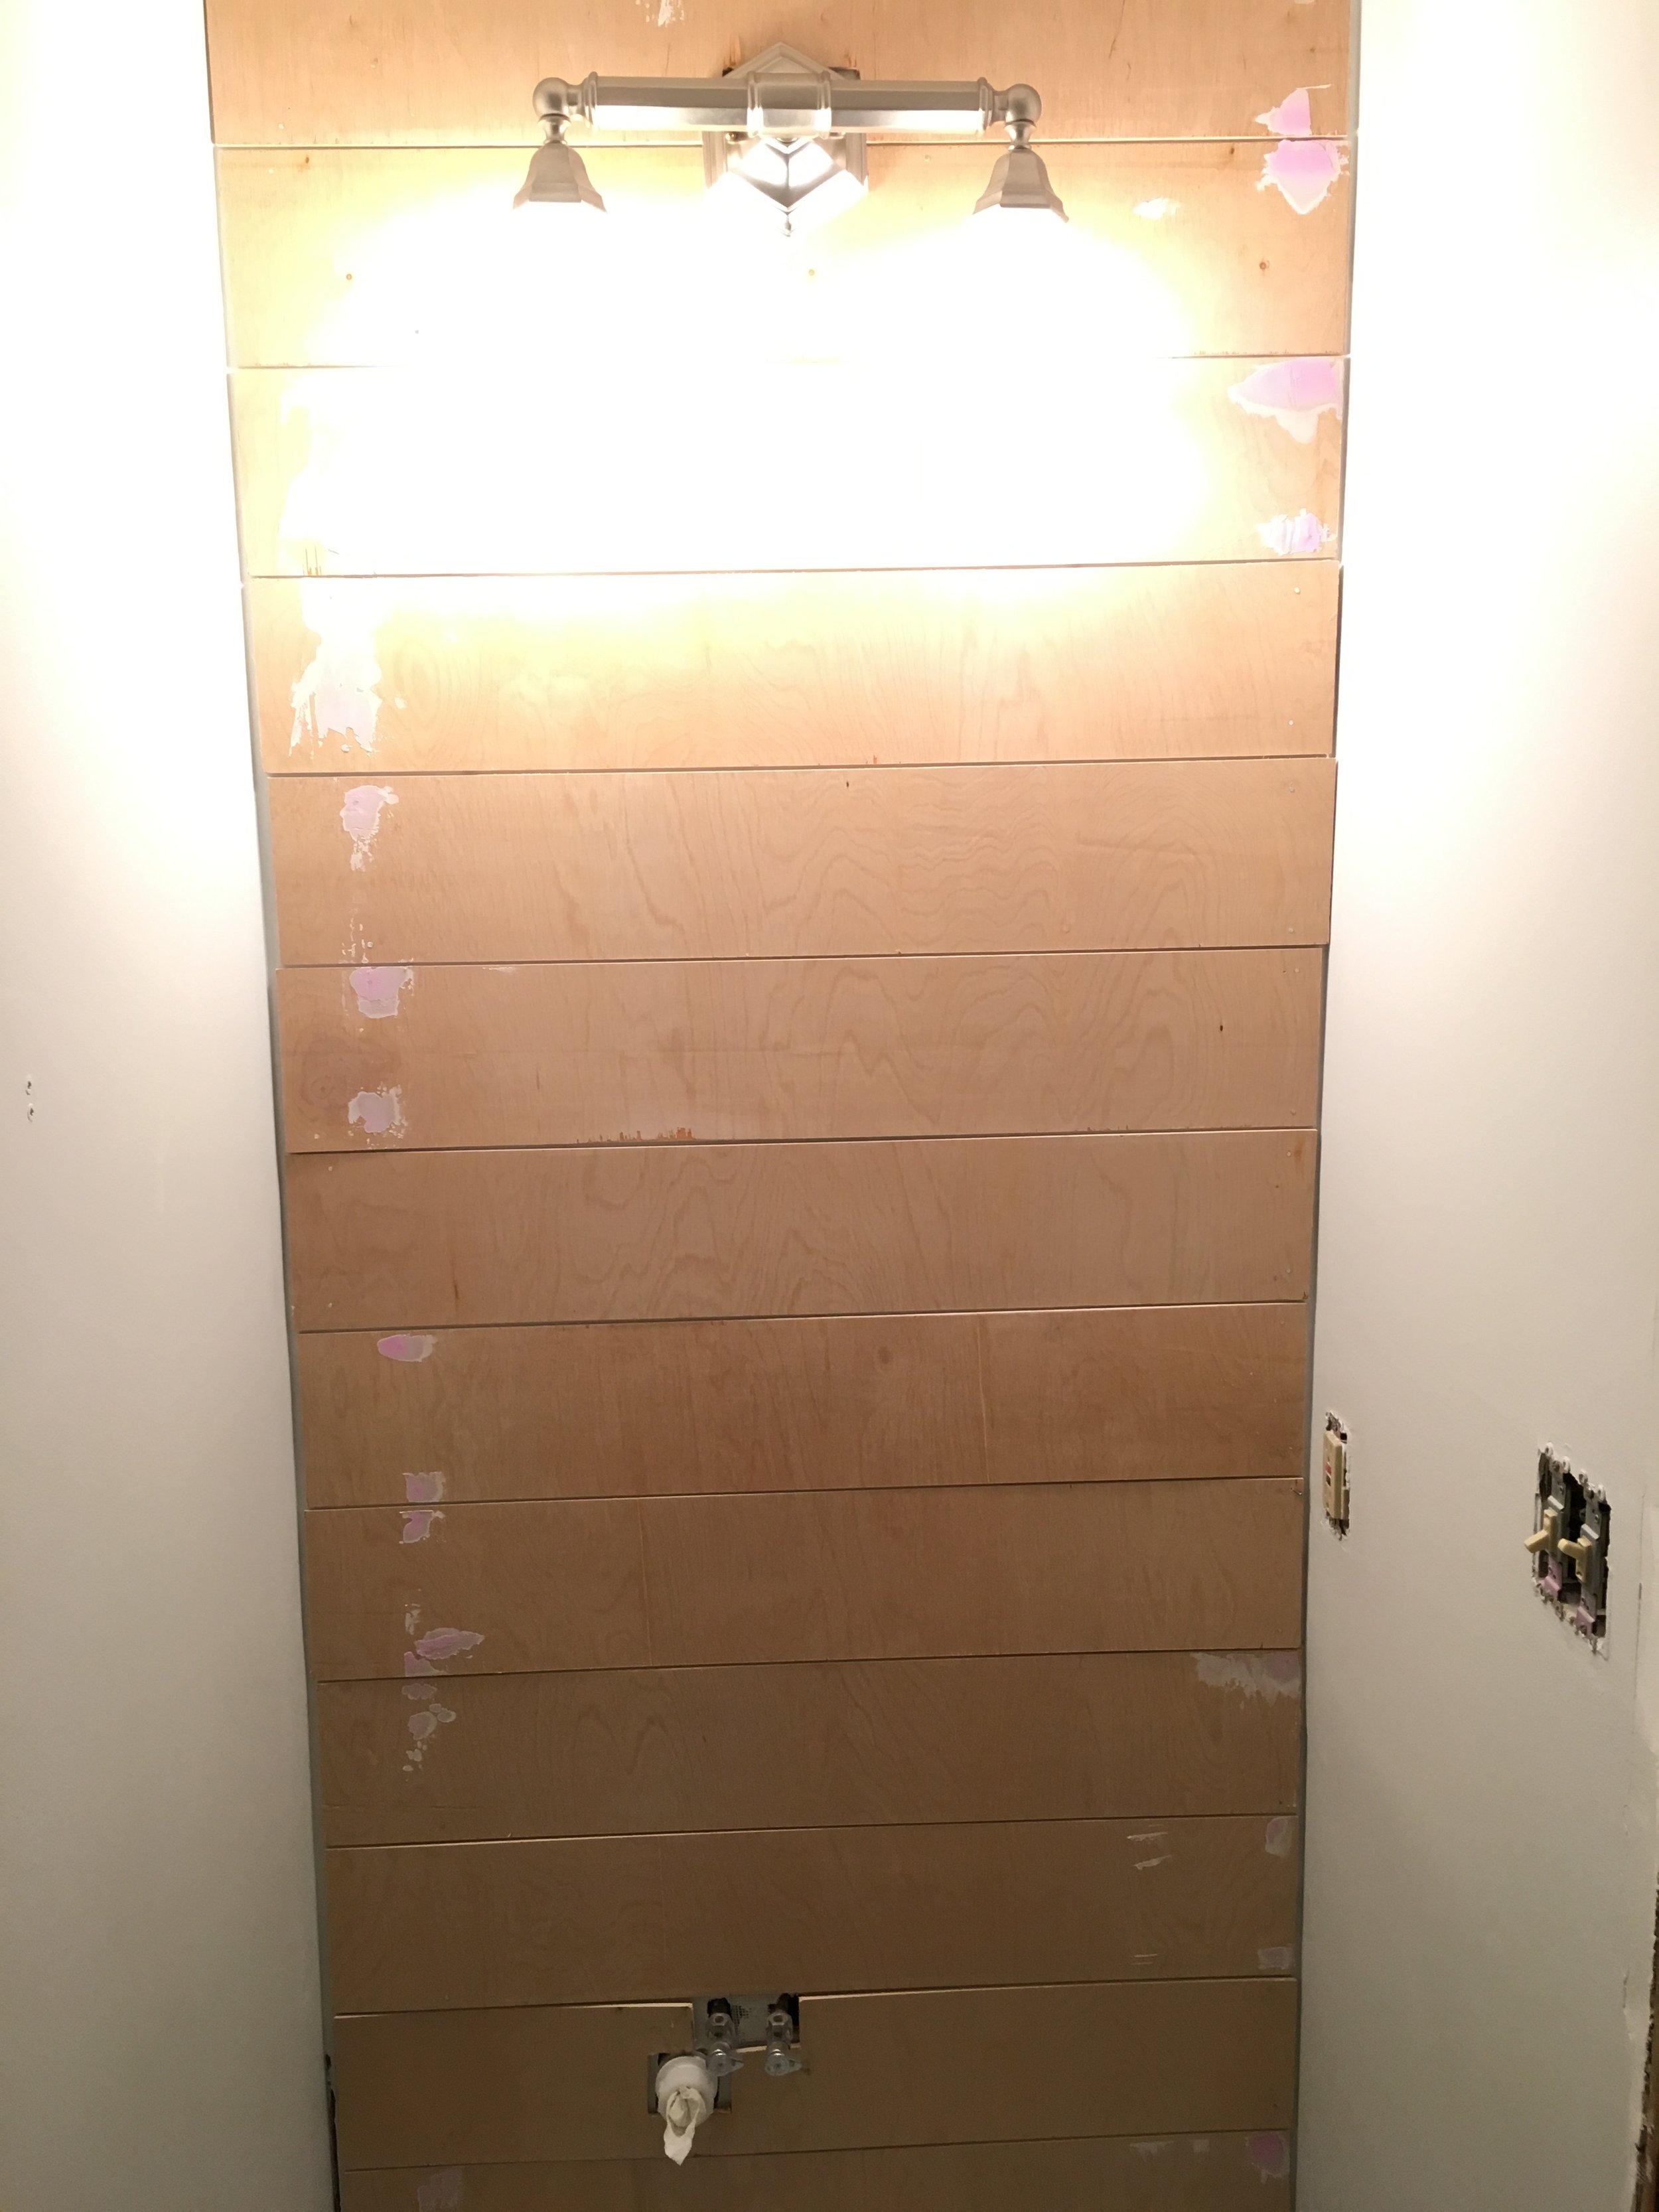
We were doing our wall in the half bath that had the light fixture and plumbing so we needed to cut holes out for those.
Once everything is nailed up, it's time to fill in the nail holes. We used a wood filler from Home Depot and it was easy and dried quickly. Once that's dry you want to sand that down so that it's smooth.
After sanding it's time to paint! We painted ours white. I believe the color was Extra White by Sherwin Williams.
The final steps would then be to add your baseboards and the quarter round in the corners and you are done!
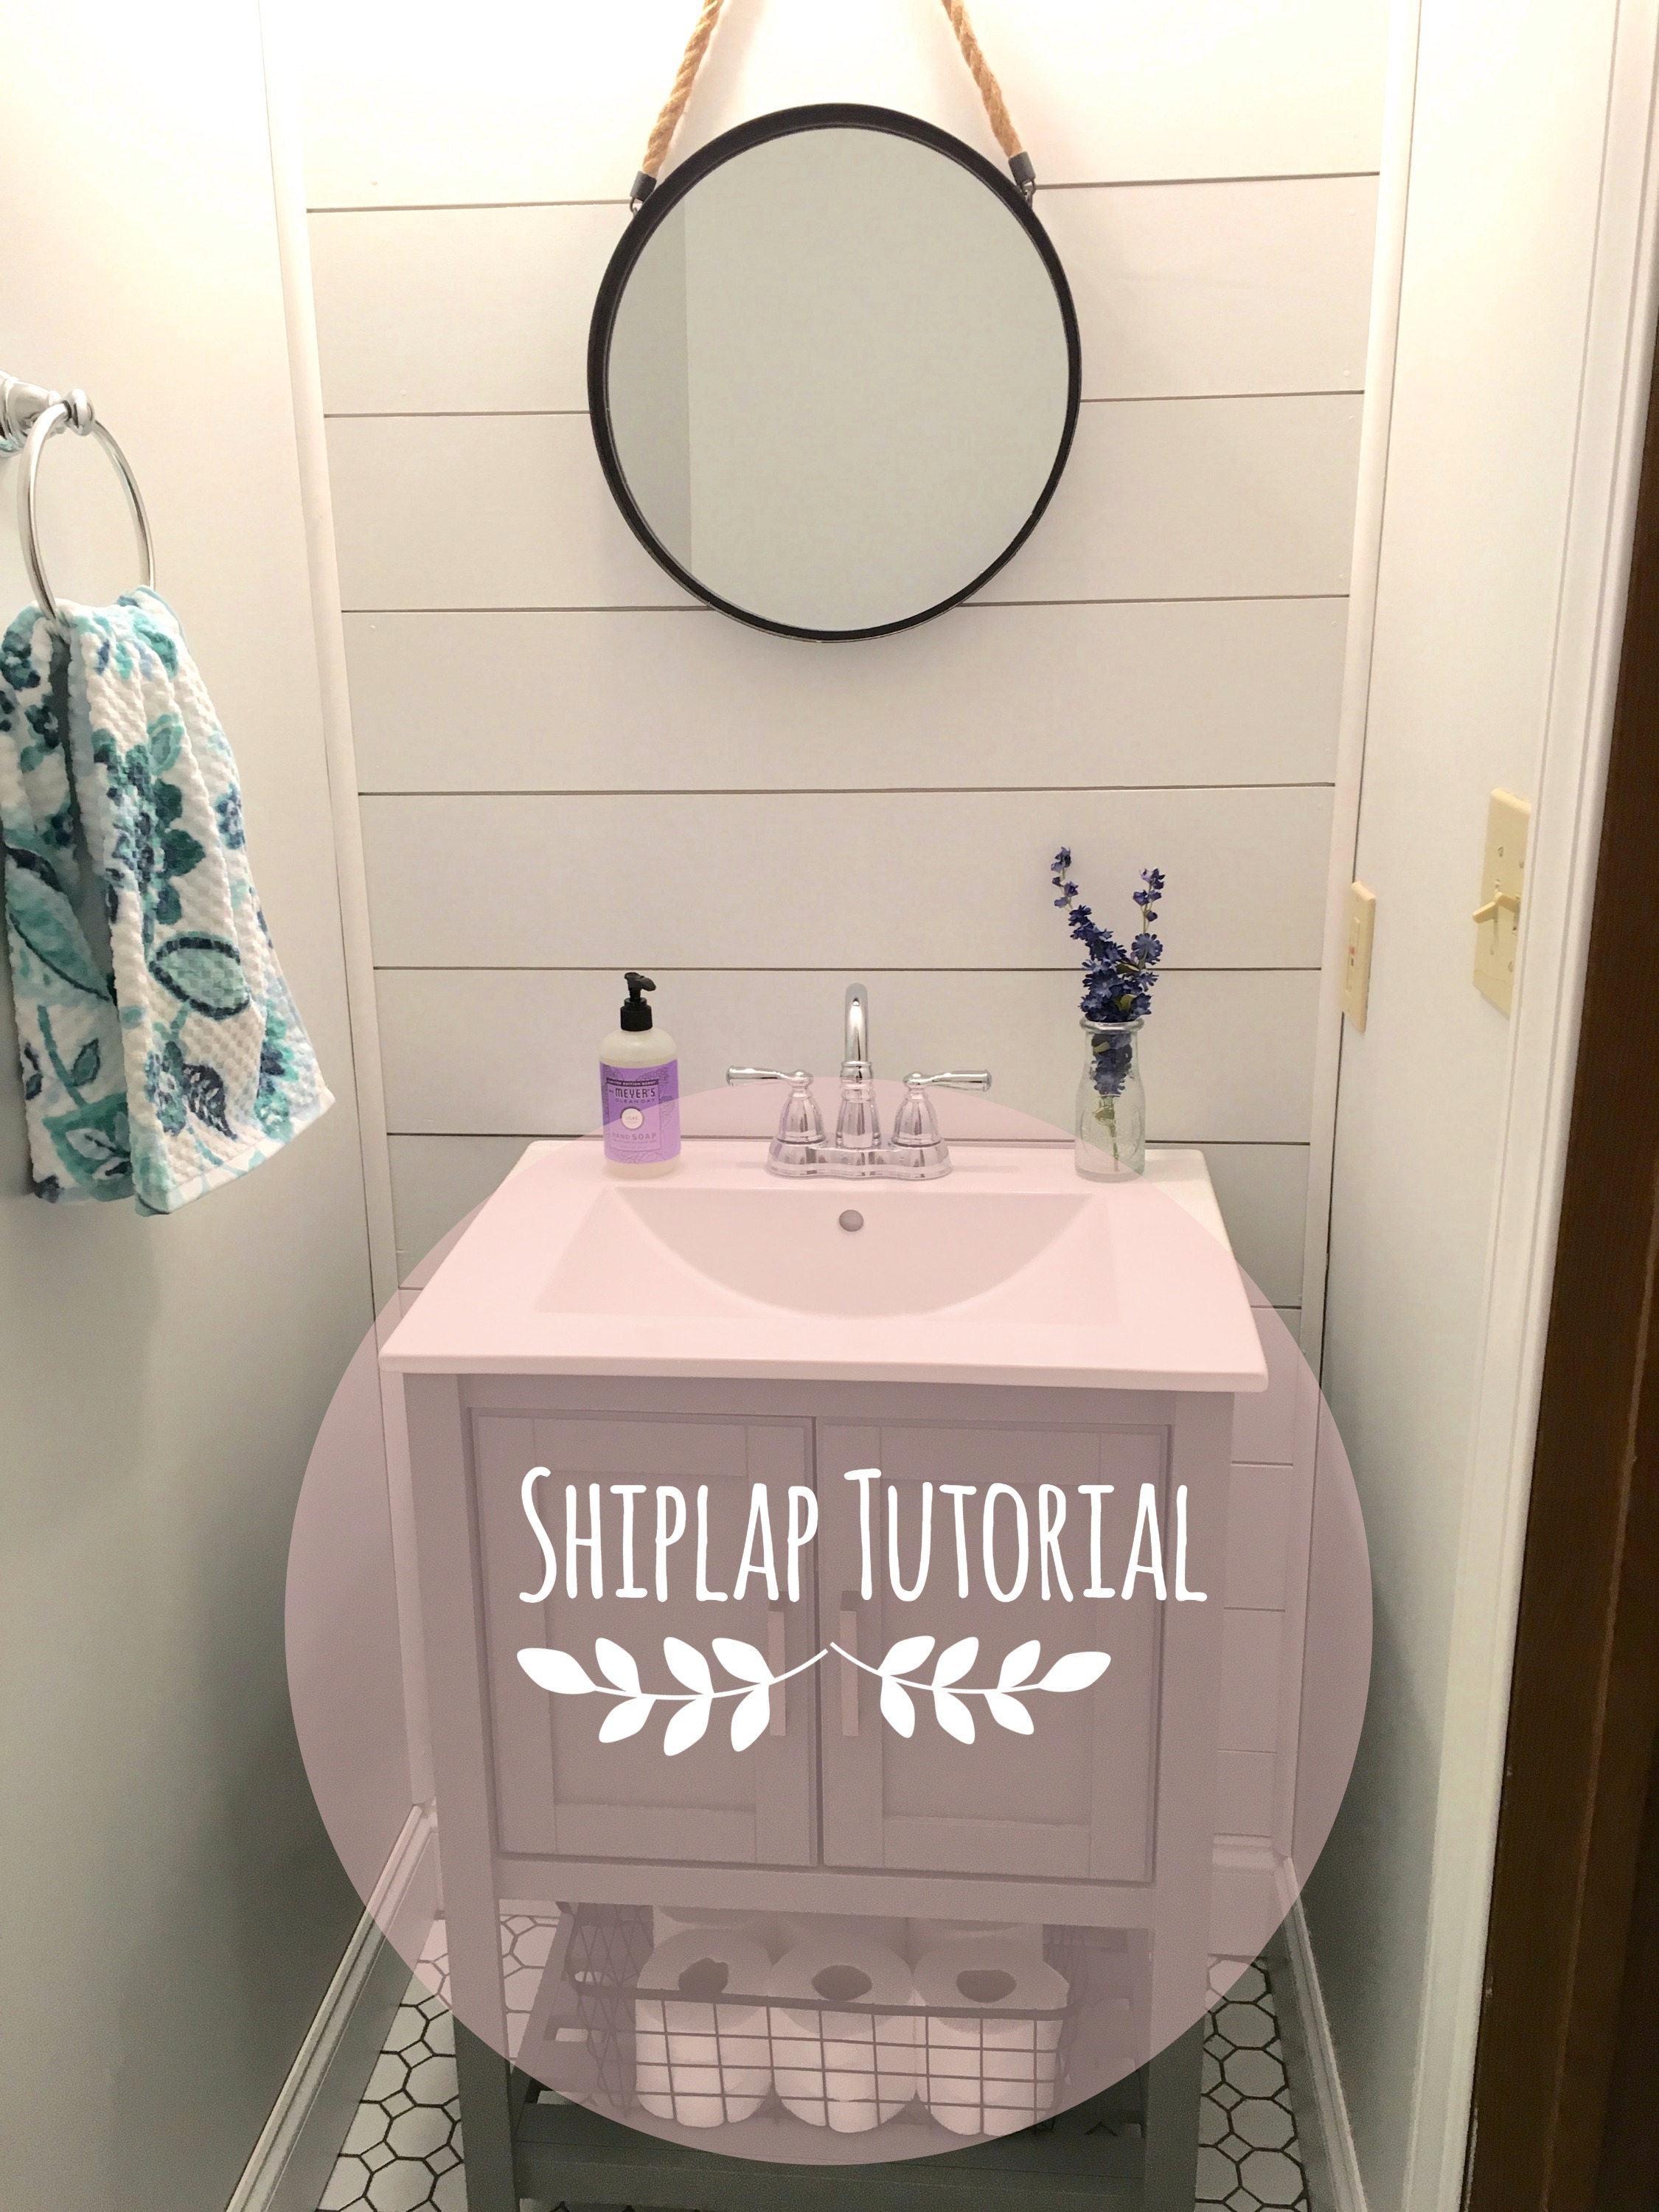
Here is the final product! I am so happy with the way it turned out! It was a lot of work, and we did a small wall, but it was worth it. I am now thinking of other places we can install some shiplap in our home! :)
I hope this tutorial was helpful and not too confusing. Like I said before, this was our first time doing it and we are not experts. I just wanted to share with you all how we did it and give you a little step by step if you are interested in installing some shiplap of your own!
Thanks for reading!

