
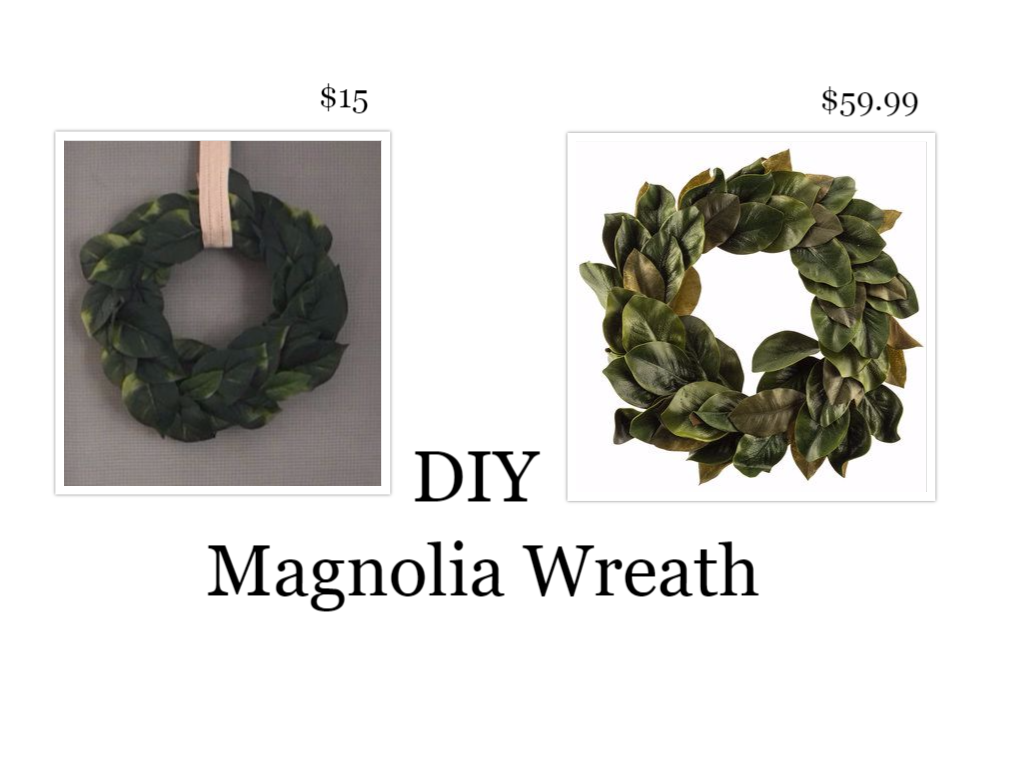
This is one of my favorite DIY's that I've done. It was so easy and looks a lot like the more expensive wreaths you will find! I made this one for around $15.
Here's what you'll need:
- Natural wreath
- Magnolia leaf garland
- Glue gun
- Scissors
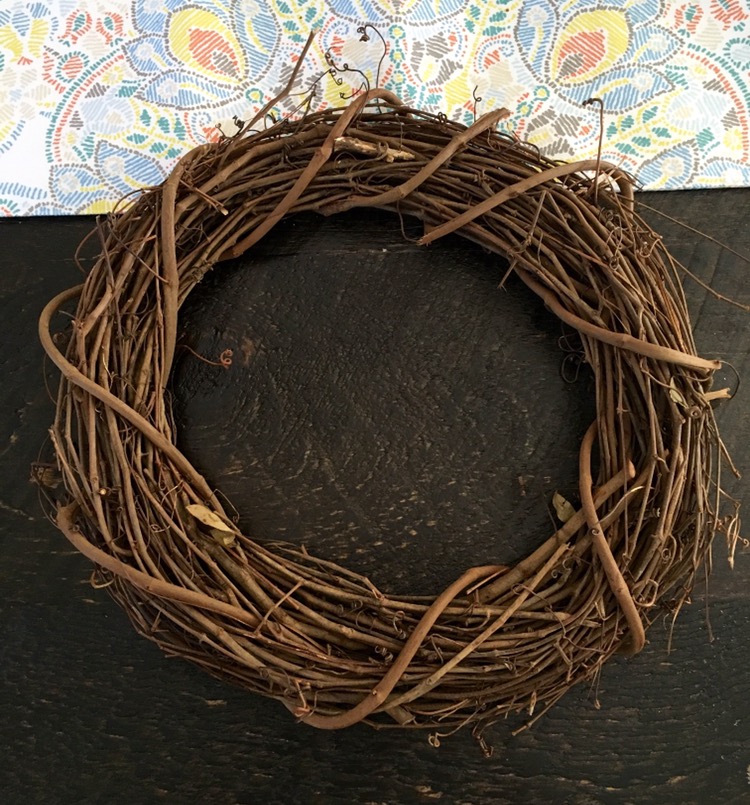
Start with your wreath. I got mine from Hobby Lobby and it was around $5 I believe. There are different sizes so you can choose whichever size you want. I don't remember the exact size I got but it was a normal wreath size, comparable to other magnolia wreaths.
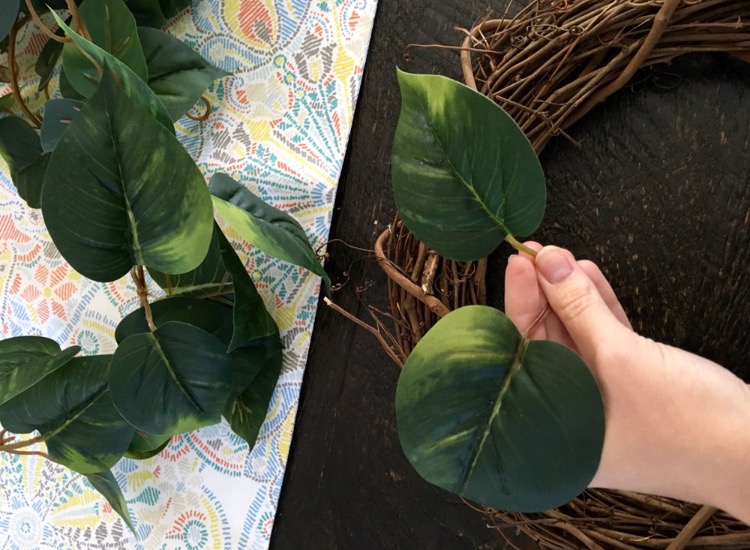
From here you want to take your magnolia leaf garland and start pulling leaves off.
Next you take your glue gun and place a dot anywhere on the wreath and attach the leaves.


You want to keep repeating this and your wreath will begin to look like this.
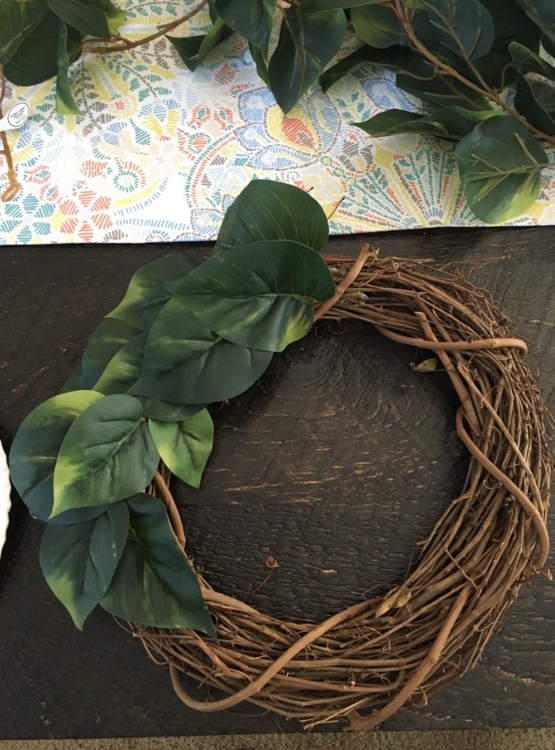
You wan all of the leaves to be going in the same direction. You can either glue the new leaves on top of the previous ones or under them. It doesn't matter really. As long as they are all going in the same direction and are layered. You don't want to see the stem part of the leaf, so as long as that is covered you're good.
Once all of your leaves are glued on, go back and cut off any stick pieces that are showing.

That's it! You now have a Magnolia Wreath for under $20!
There are so many different ways to style these wreaths, too. I hung mine from an old screen that I had found and painted white.


I hope you enjoyed this tutorial! Let me know in the comments if you enjoy these DIY's and I will try to post more of them!
Thanks for reading!