Farmhouse Style Lighting

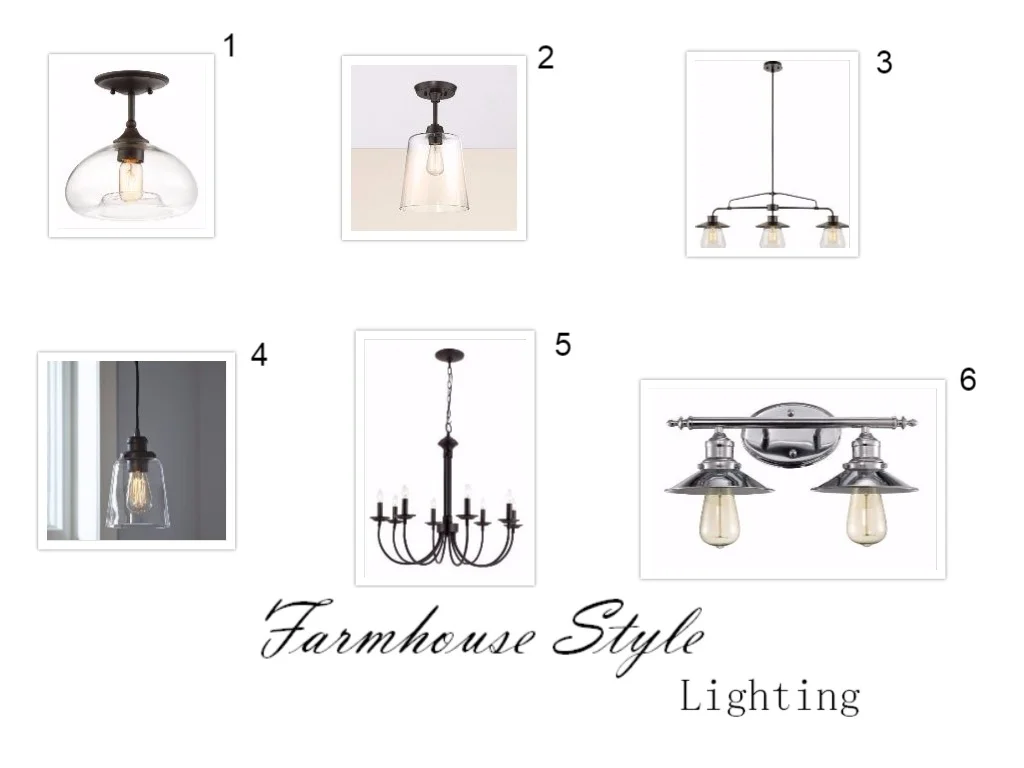
I wanted to share with you some of my favorite farmhouse style light fixtures. Changing out a dated light fixture is an easy way to update a space. You can switch out bathroom lighting, dining room chandeliers, or even just a hallway or entry light. Although some can be pricey, I've rounded up some of my picks that won't break the bank. 

All of these lighting options are under $100! Can you believe it? Number 6 is actually the vanity light we got for our half bath remodel and we love it. 

So, if you want to update your space, try a new light fixture. It can help bring in a new feel and update the style.

Thanks for reading!

1.   2.   3.   4.   5.   6.   

A Garden Themed Graduation Party

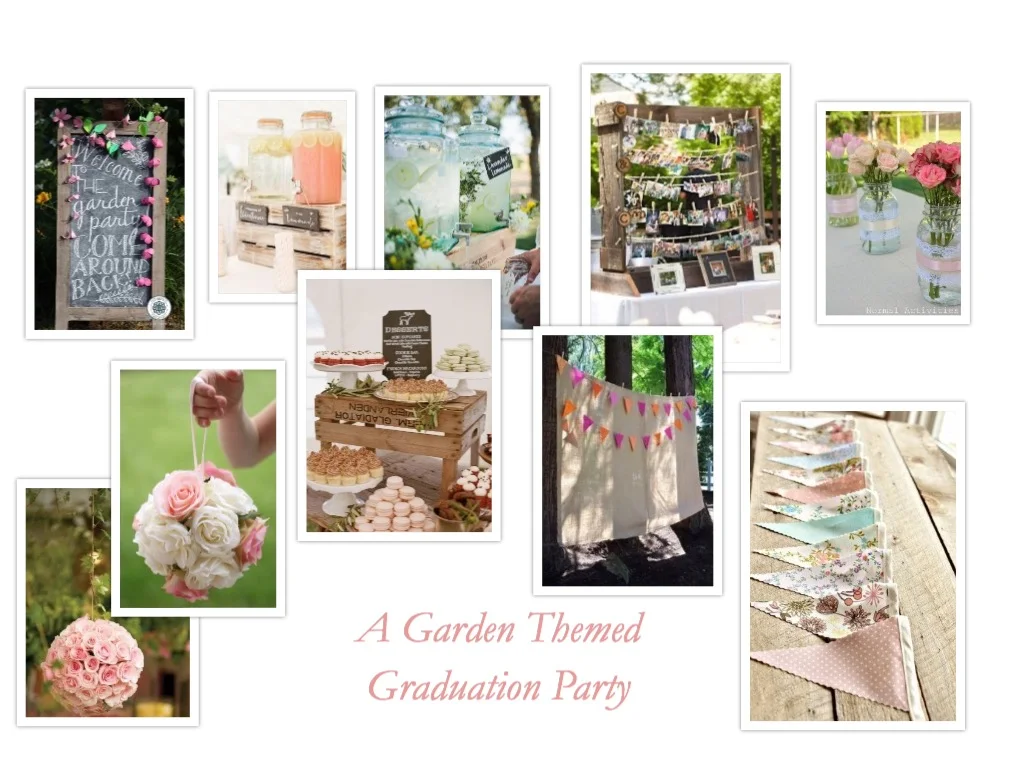
My cousin had her graduation party this past weekend and she wanted a garden theme.  She didn't want the typical graduation party with the high school colors or college colors, she wanted something different. I am so happy she decided to think outside the box because I had so much fun designing it all. 

We decided on the colors first. She wanted light pink with hints of light green. I love this color combination and had so many ideas right away. She also wanted it to be a garden theme. So I immediately thought shabby chic. 

My aunt took care of the menu and my mom contributed some desserts, however, the decorations were all mine and I was so excited to be able to execute this beautiful party. 

Here is the storyboard for the party.


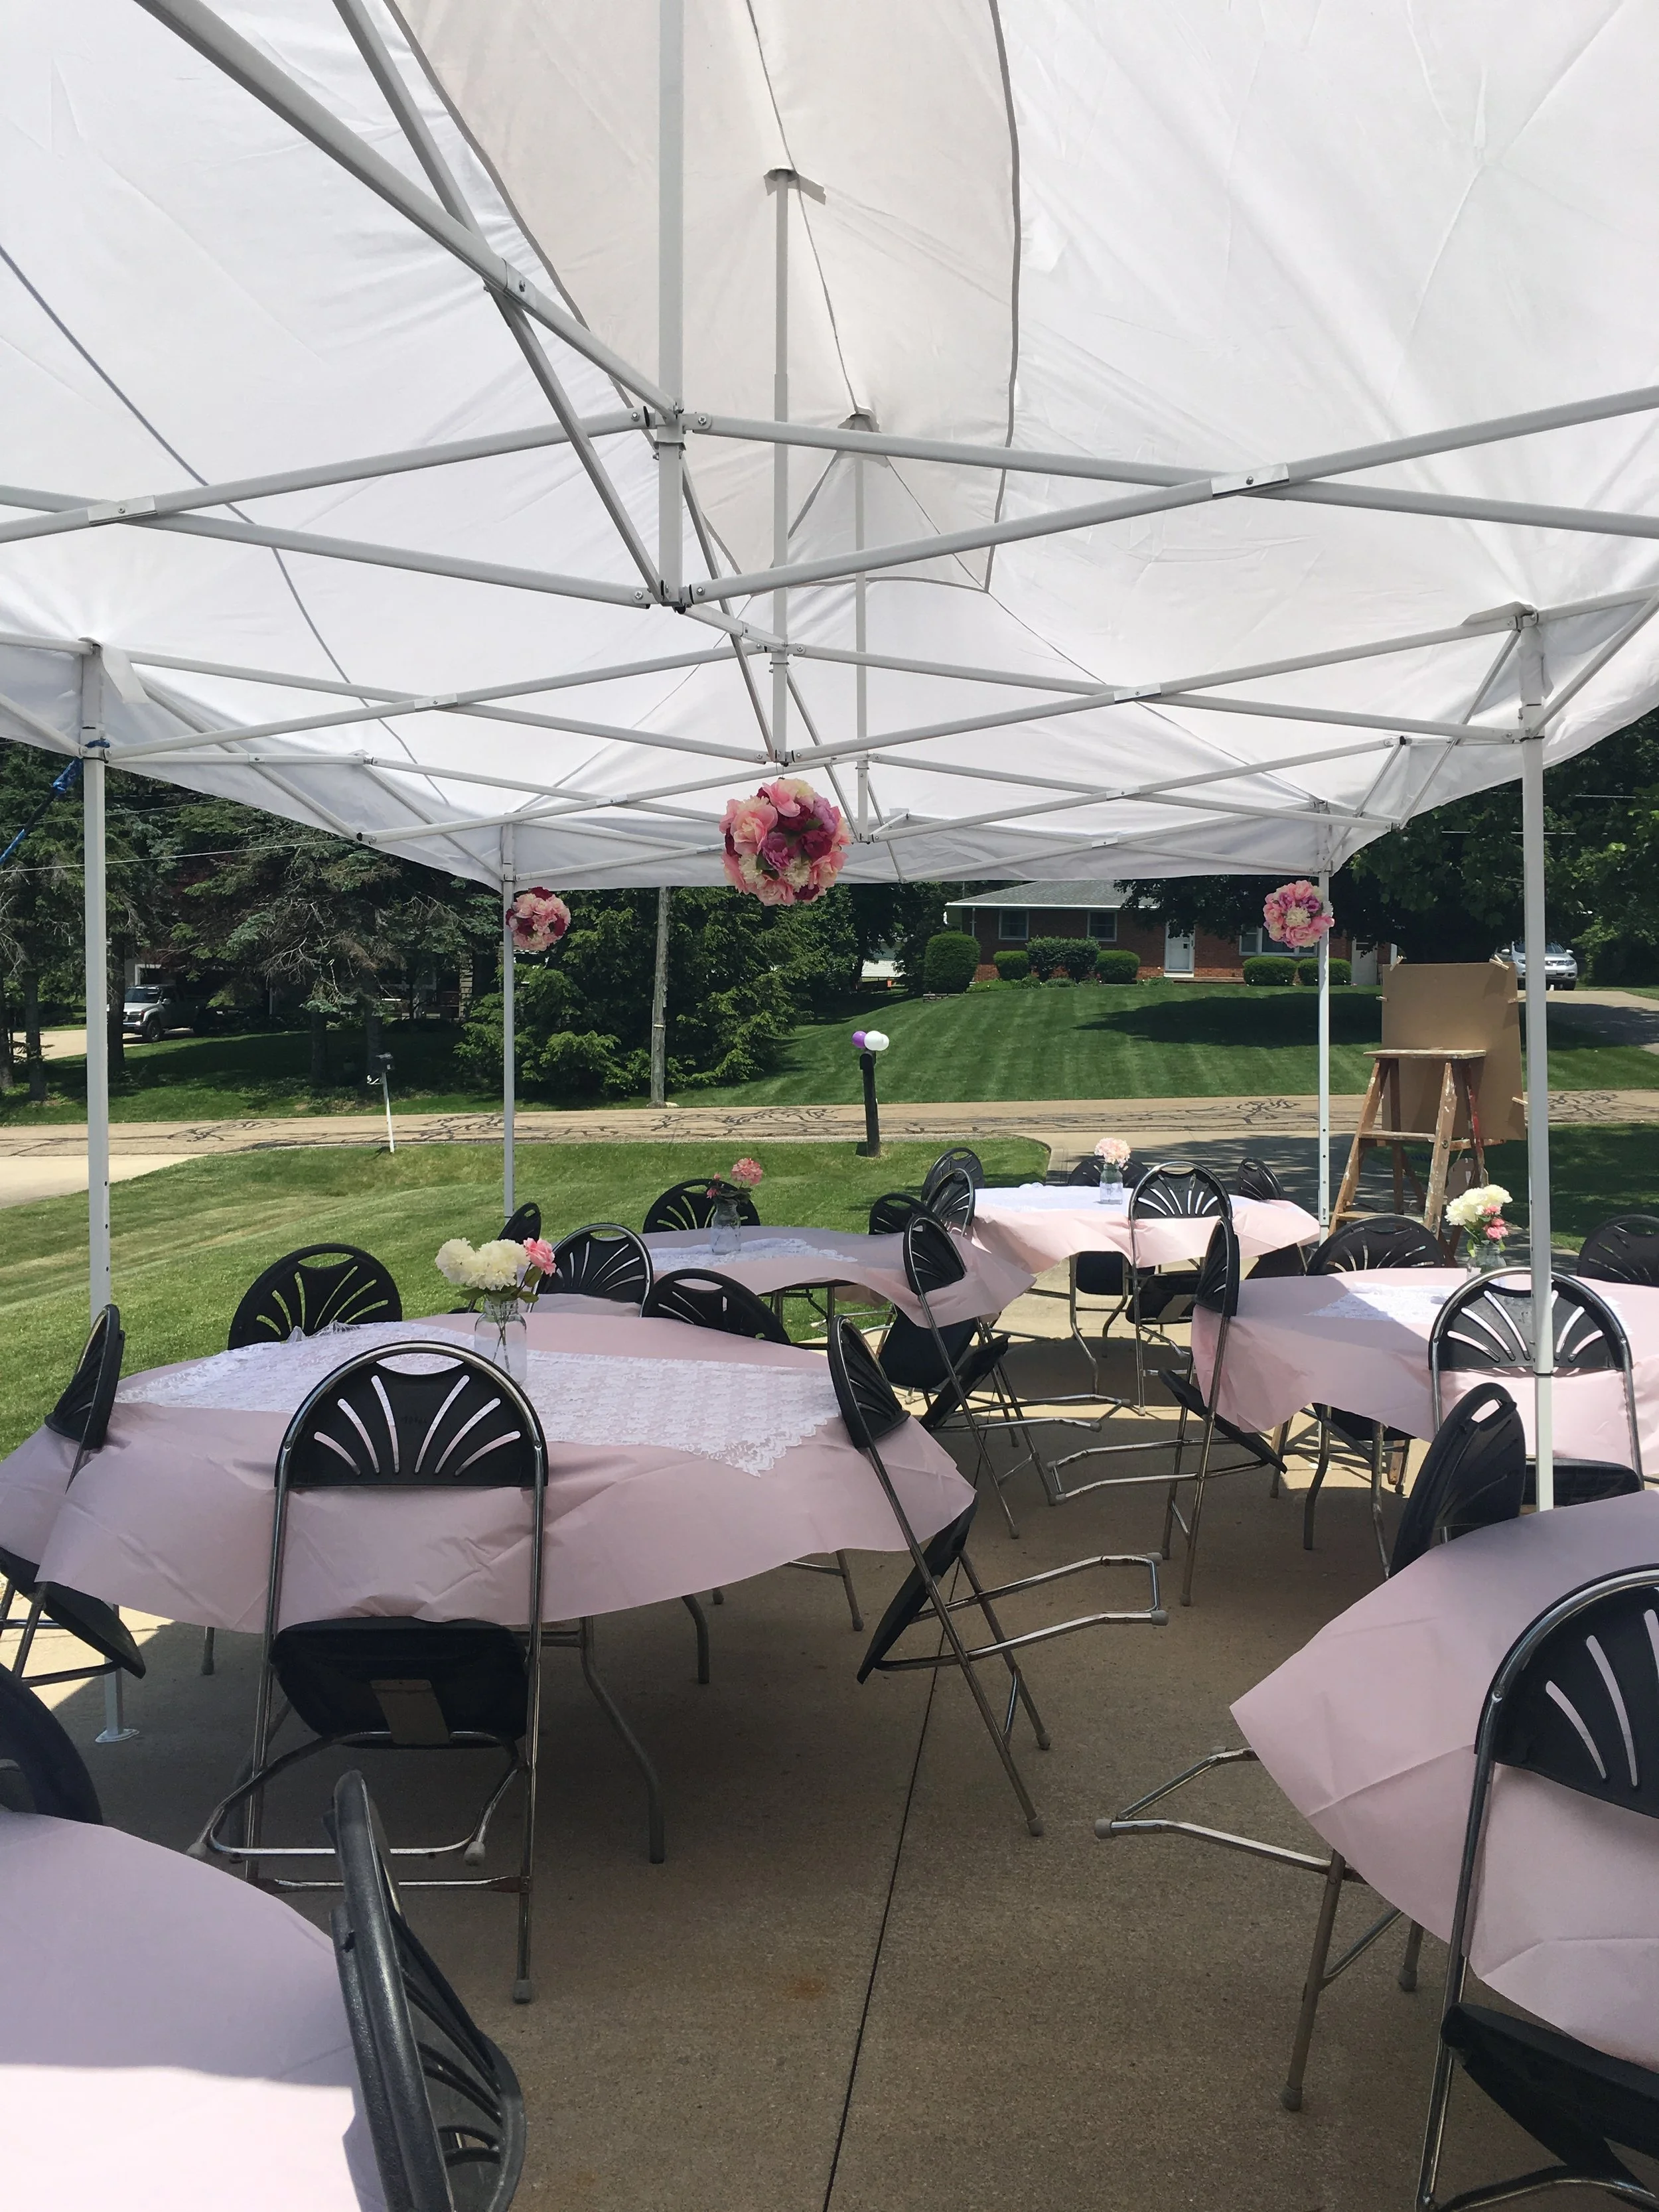
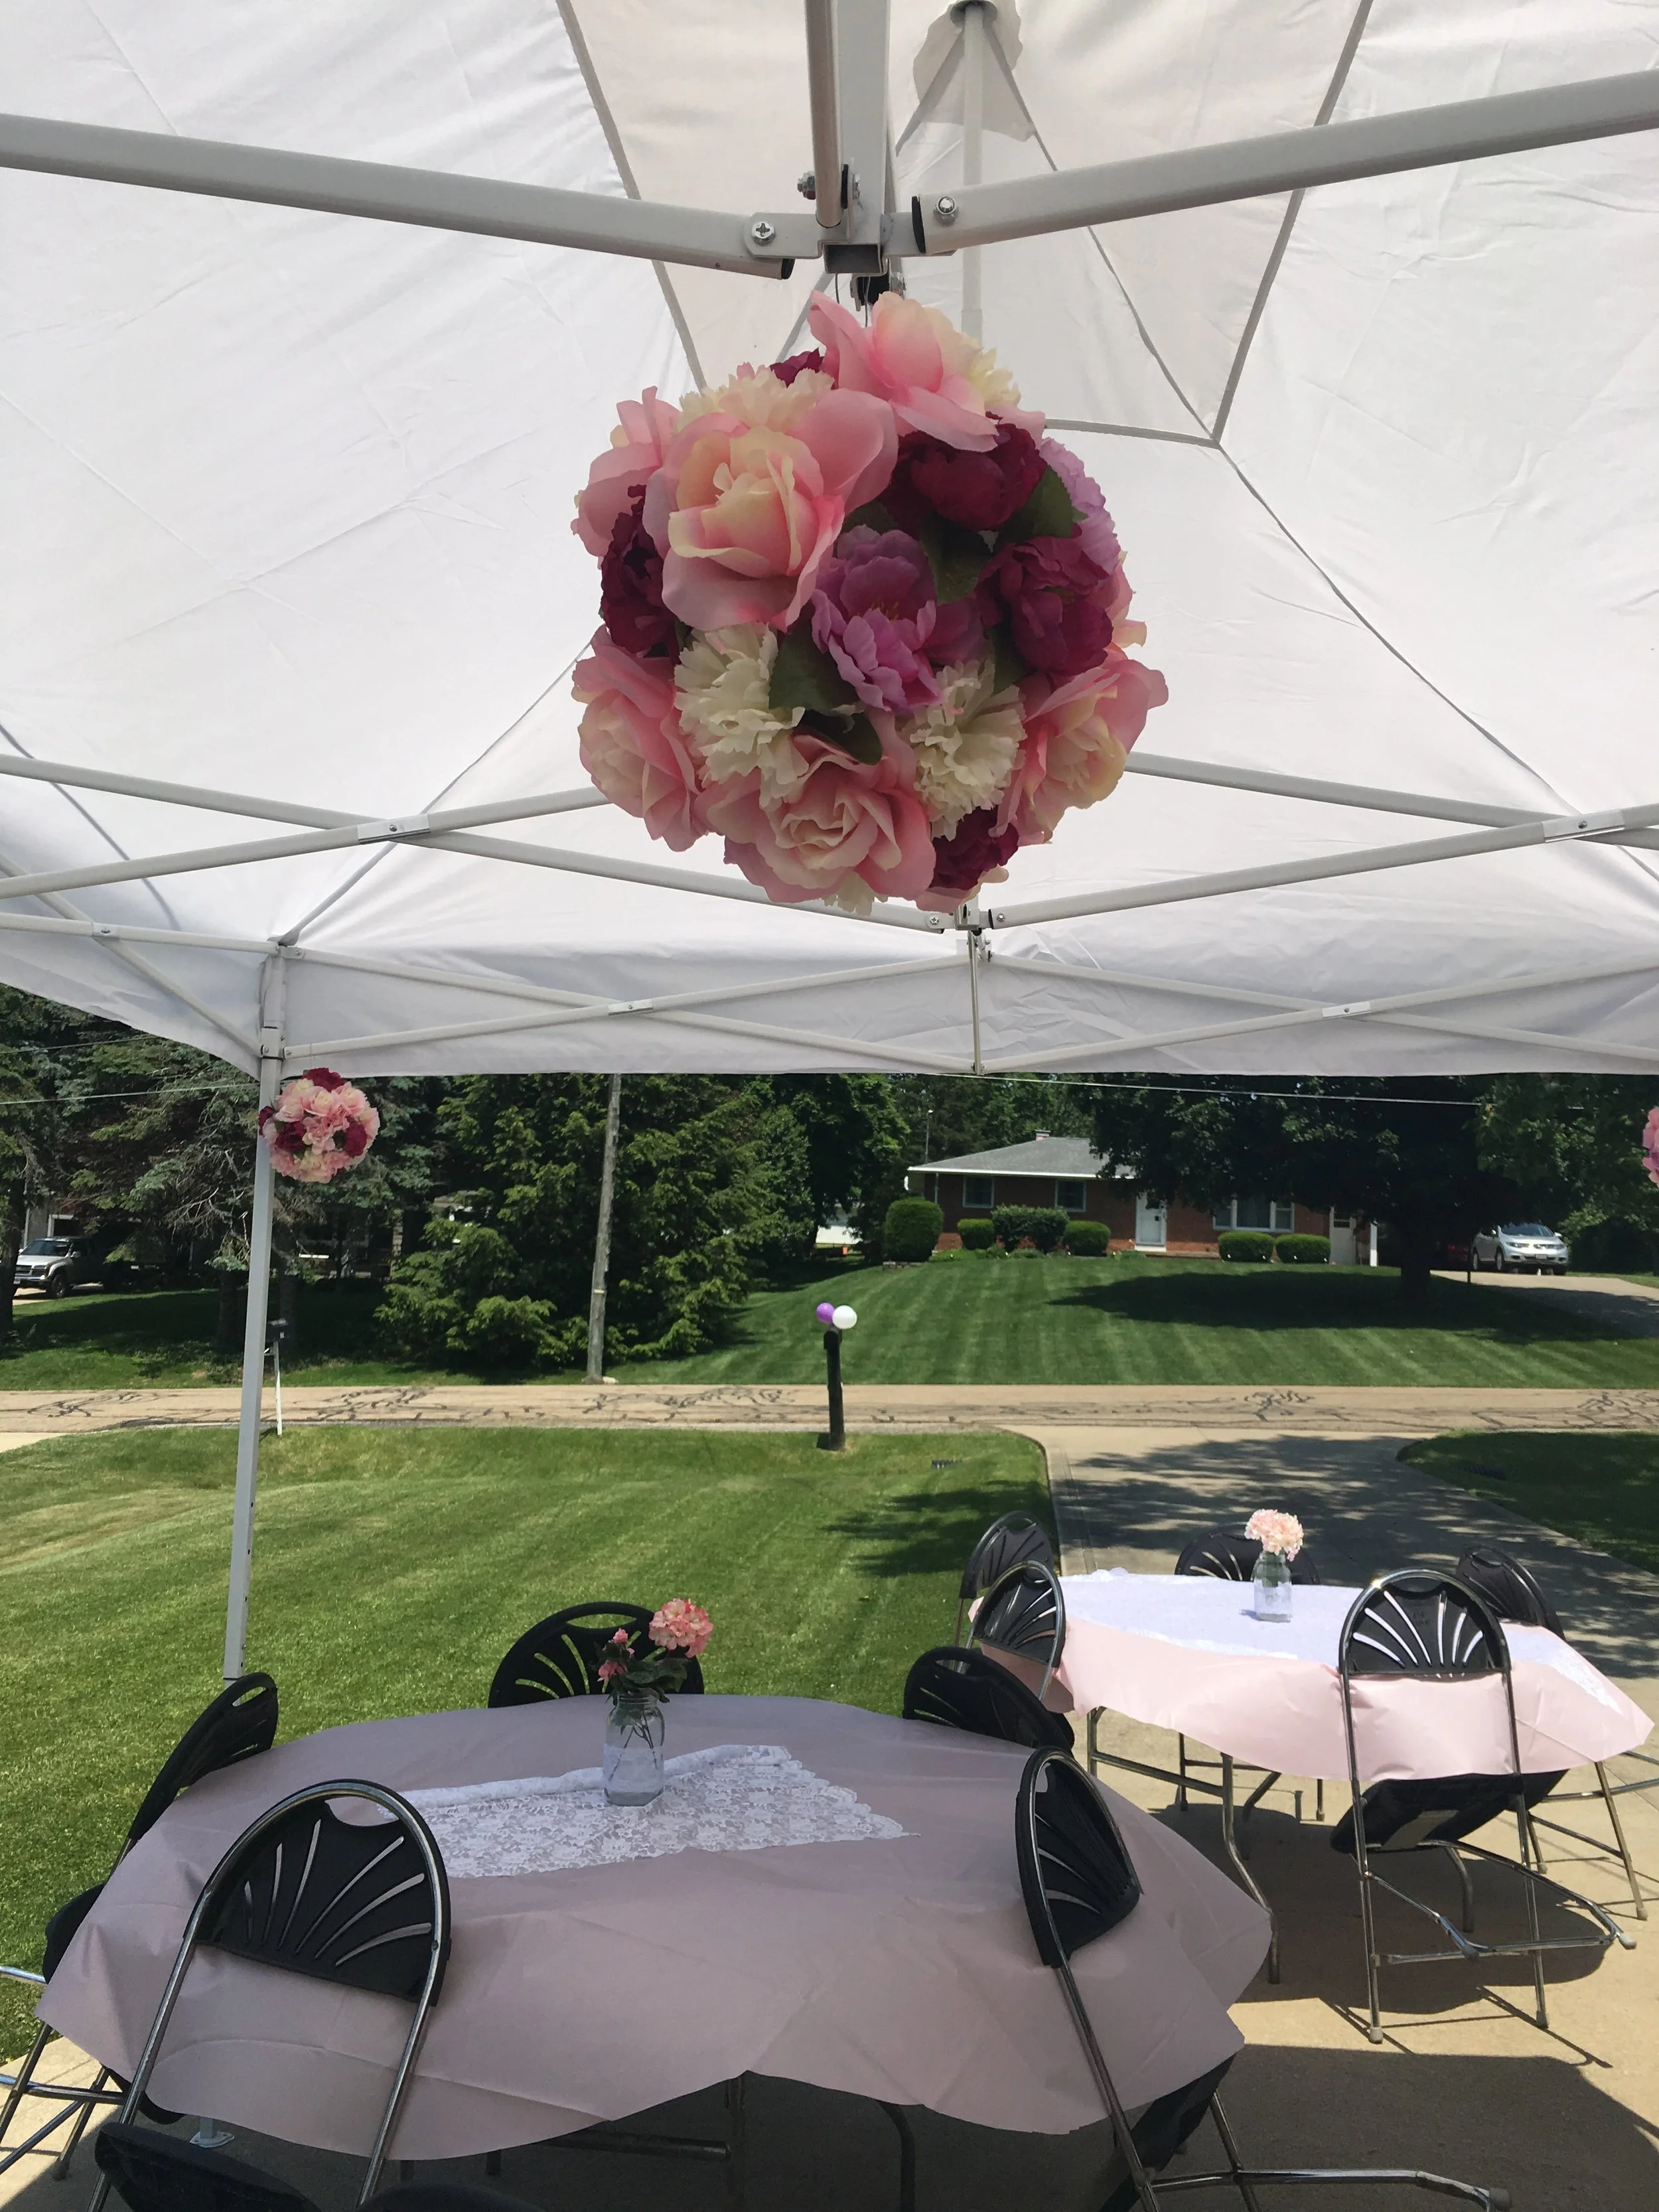
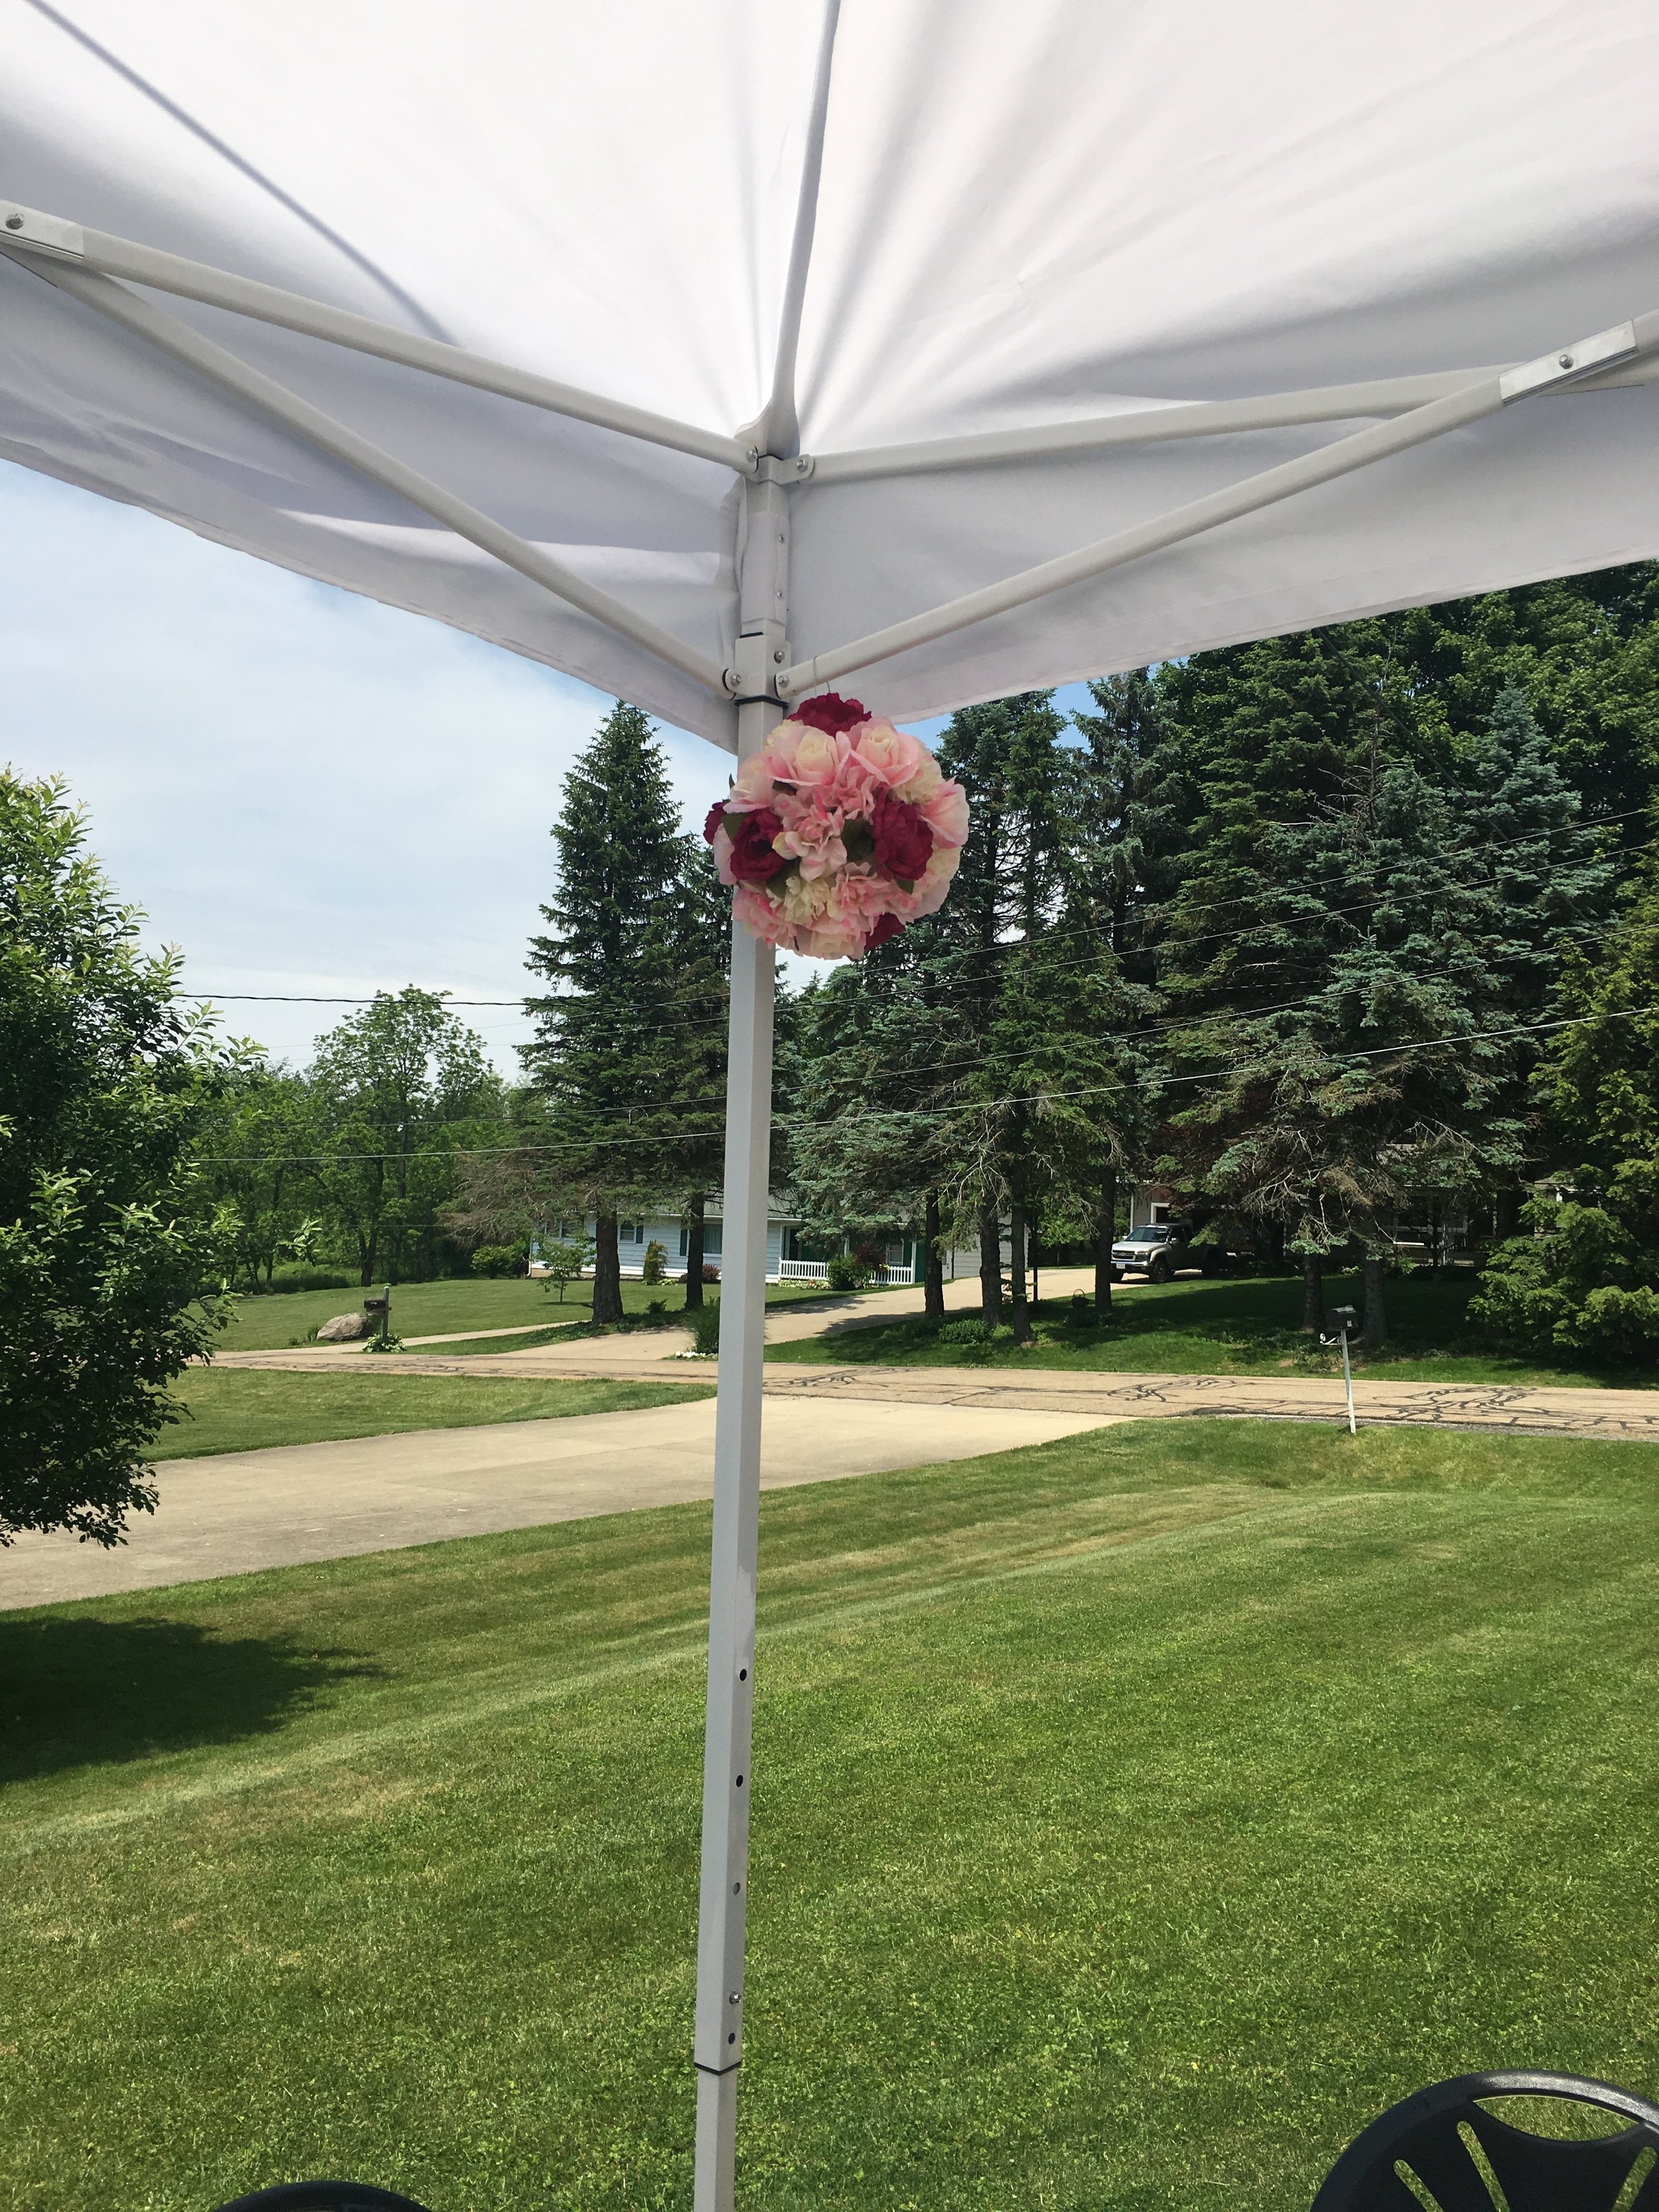
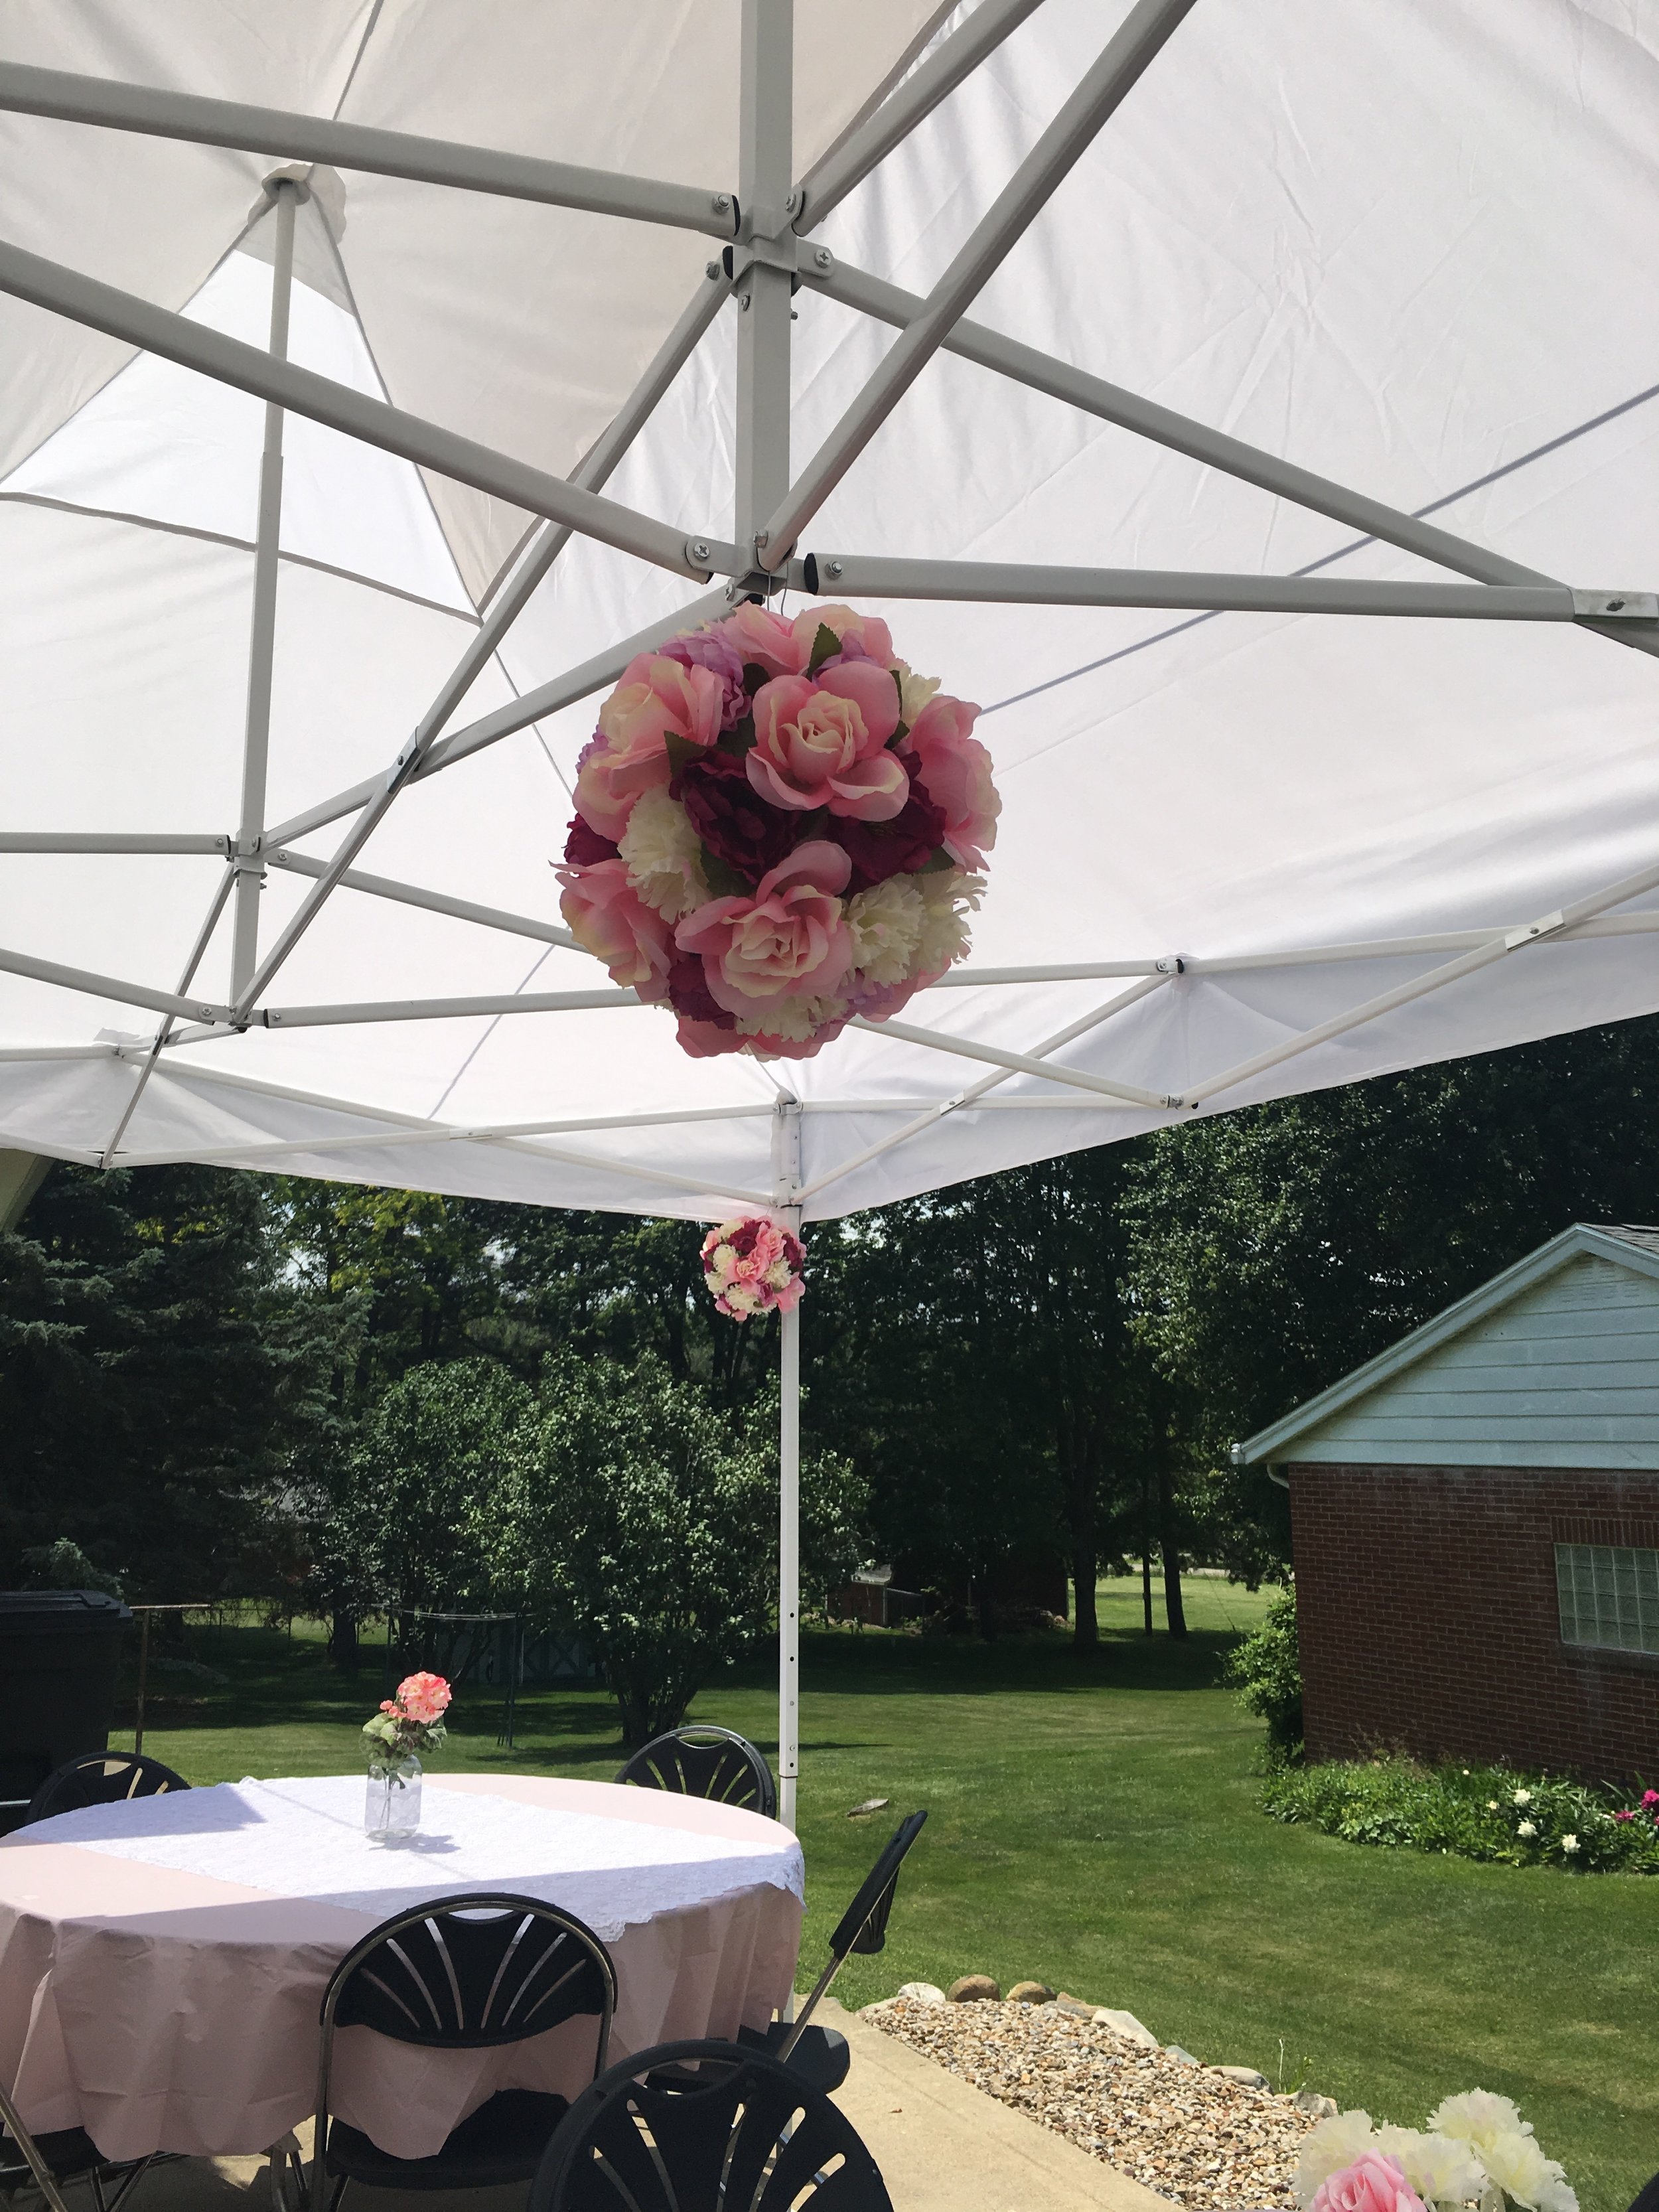
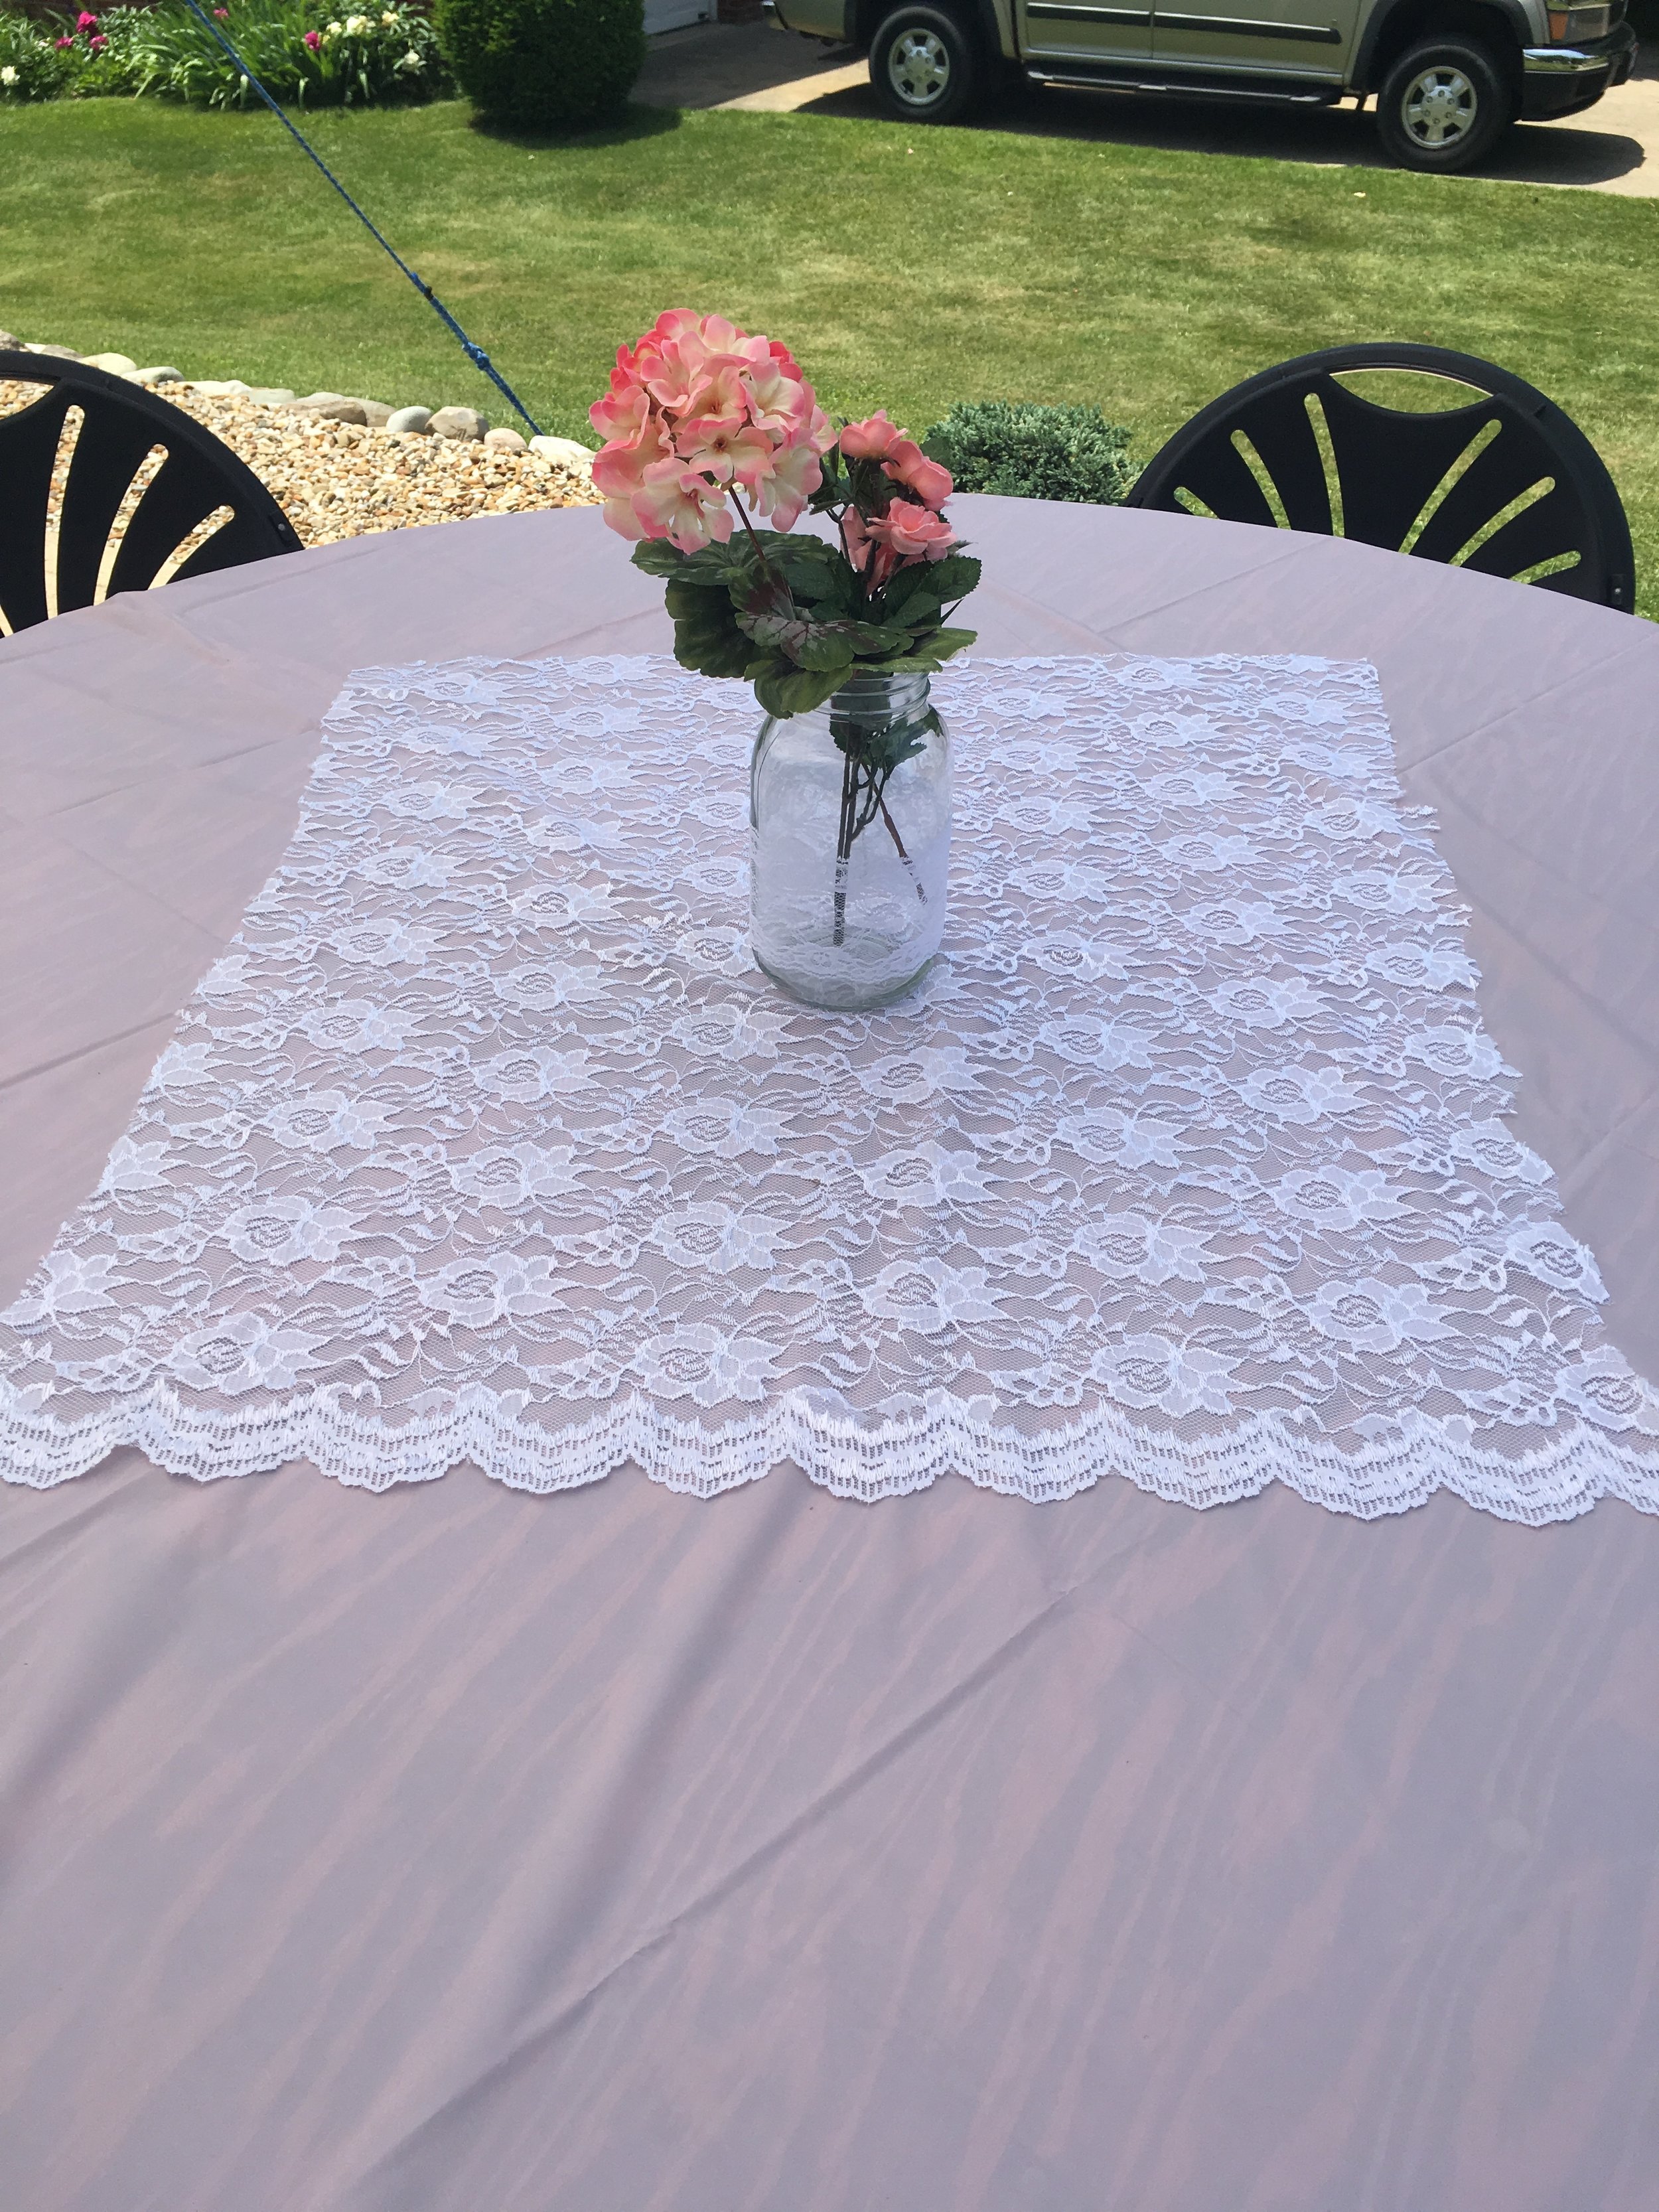
I wanted to capture the garden theme with flowers. My cousin made these flower balls to hang from inside the tent and they were perfect. I wanted to add flowers to the tables as well and decided to use faux florals because a. they look real and b. they were cheaper than real flowers. I used these vases from my wedding and they already had lace on them so they were perfect! Each table got a vase of flowers and lace on the tables. I got plastic table clothes in a pale pink and they worked perfectly. We taped them to the tables underneath so that they didn't blow off. 


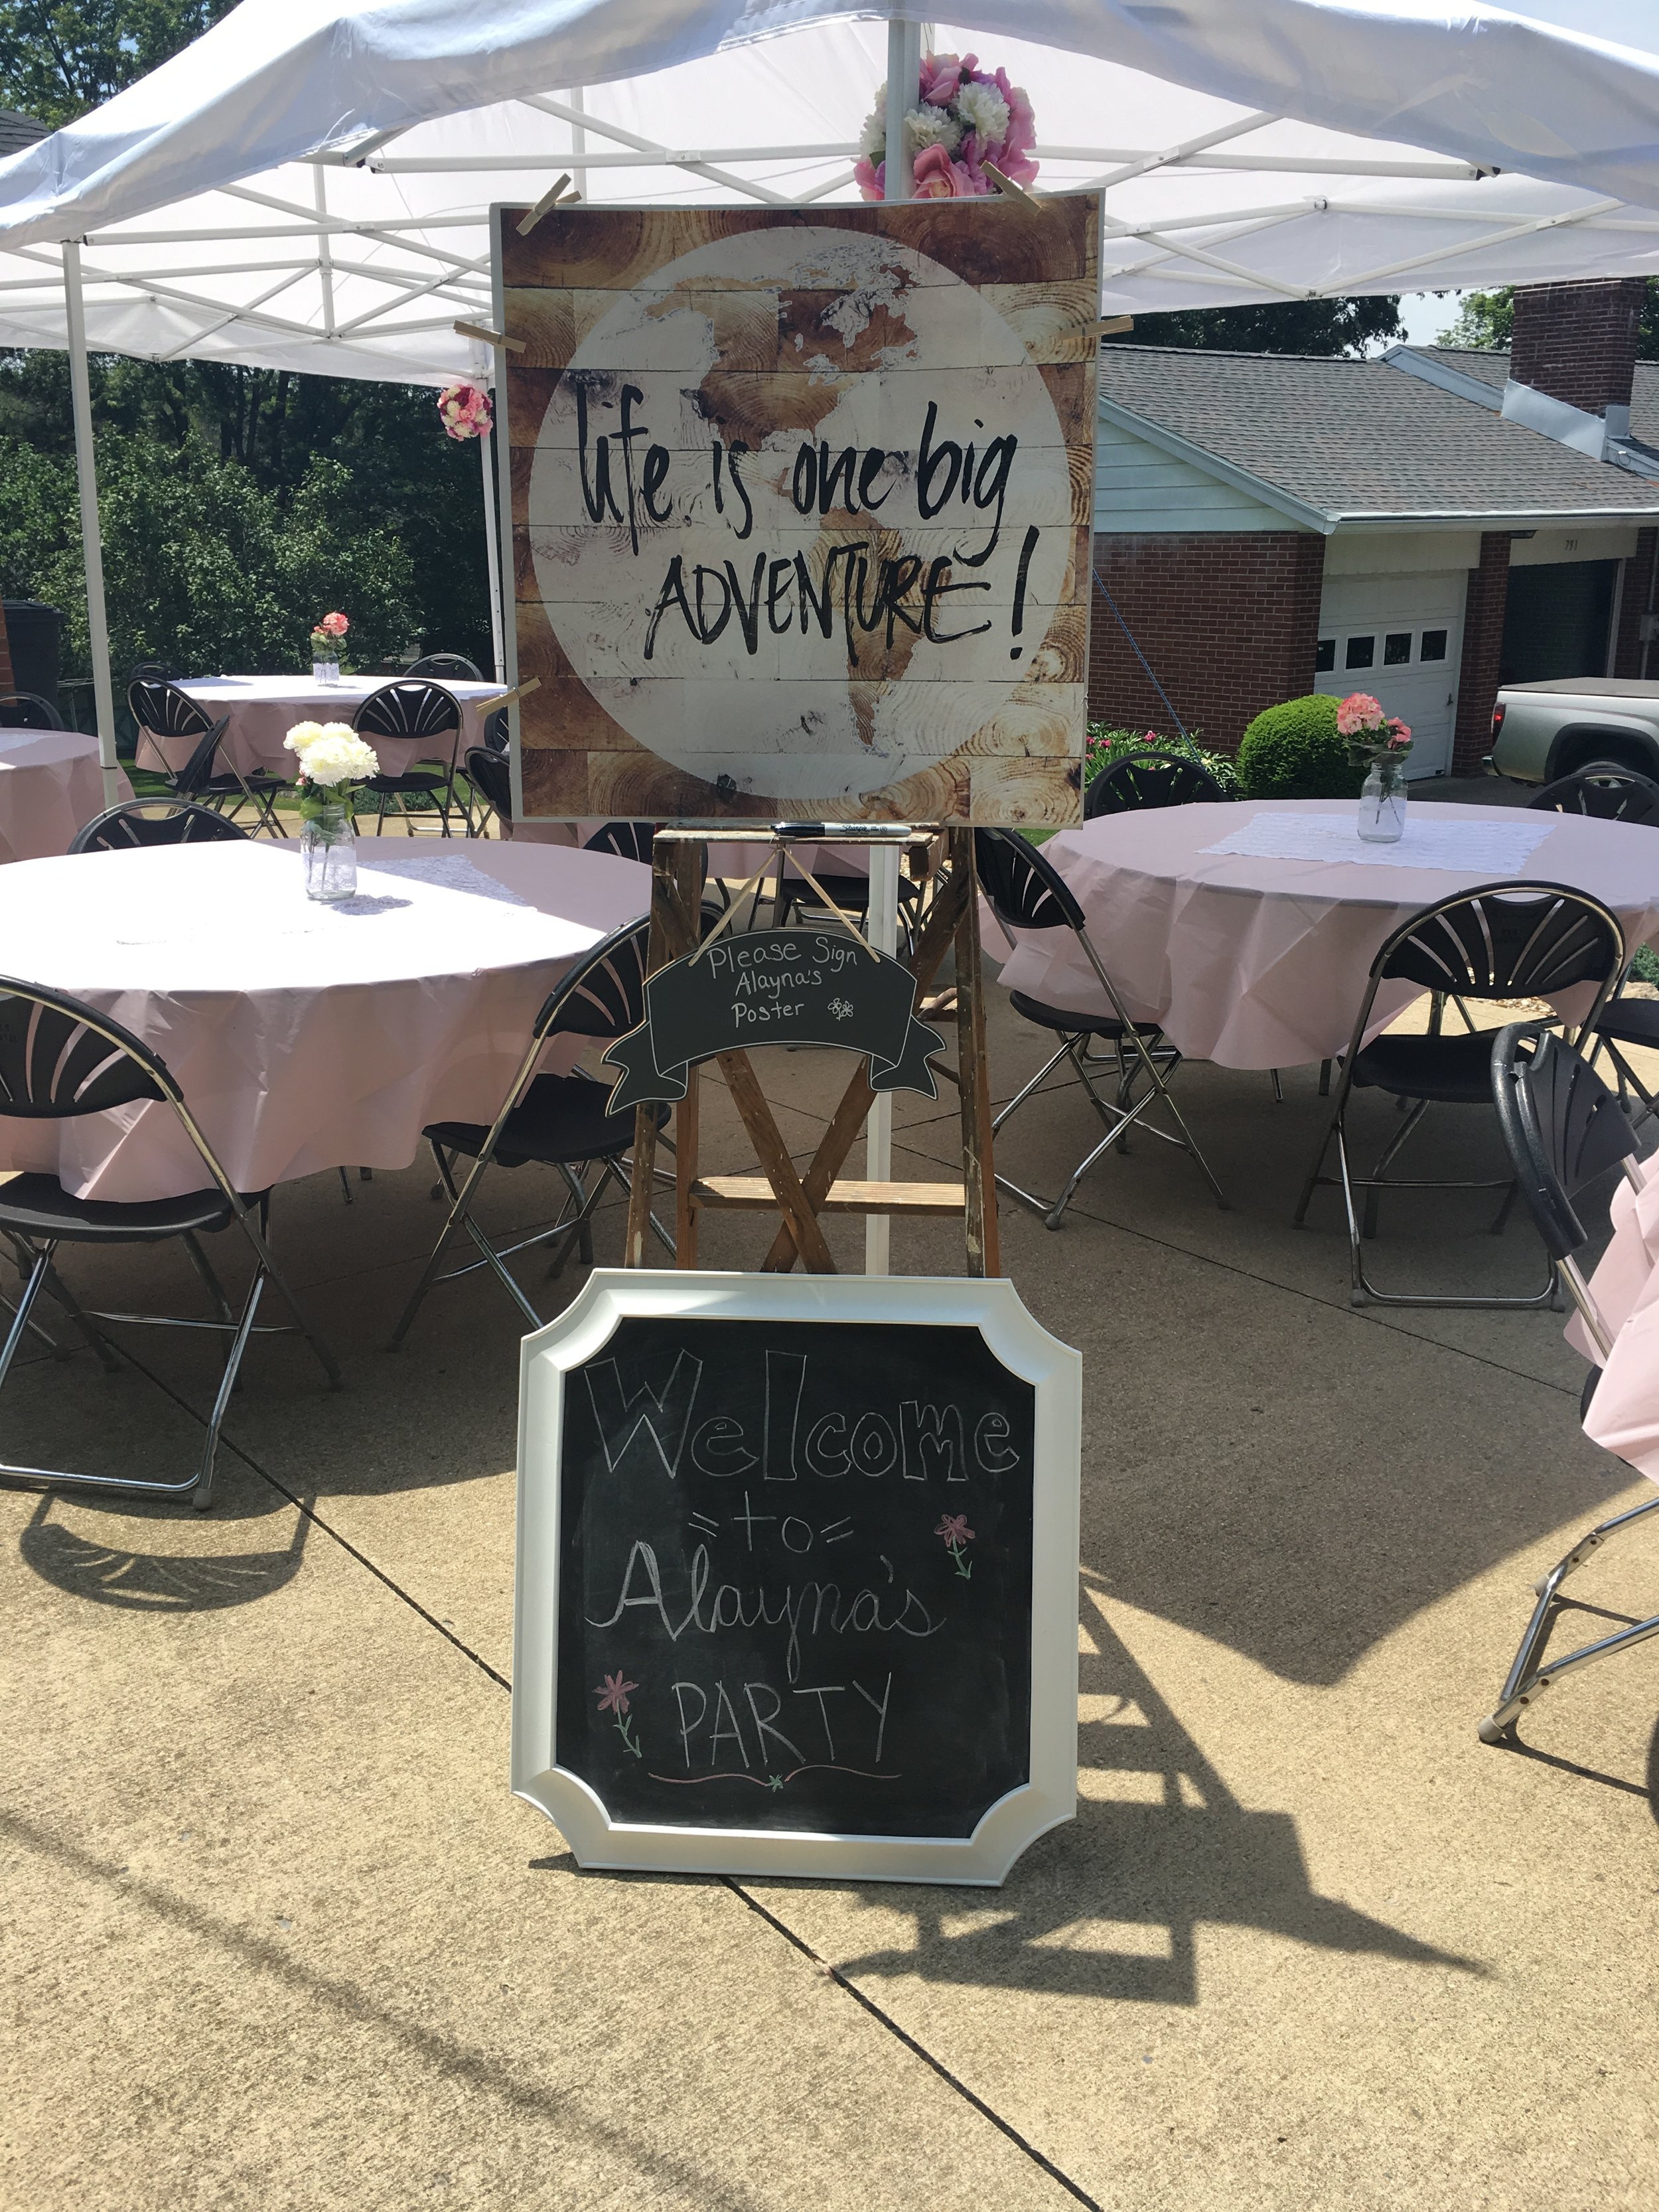
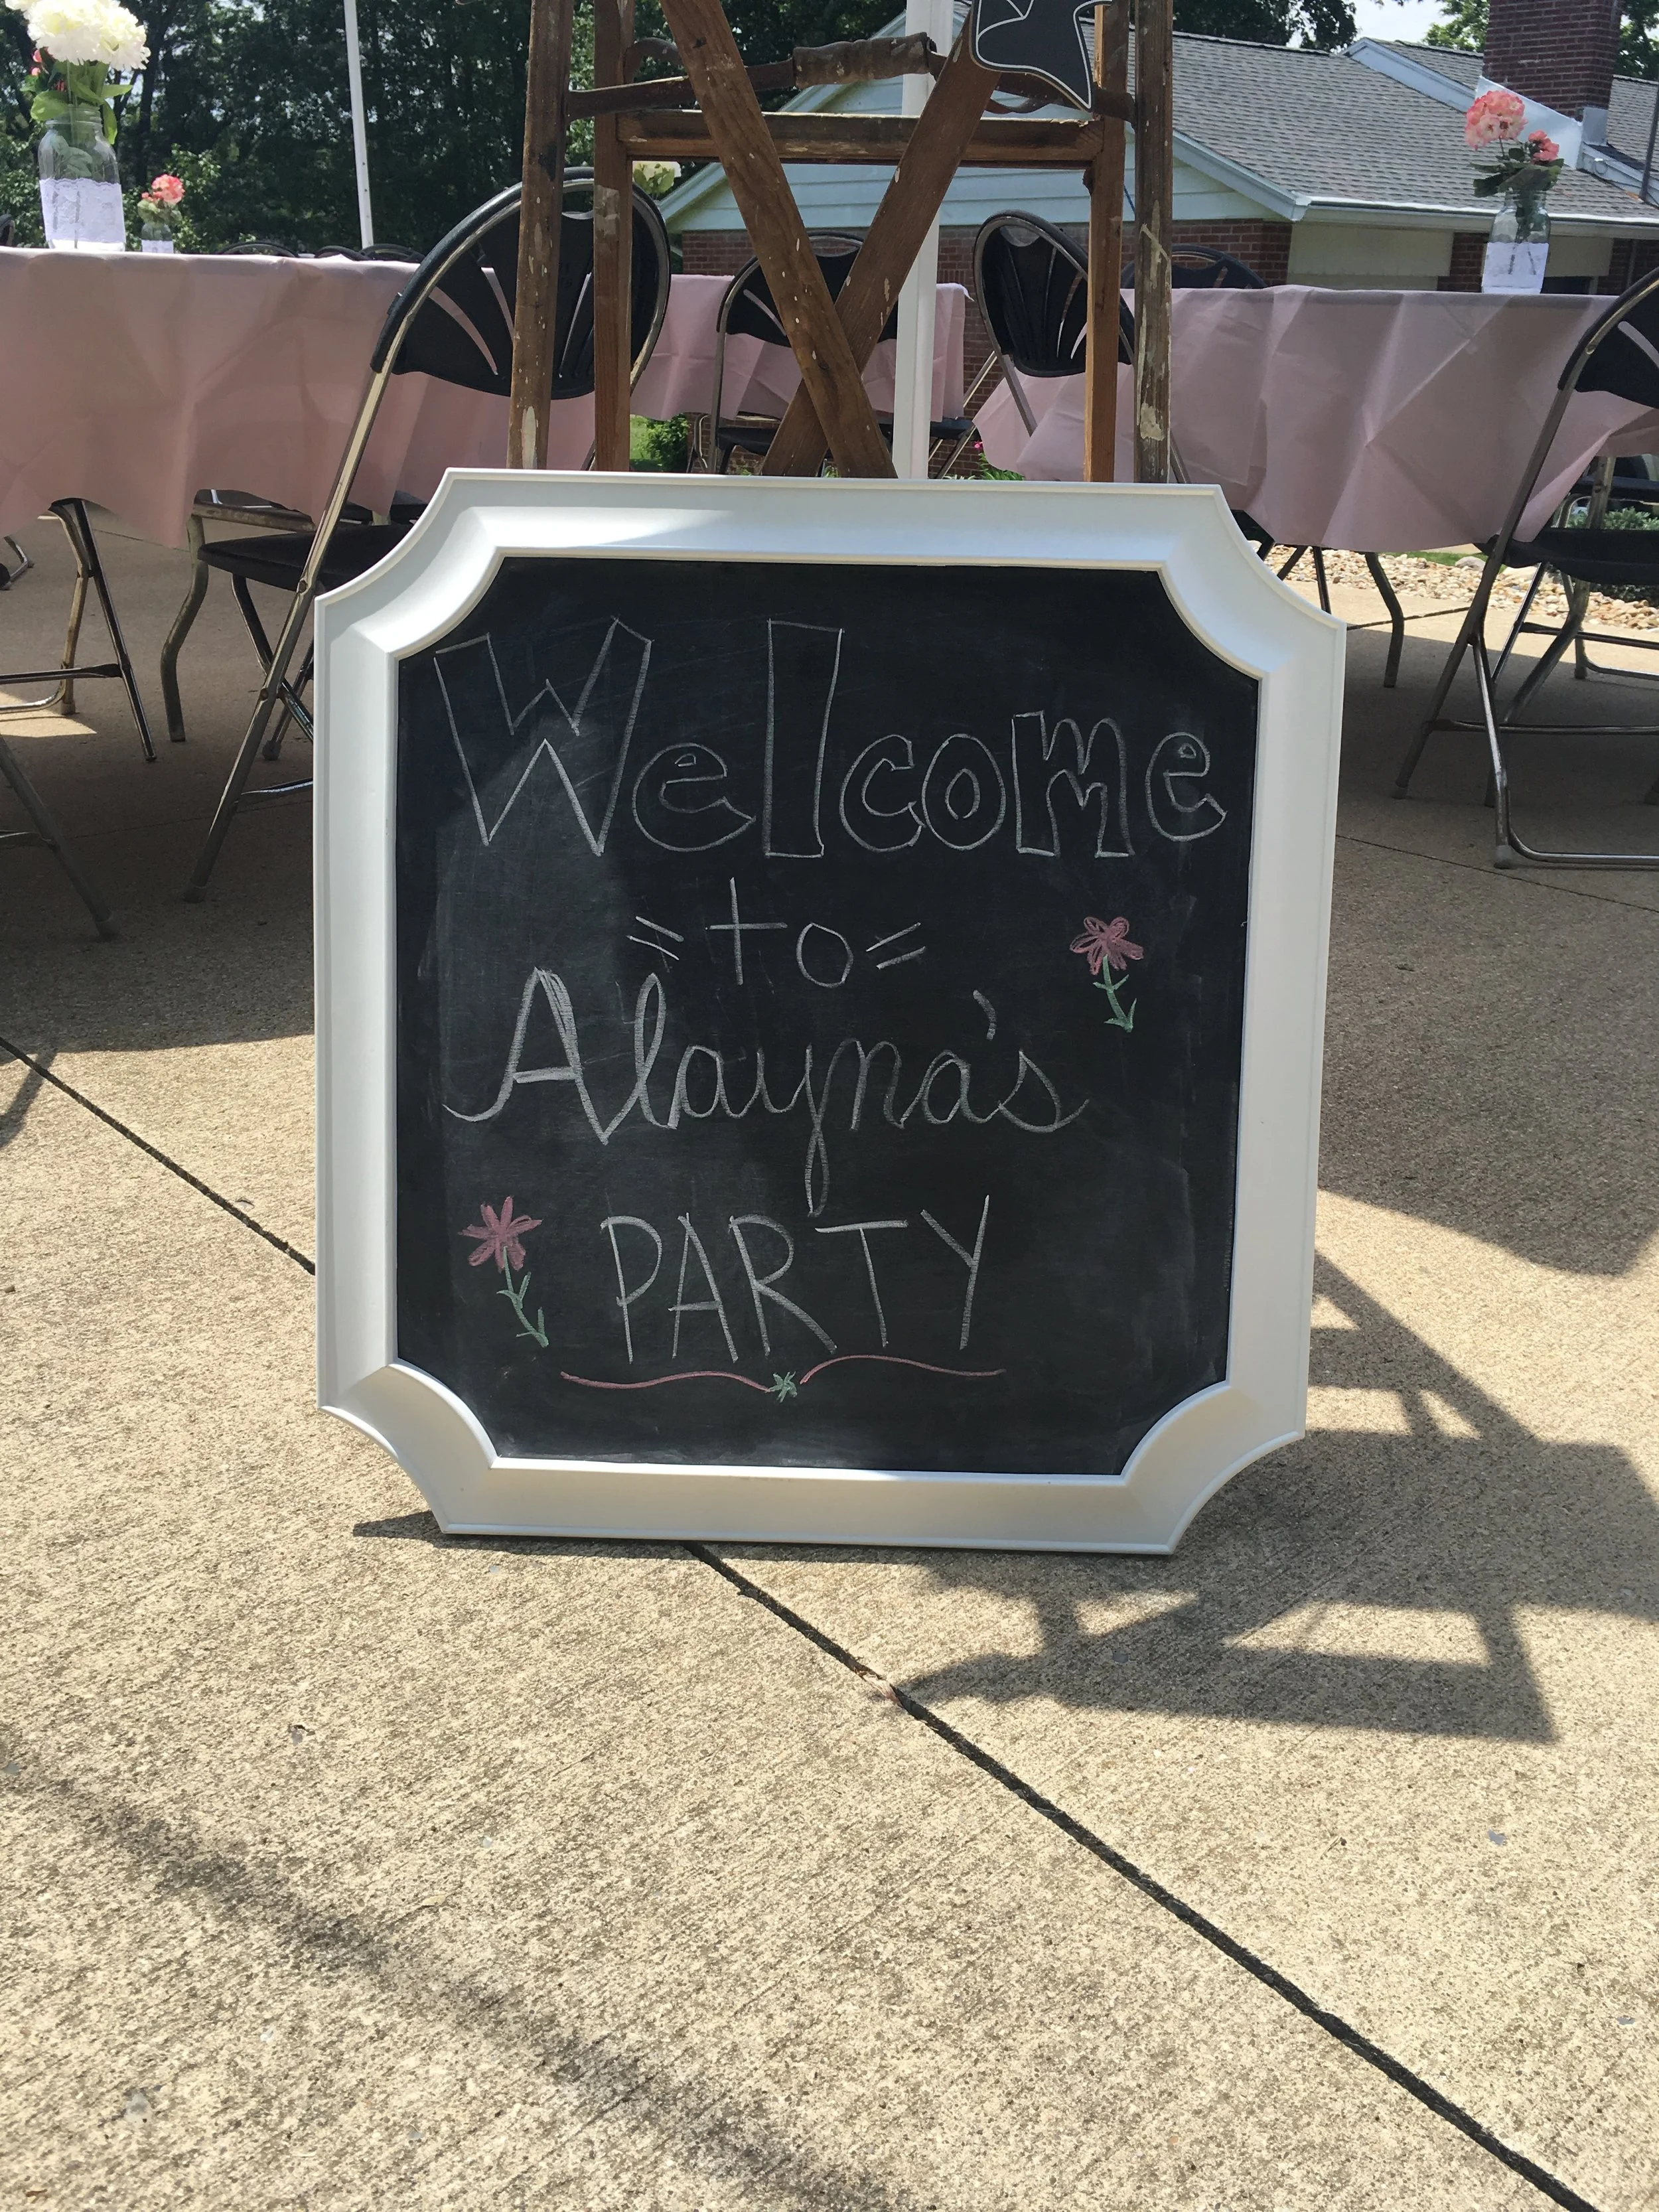
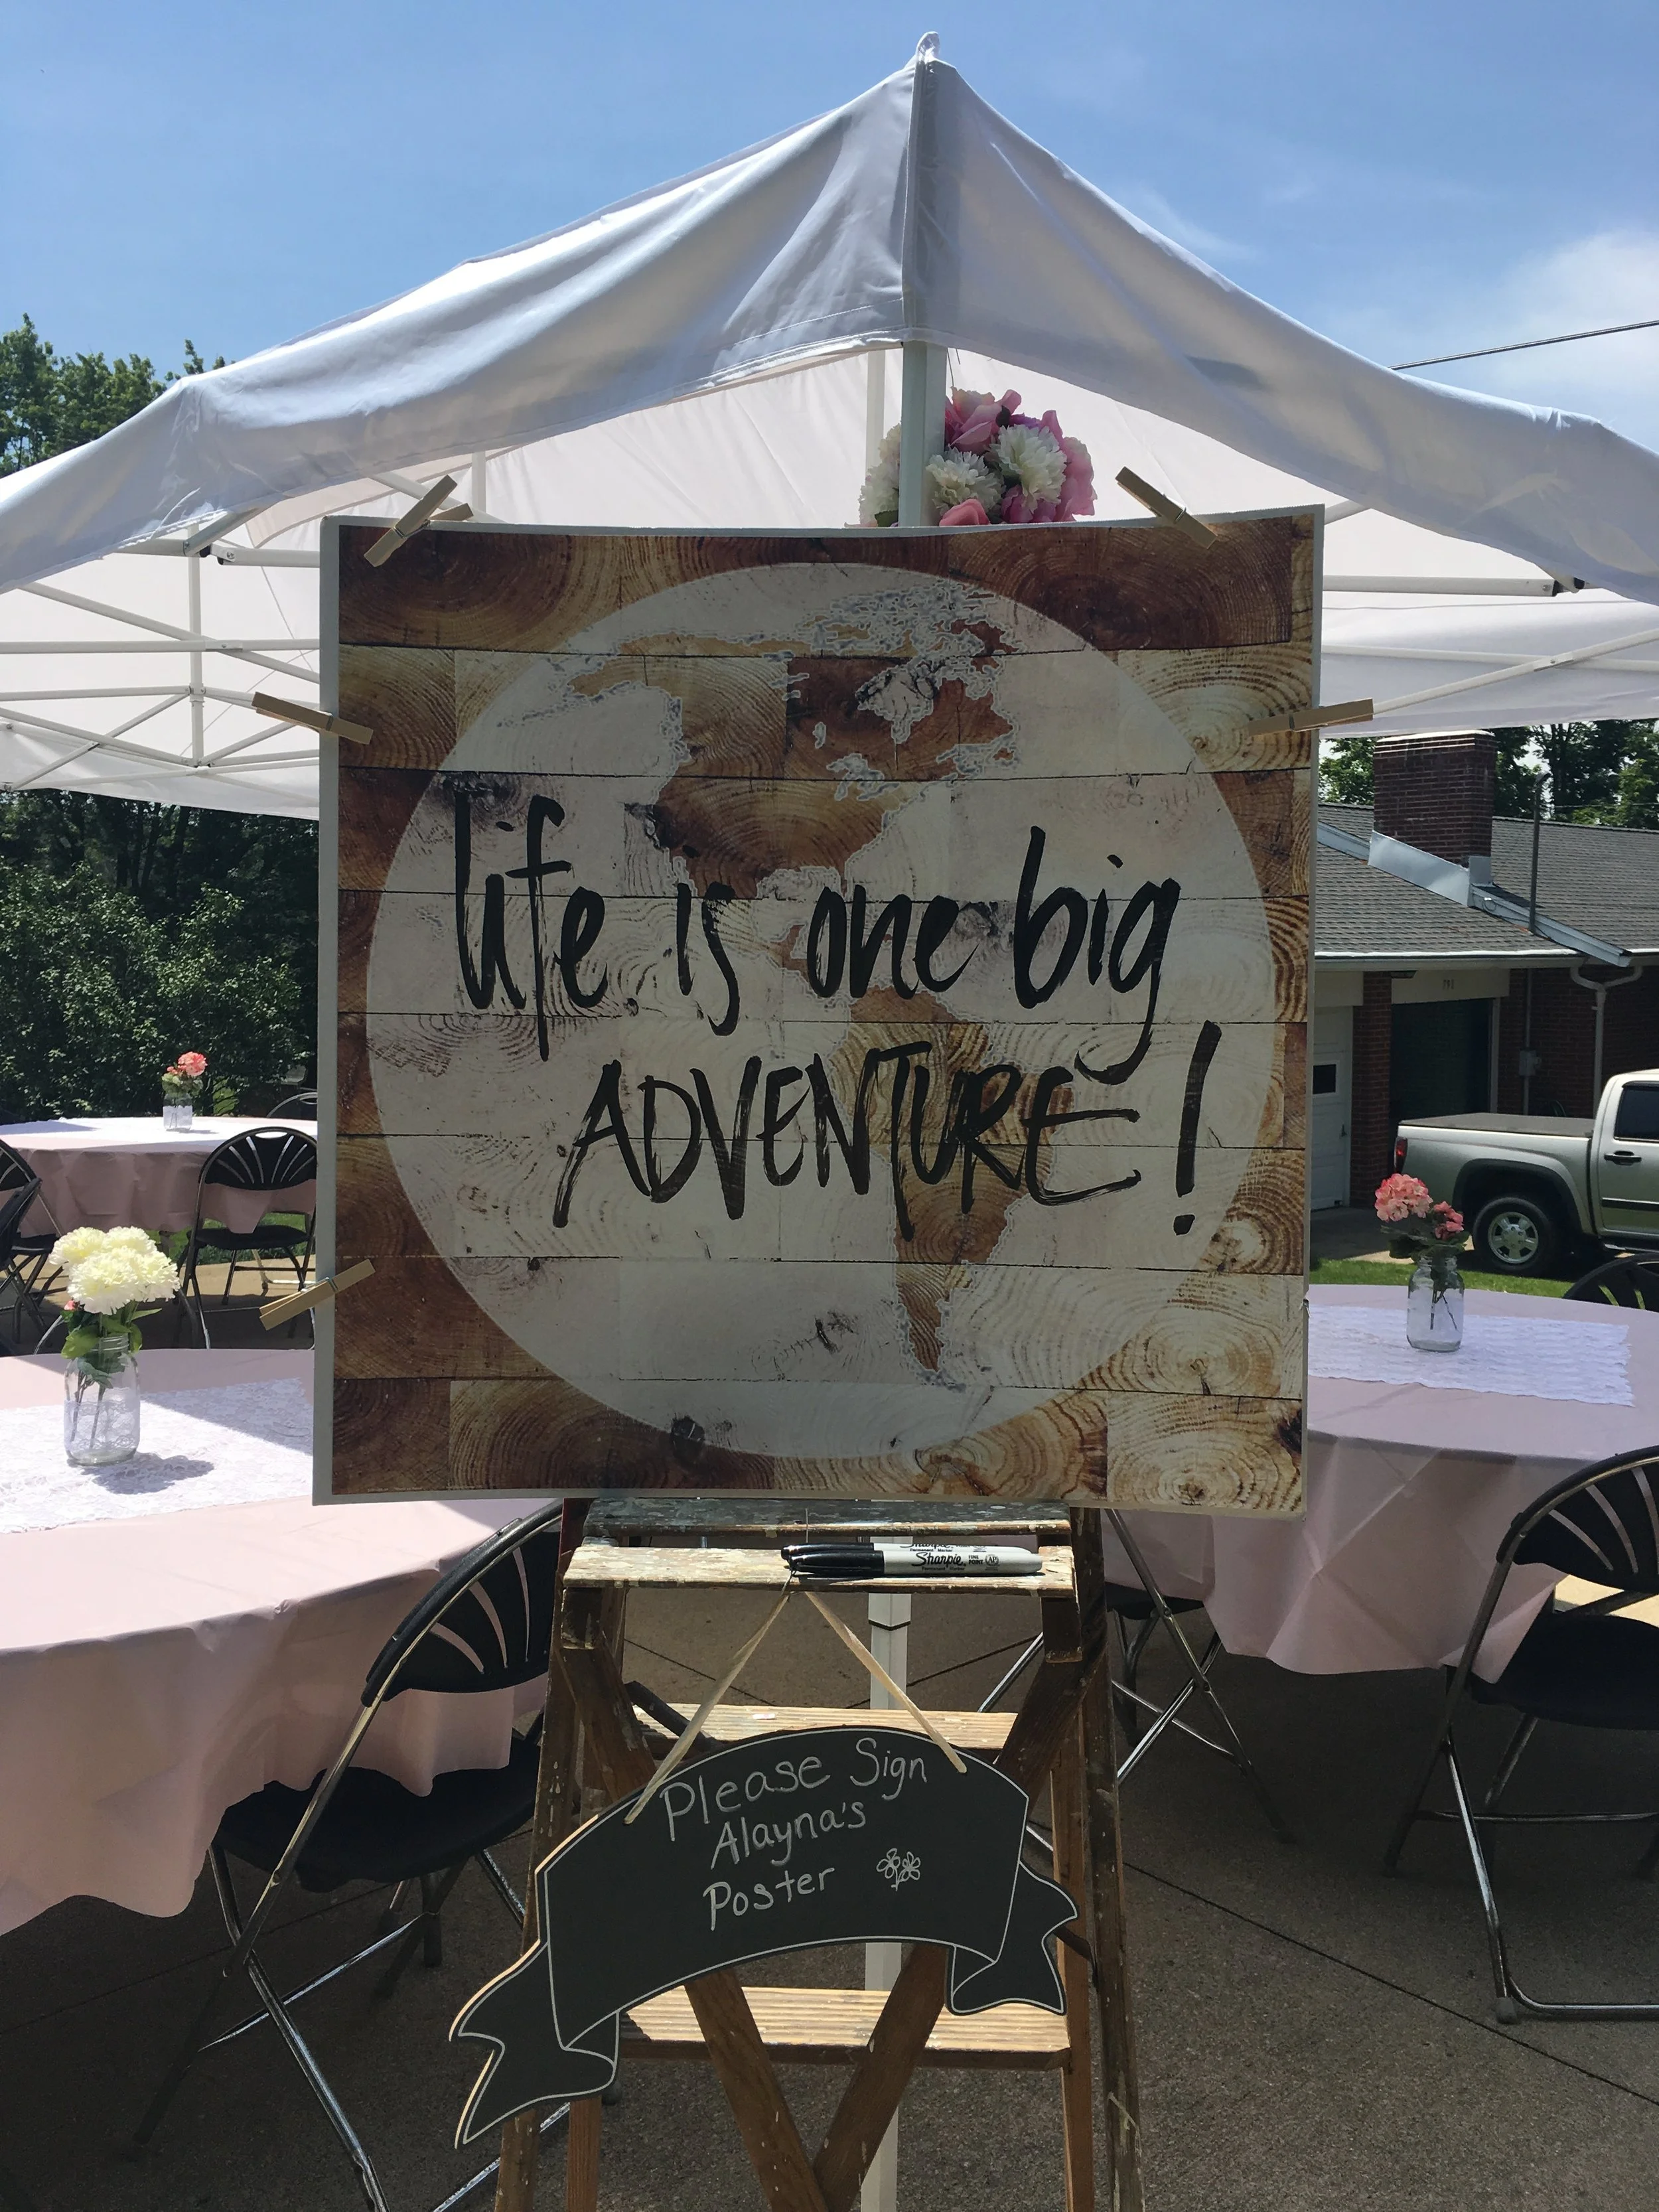
I used a chalkboard for the welcome sign at the entrance of the tent and put it next to her sign in poster. I wanted to get something for people to sign and I wanted it to be something she could hang in her dorm room. I found this poster at Hobby Lobby and it was perfect. It said "life is one big adventure" which is perfect for a graduate. We displayed the poster on a wooden ladder which tied in perfectly to our theme. 

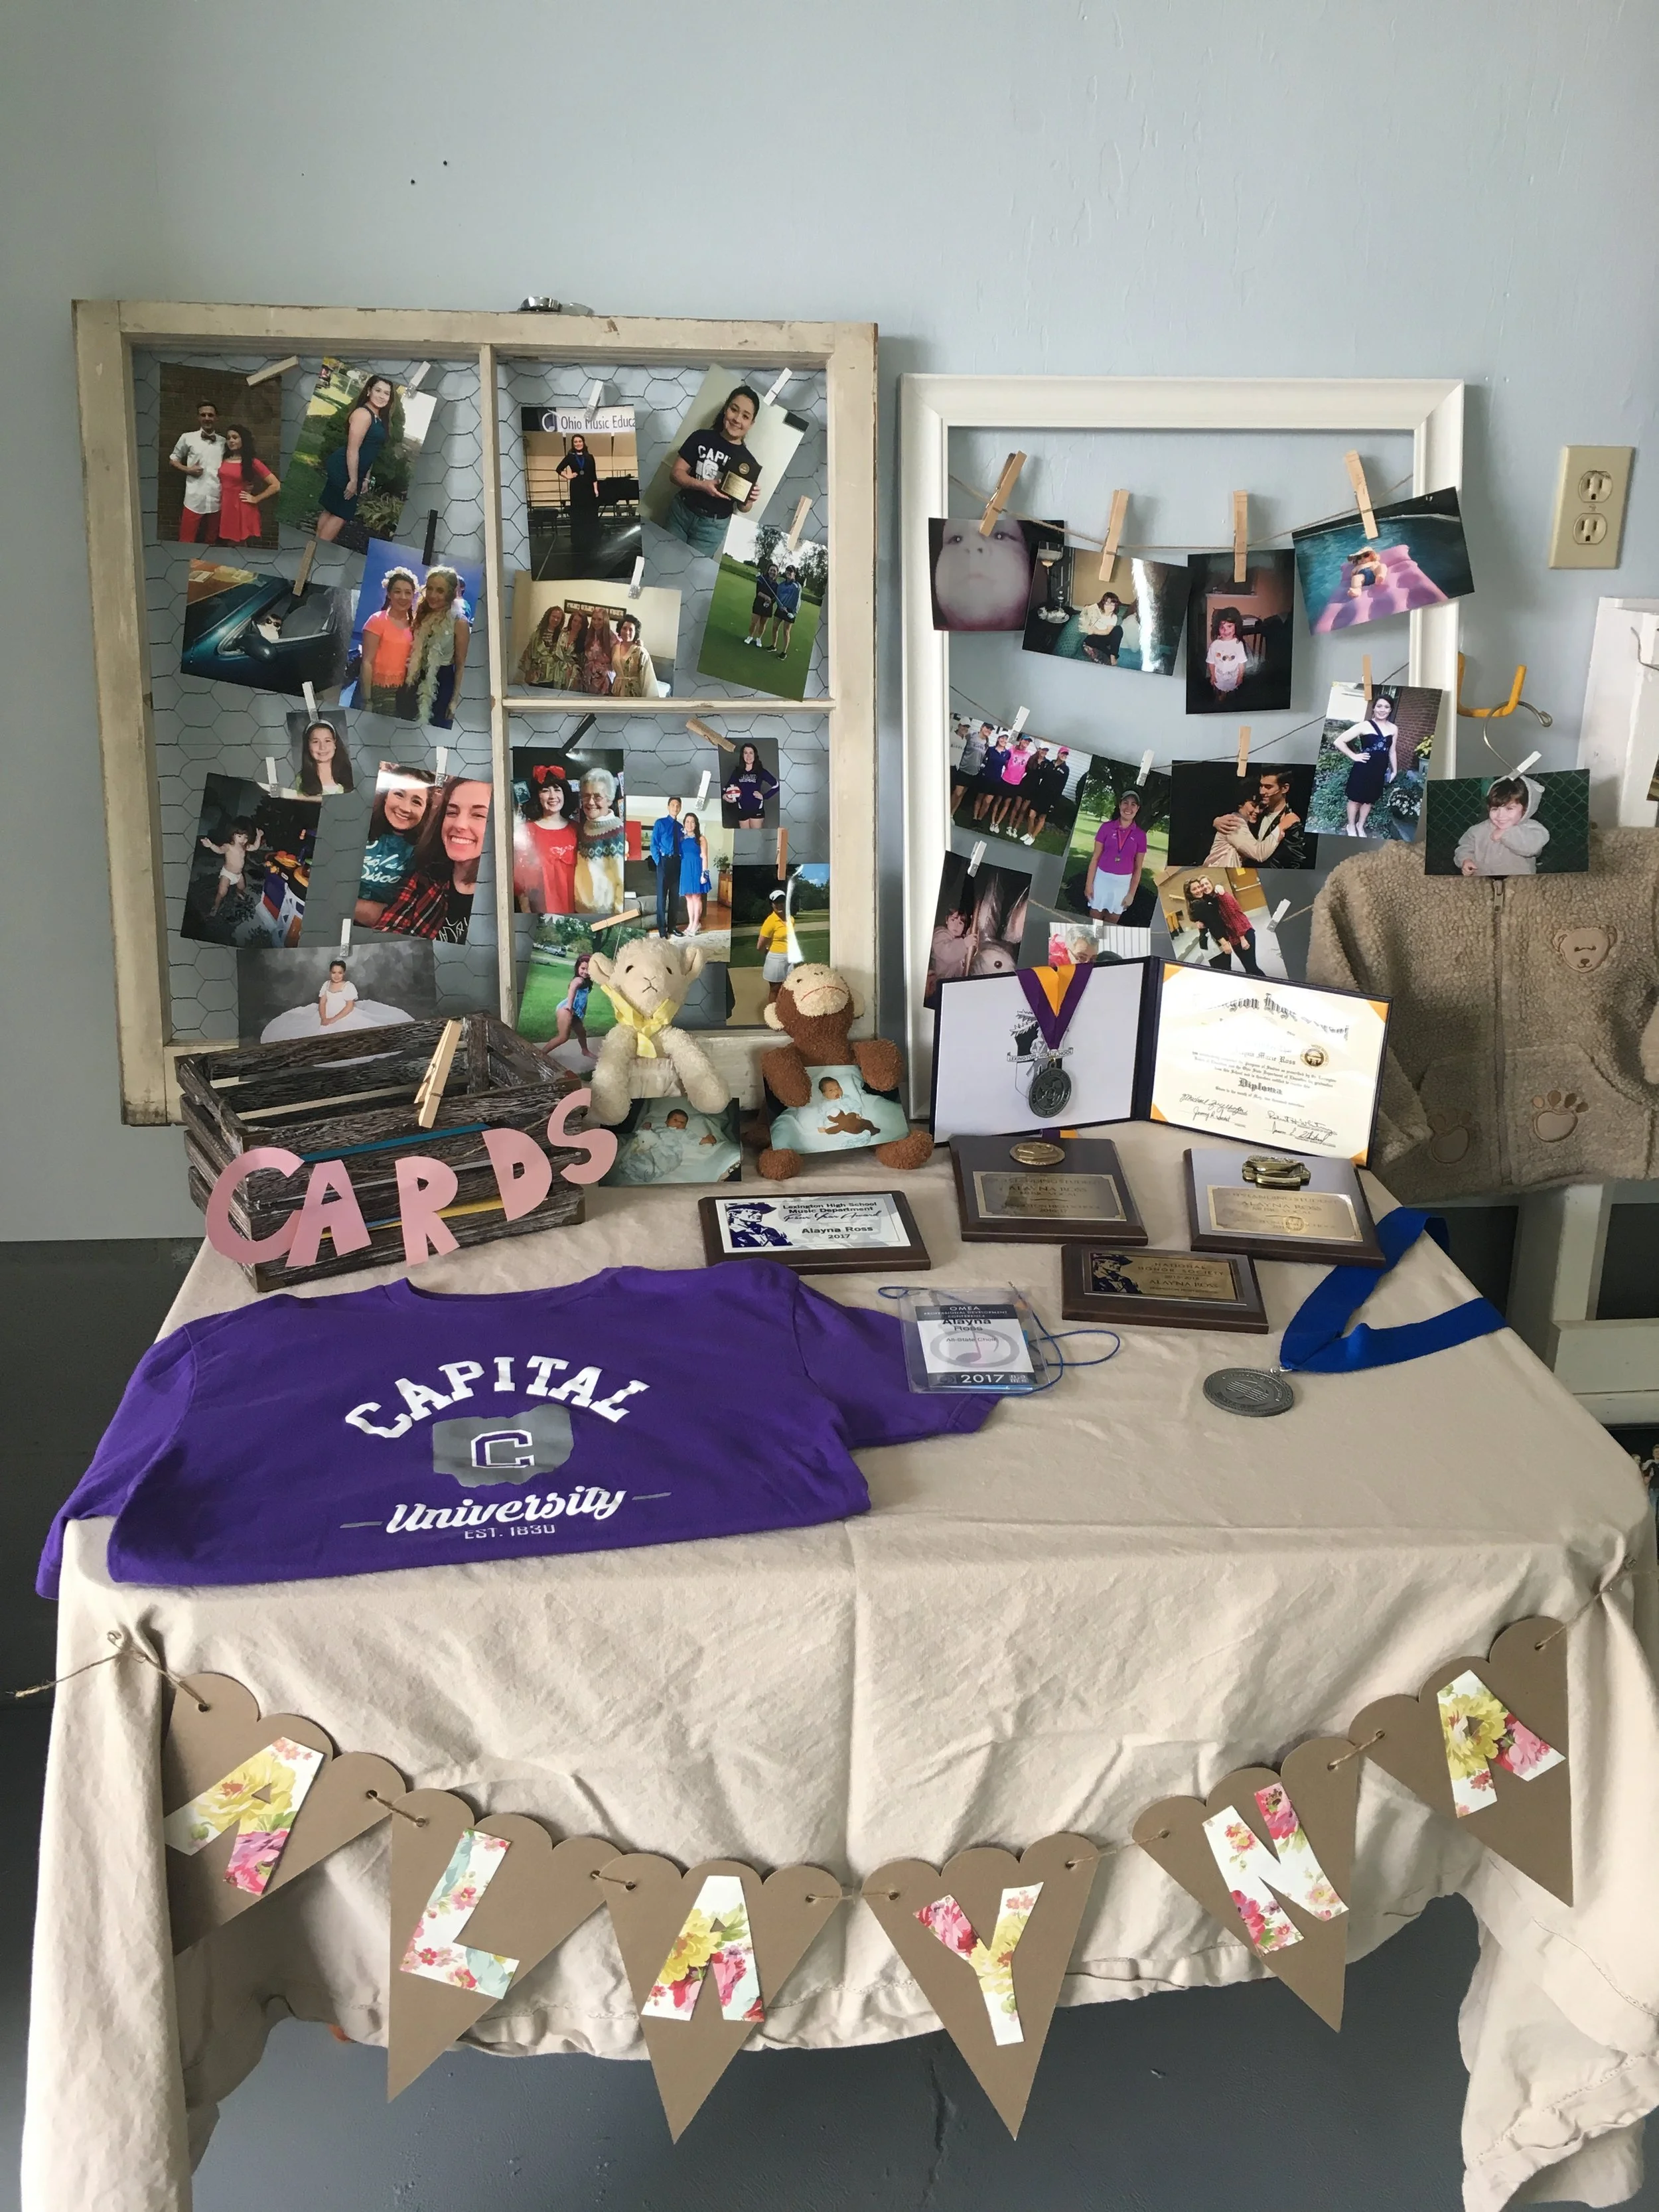
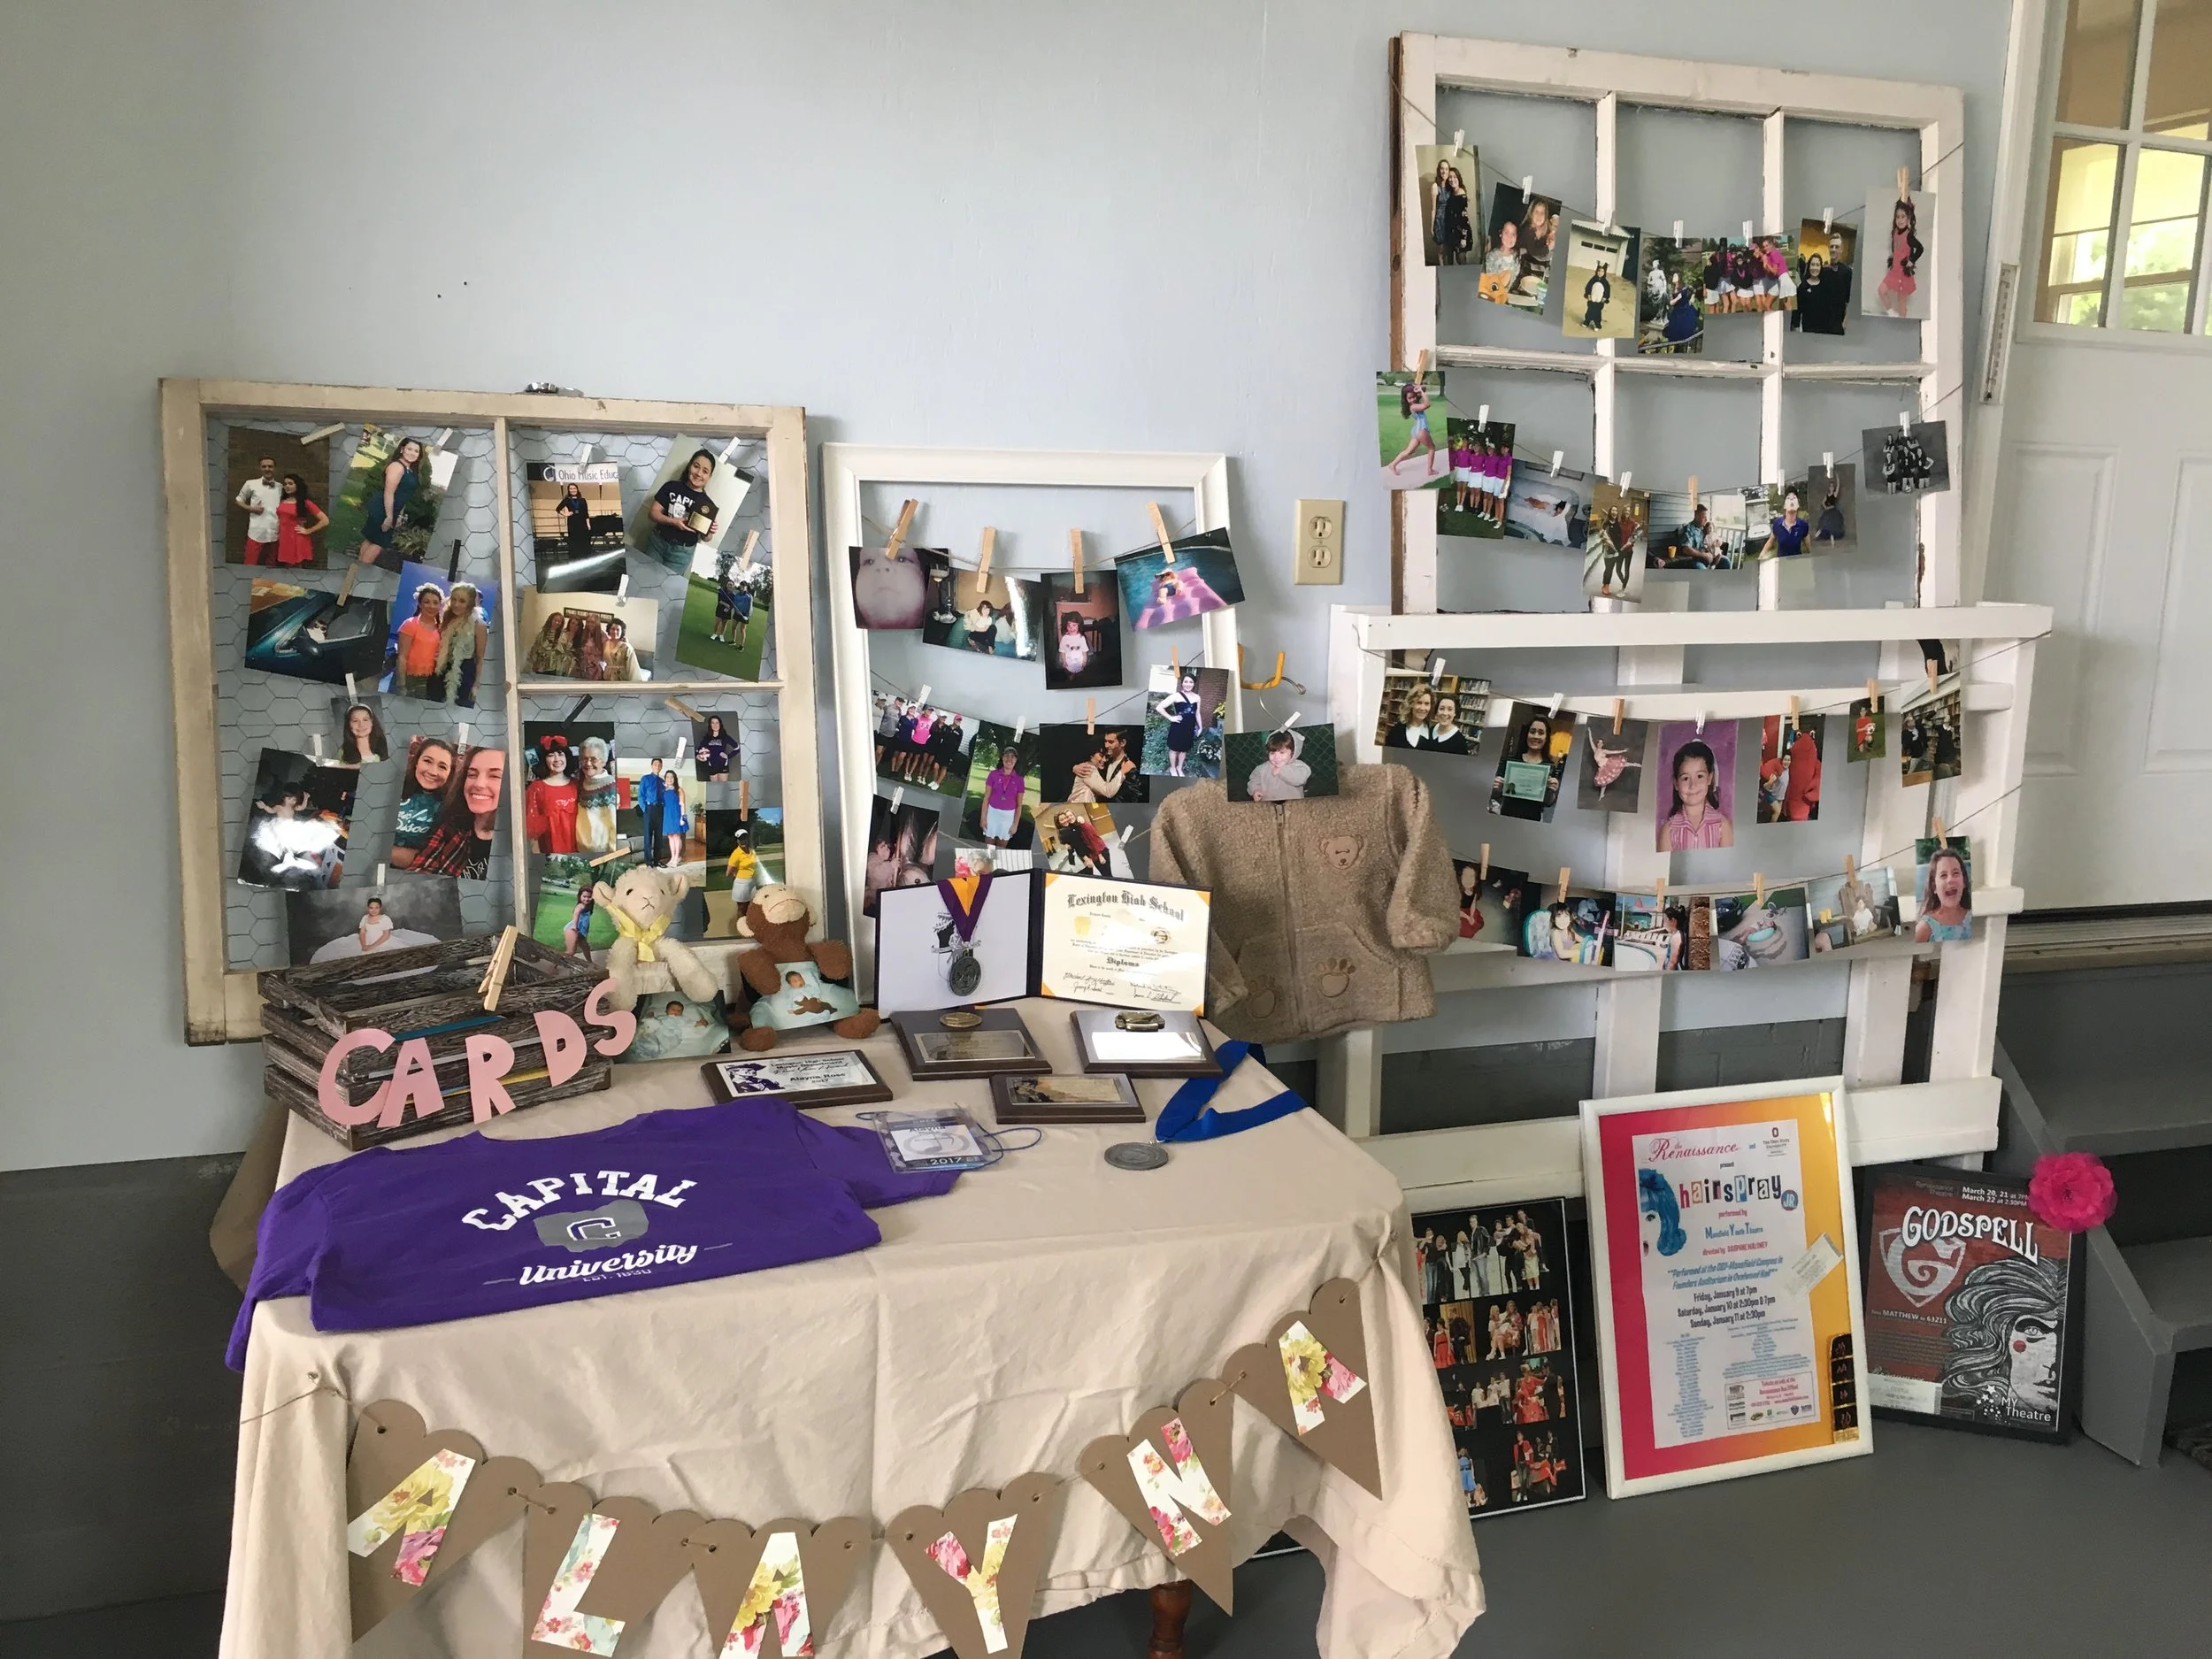
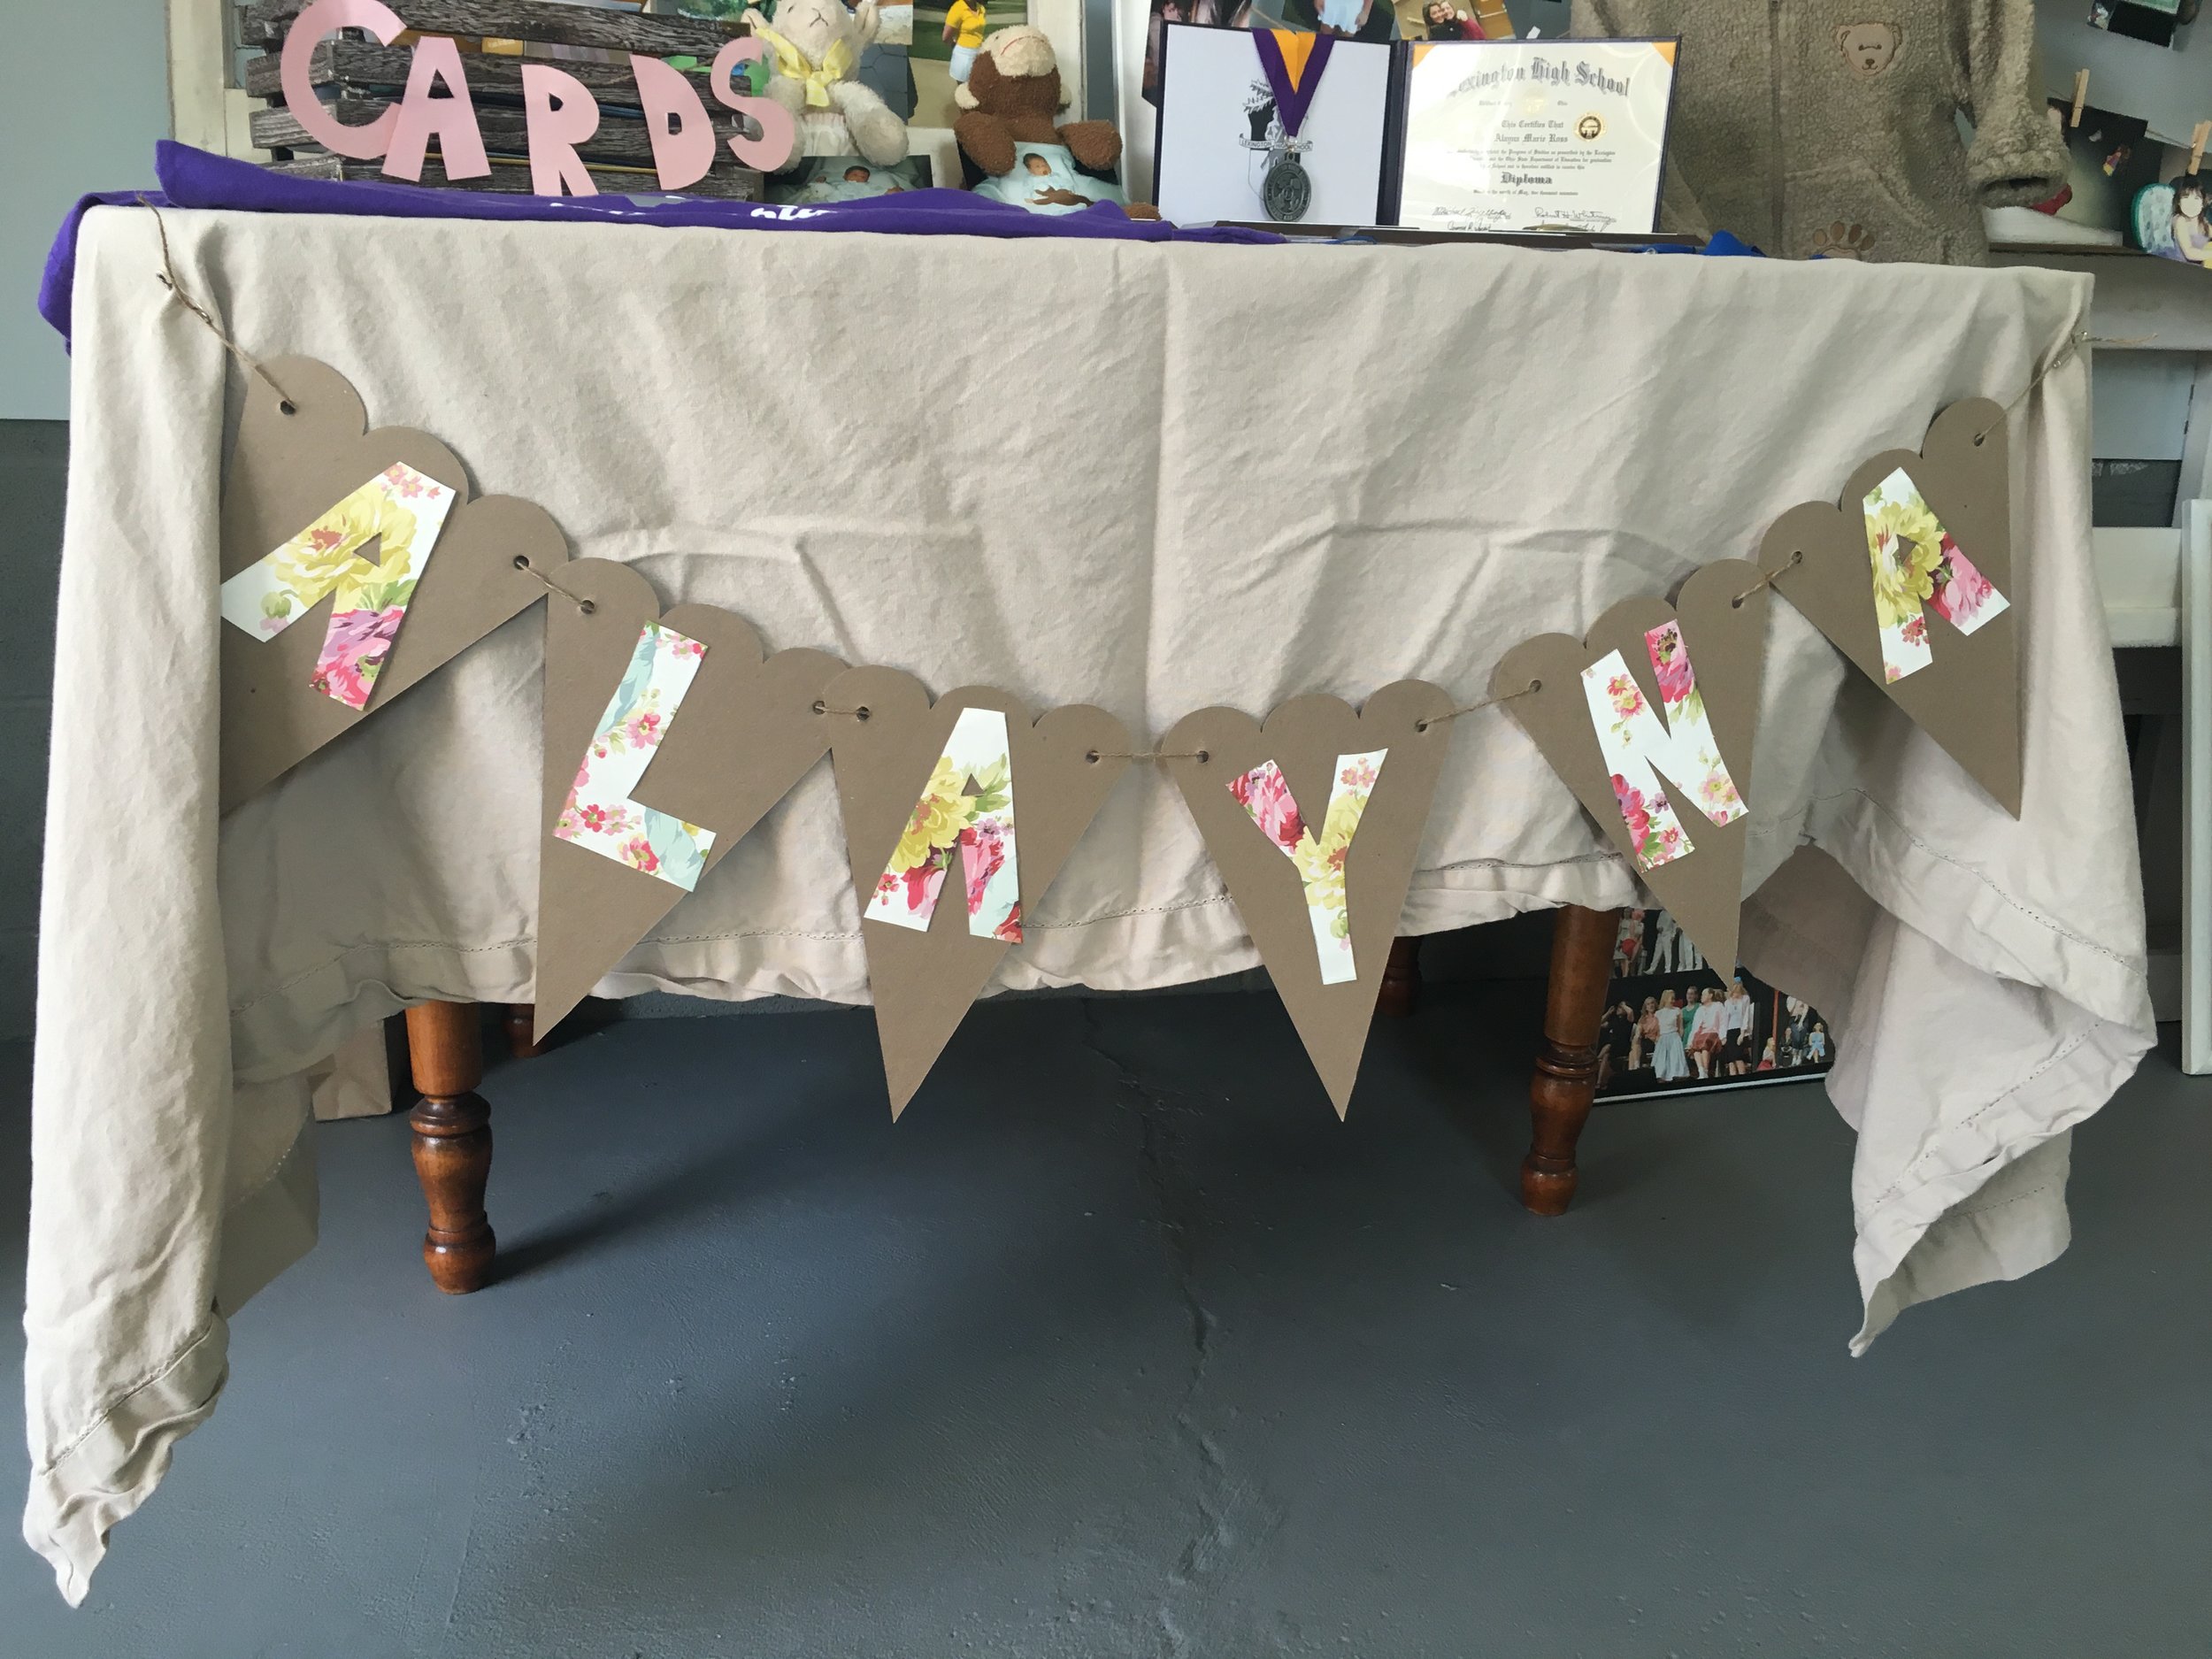
In the garage I set up the picture display and used old windows and other rustic displays. On the picture table she also had her awards and her Capital University tee shirt. I used a wooden crate for her cards and hung a banner with her name on the front of the table. 


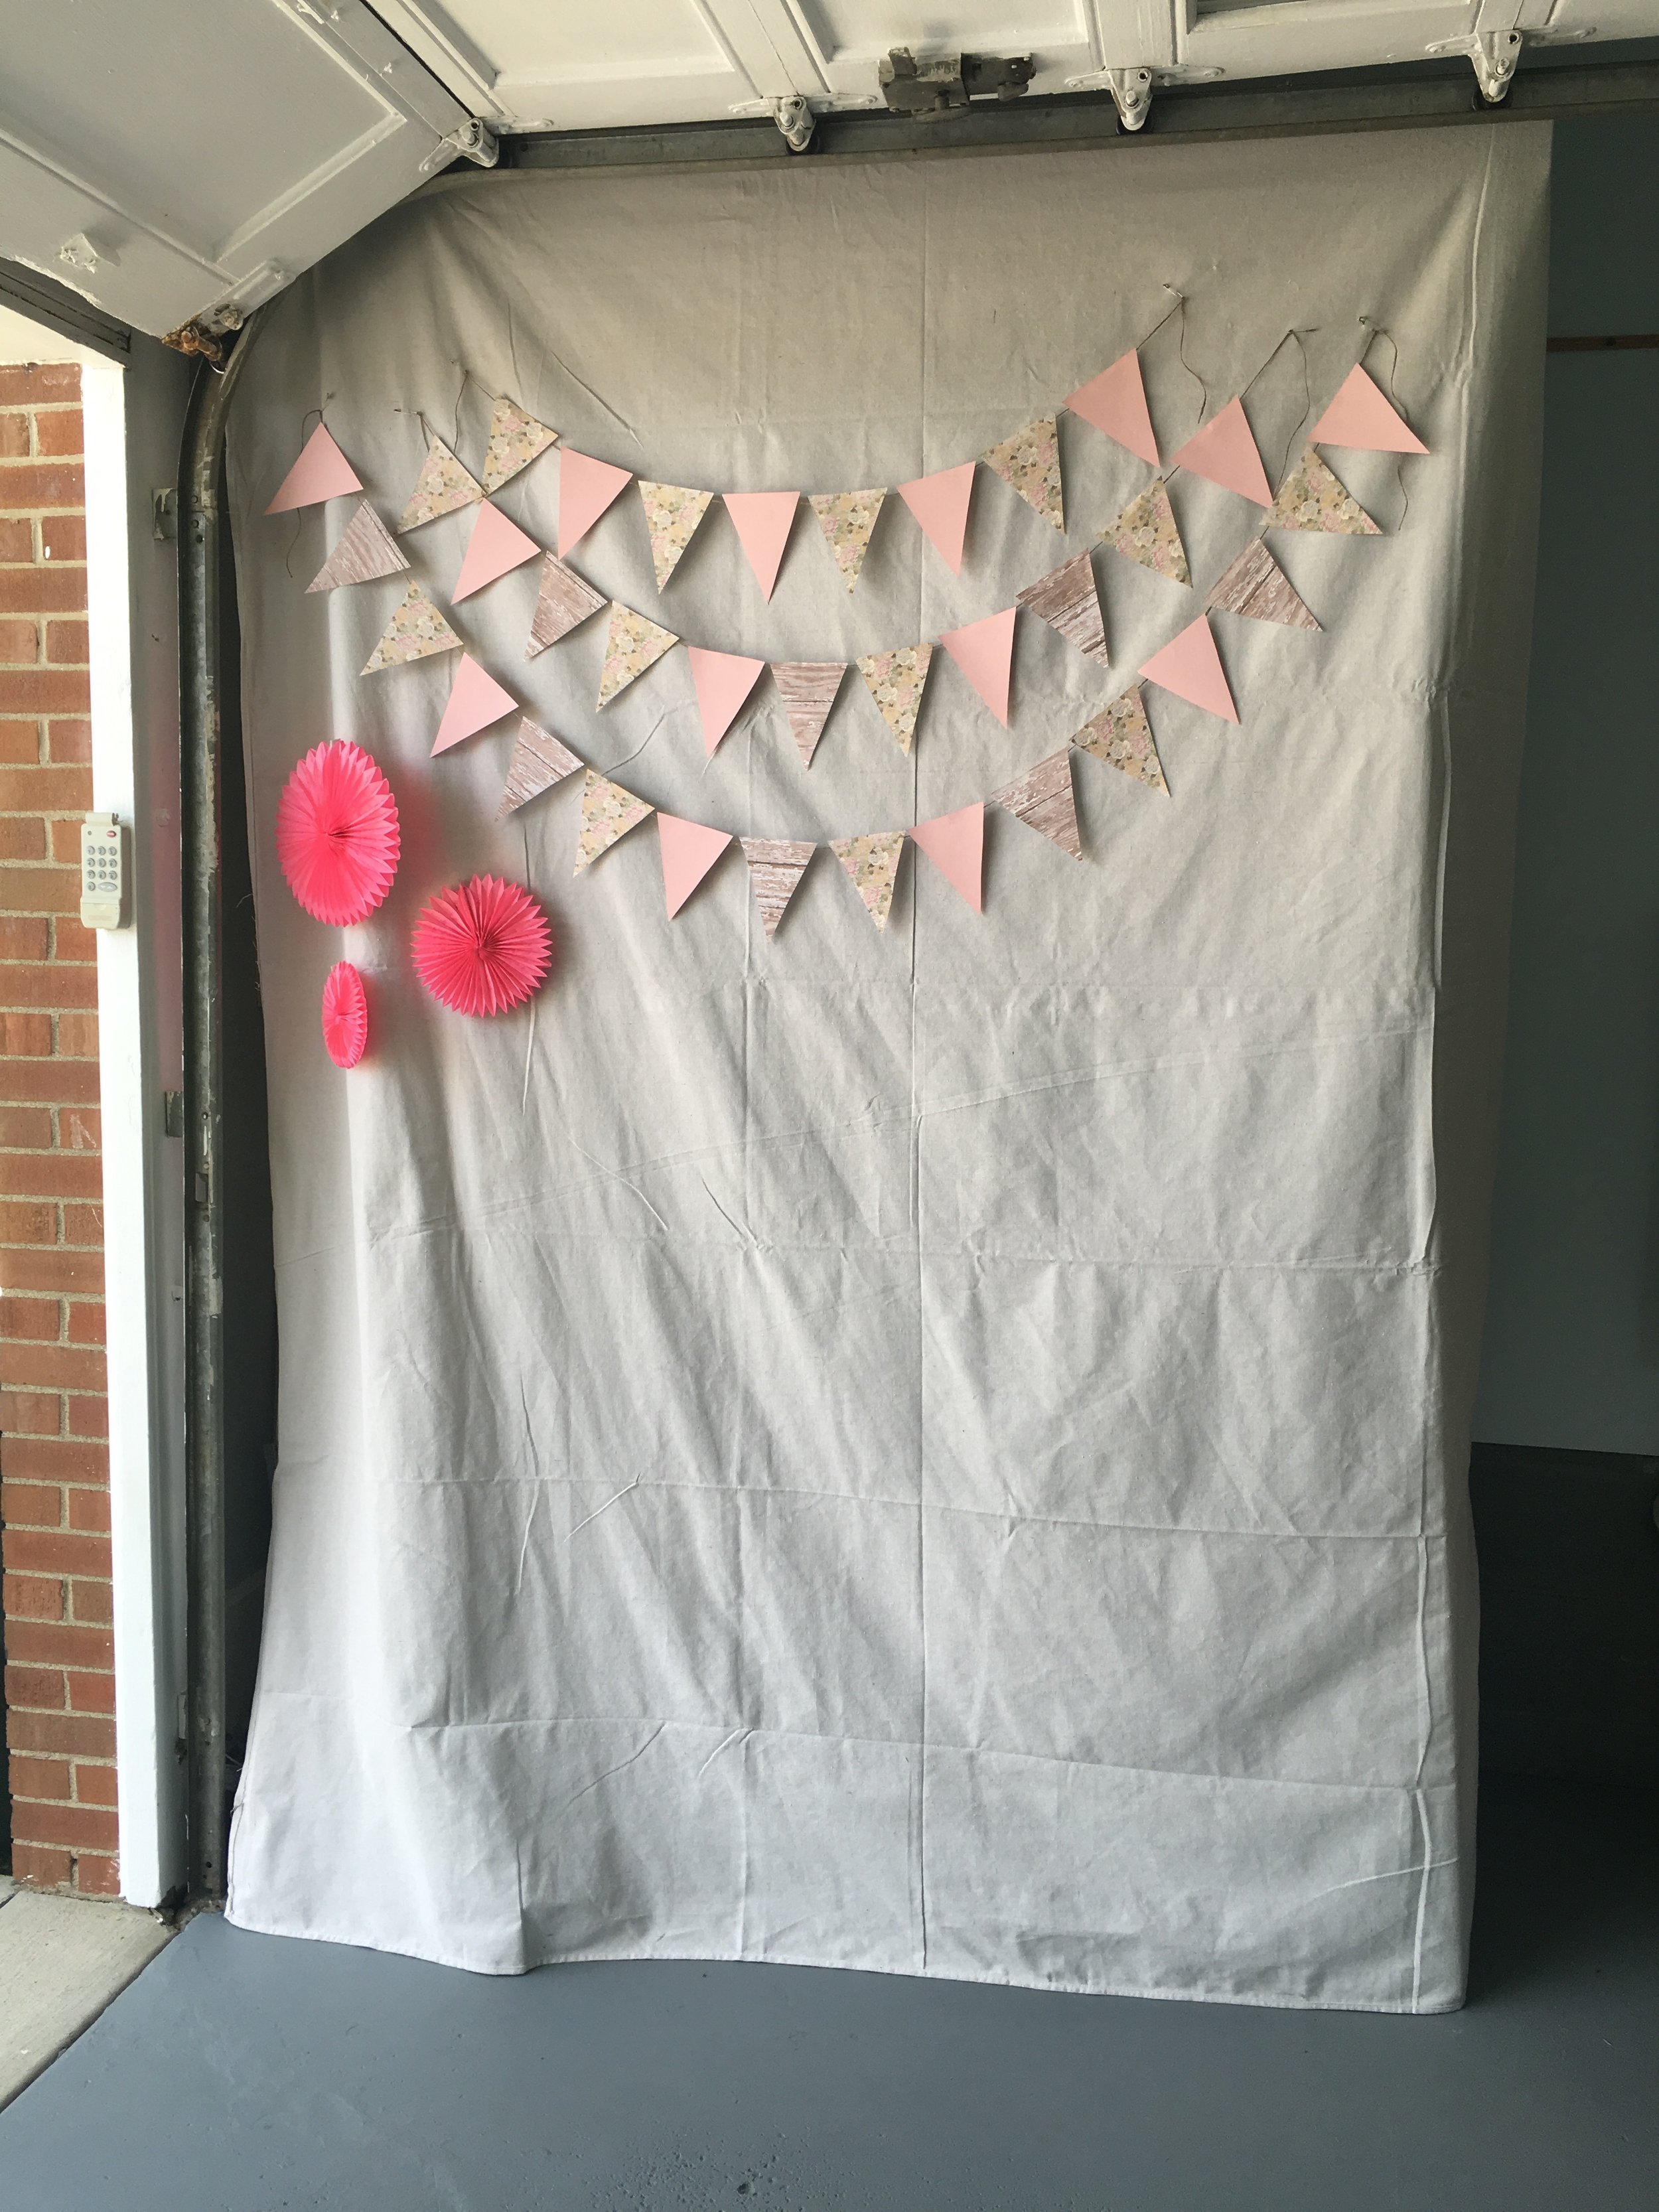
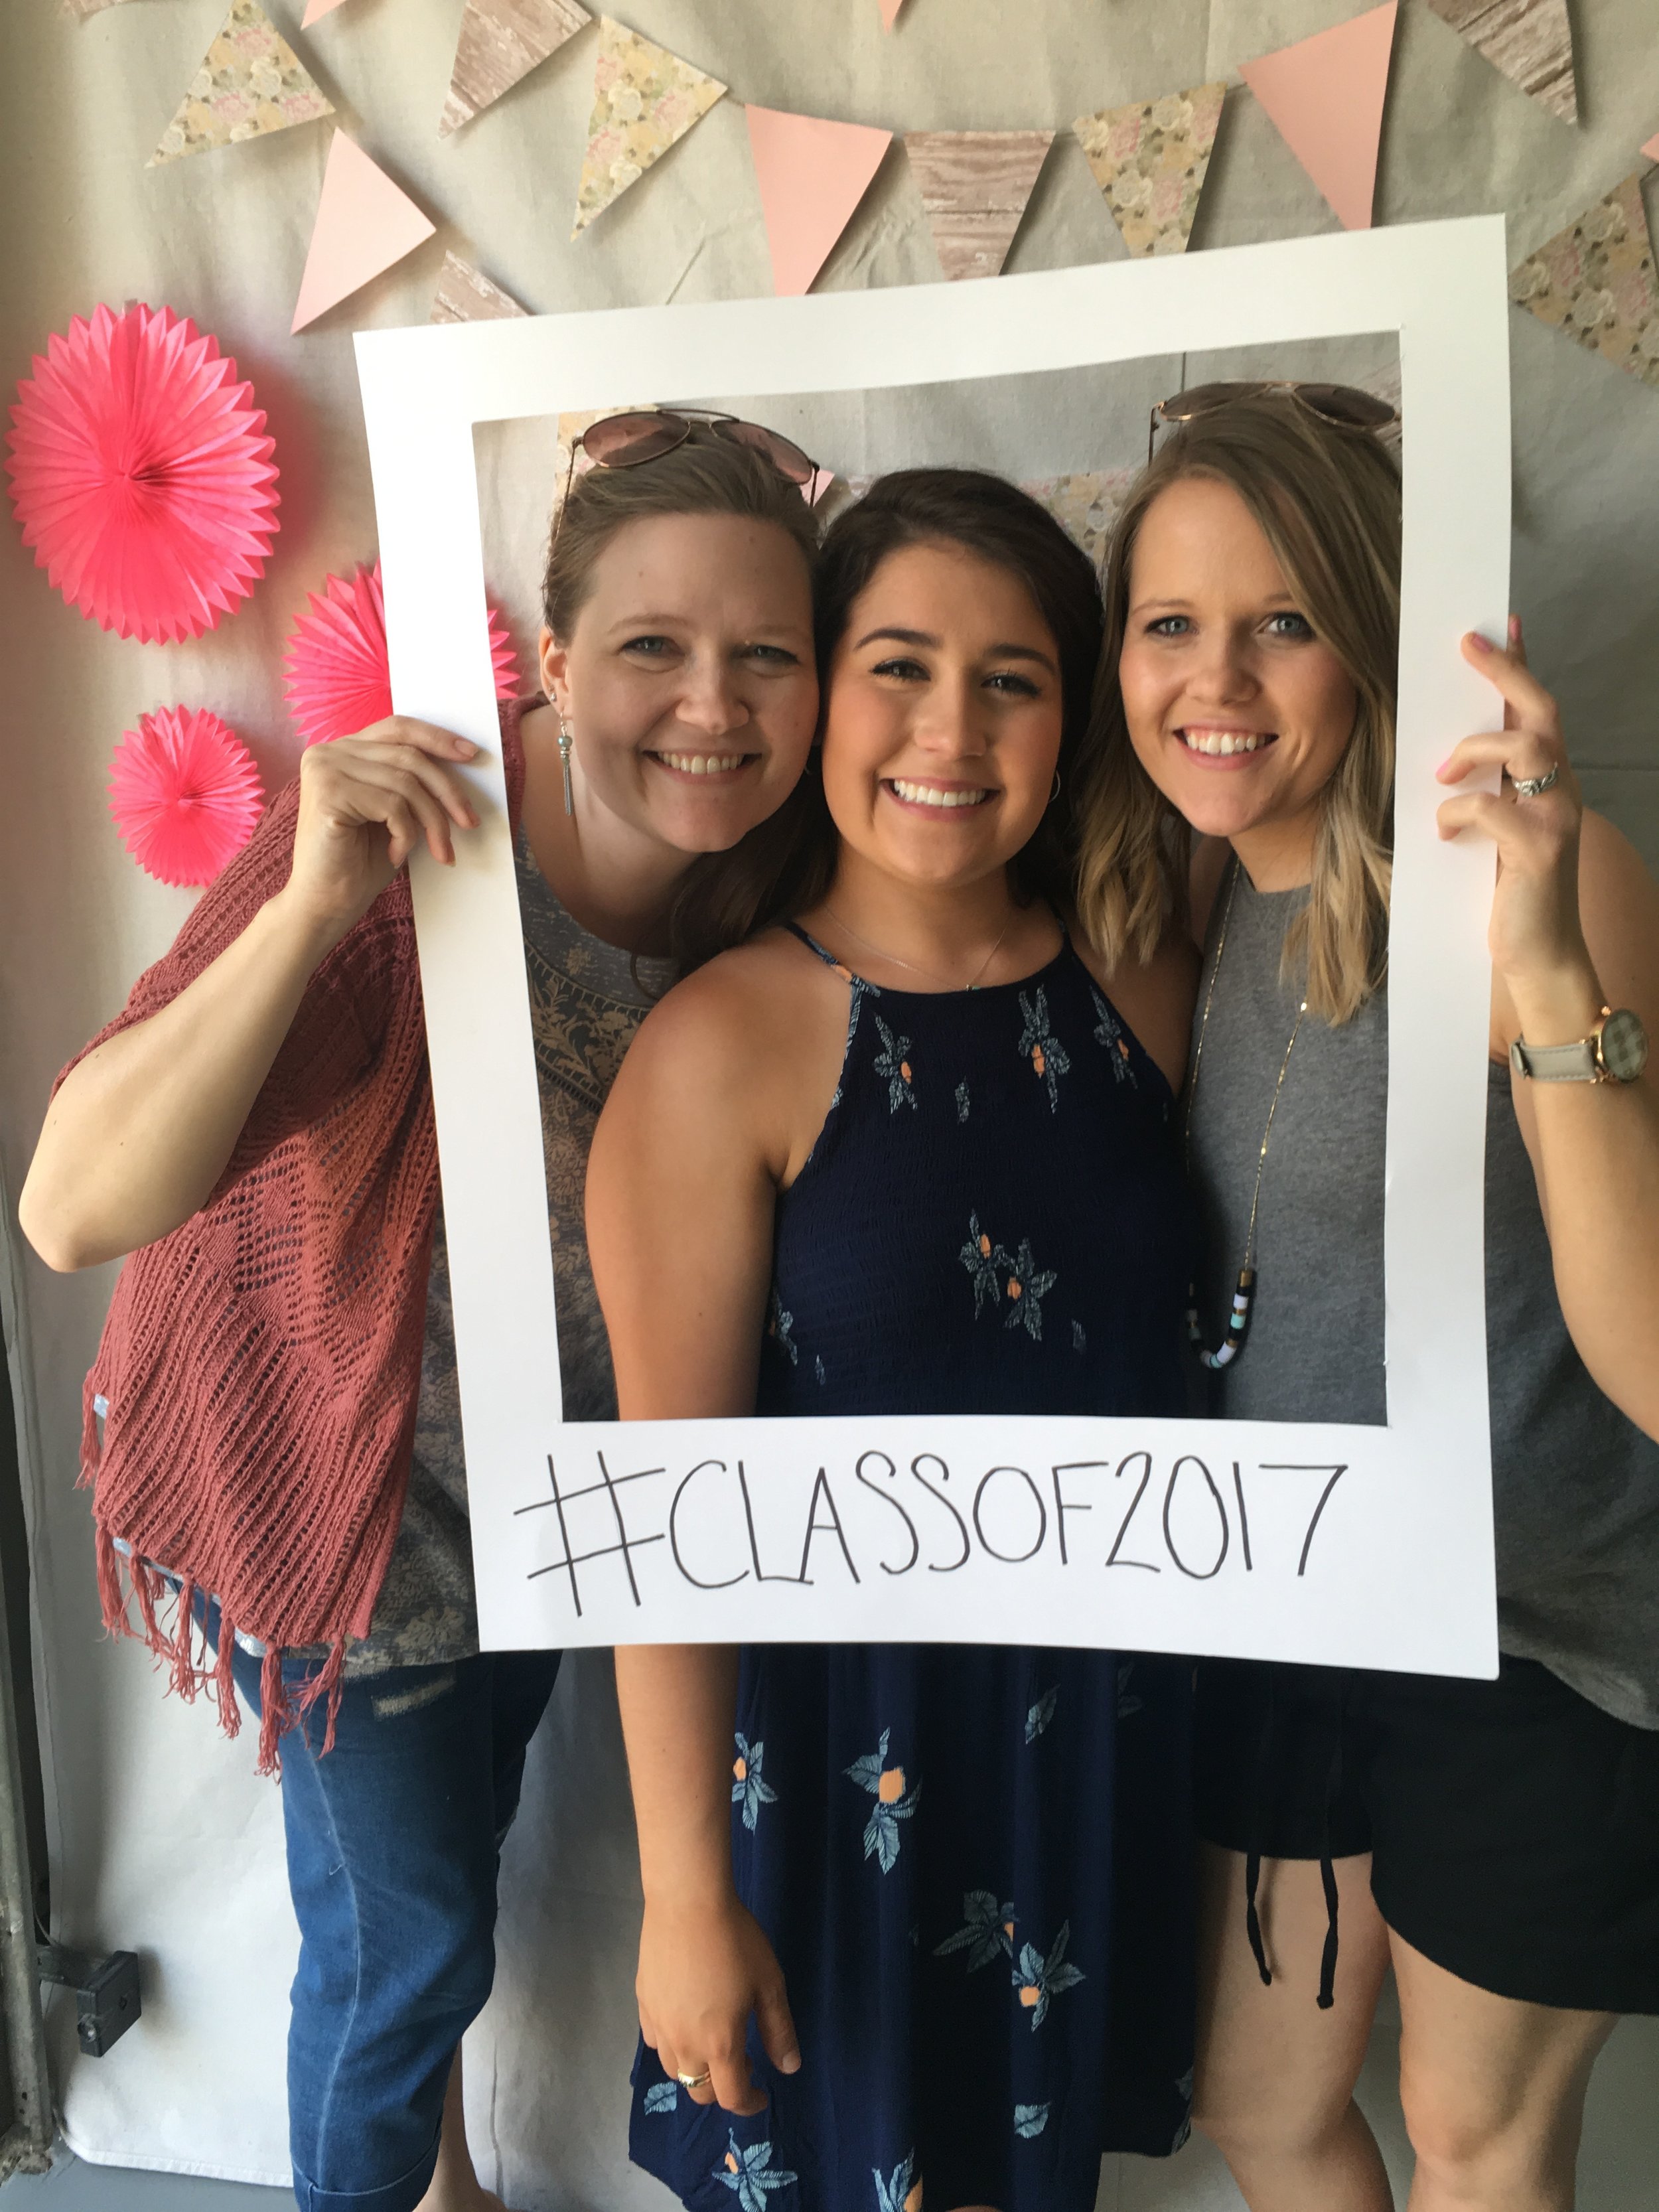
The photo wall was also in the garage. They hung a canvas drop cloth and I used a paper flag banner and paper flowers as the backdrop. I also made Polaroid cutouts for props which were a lot of fun. 

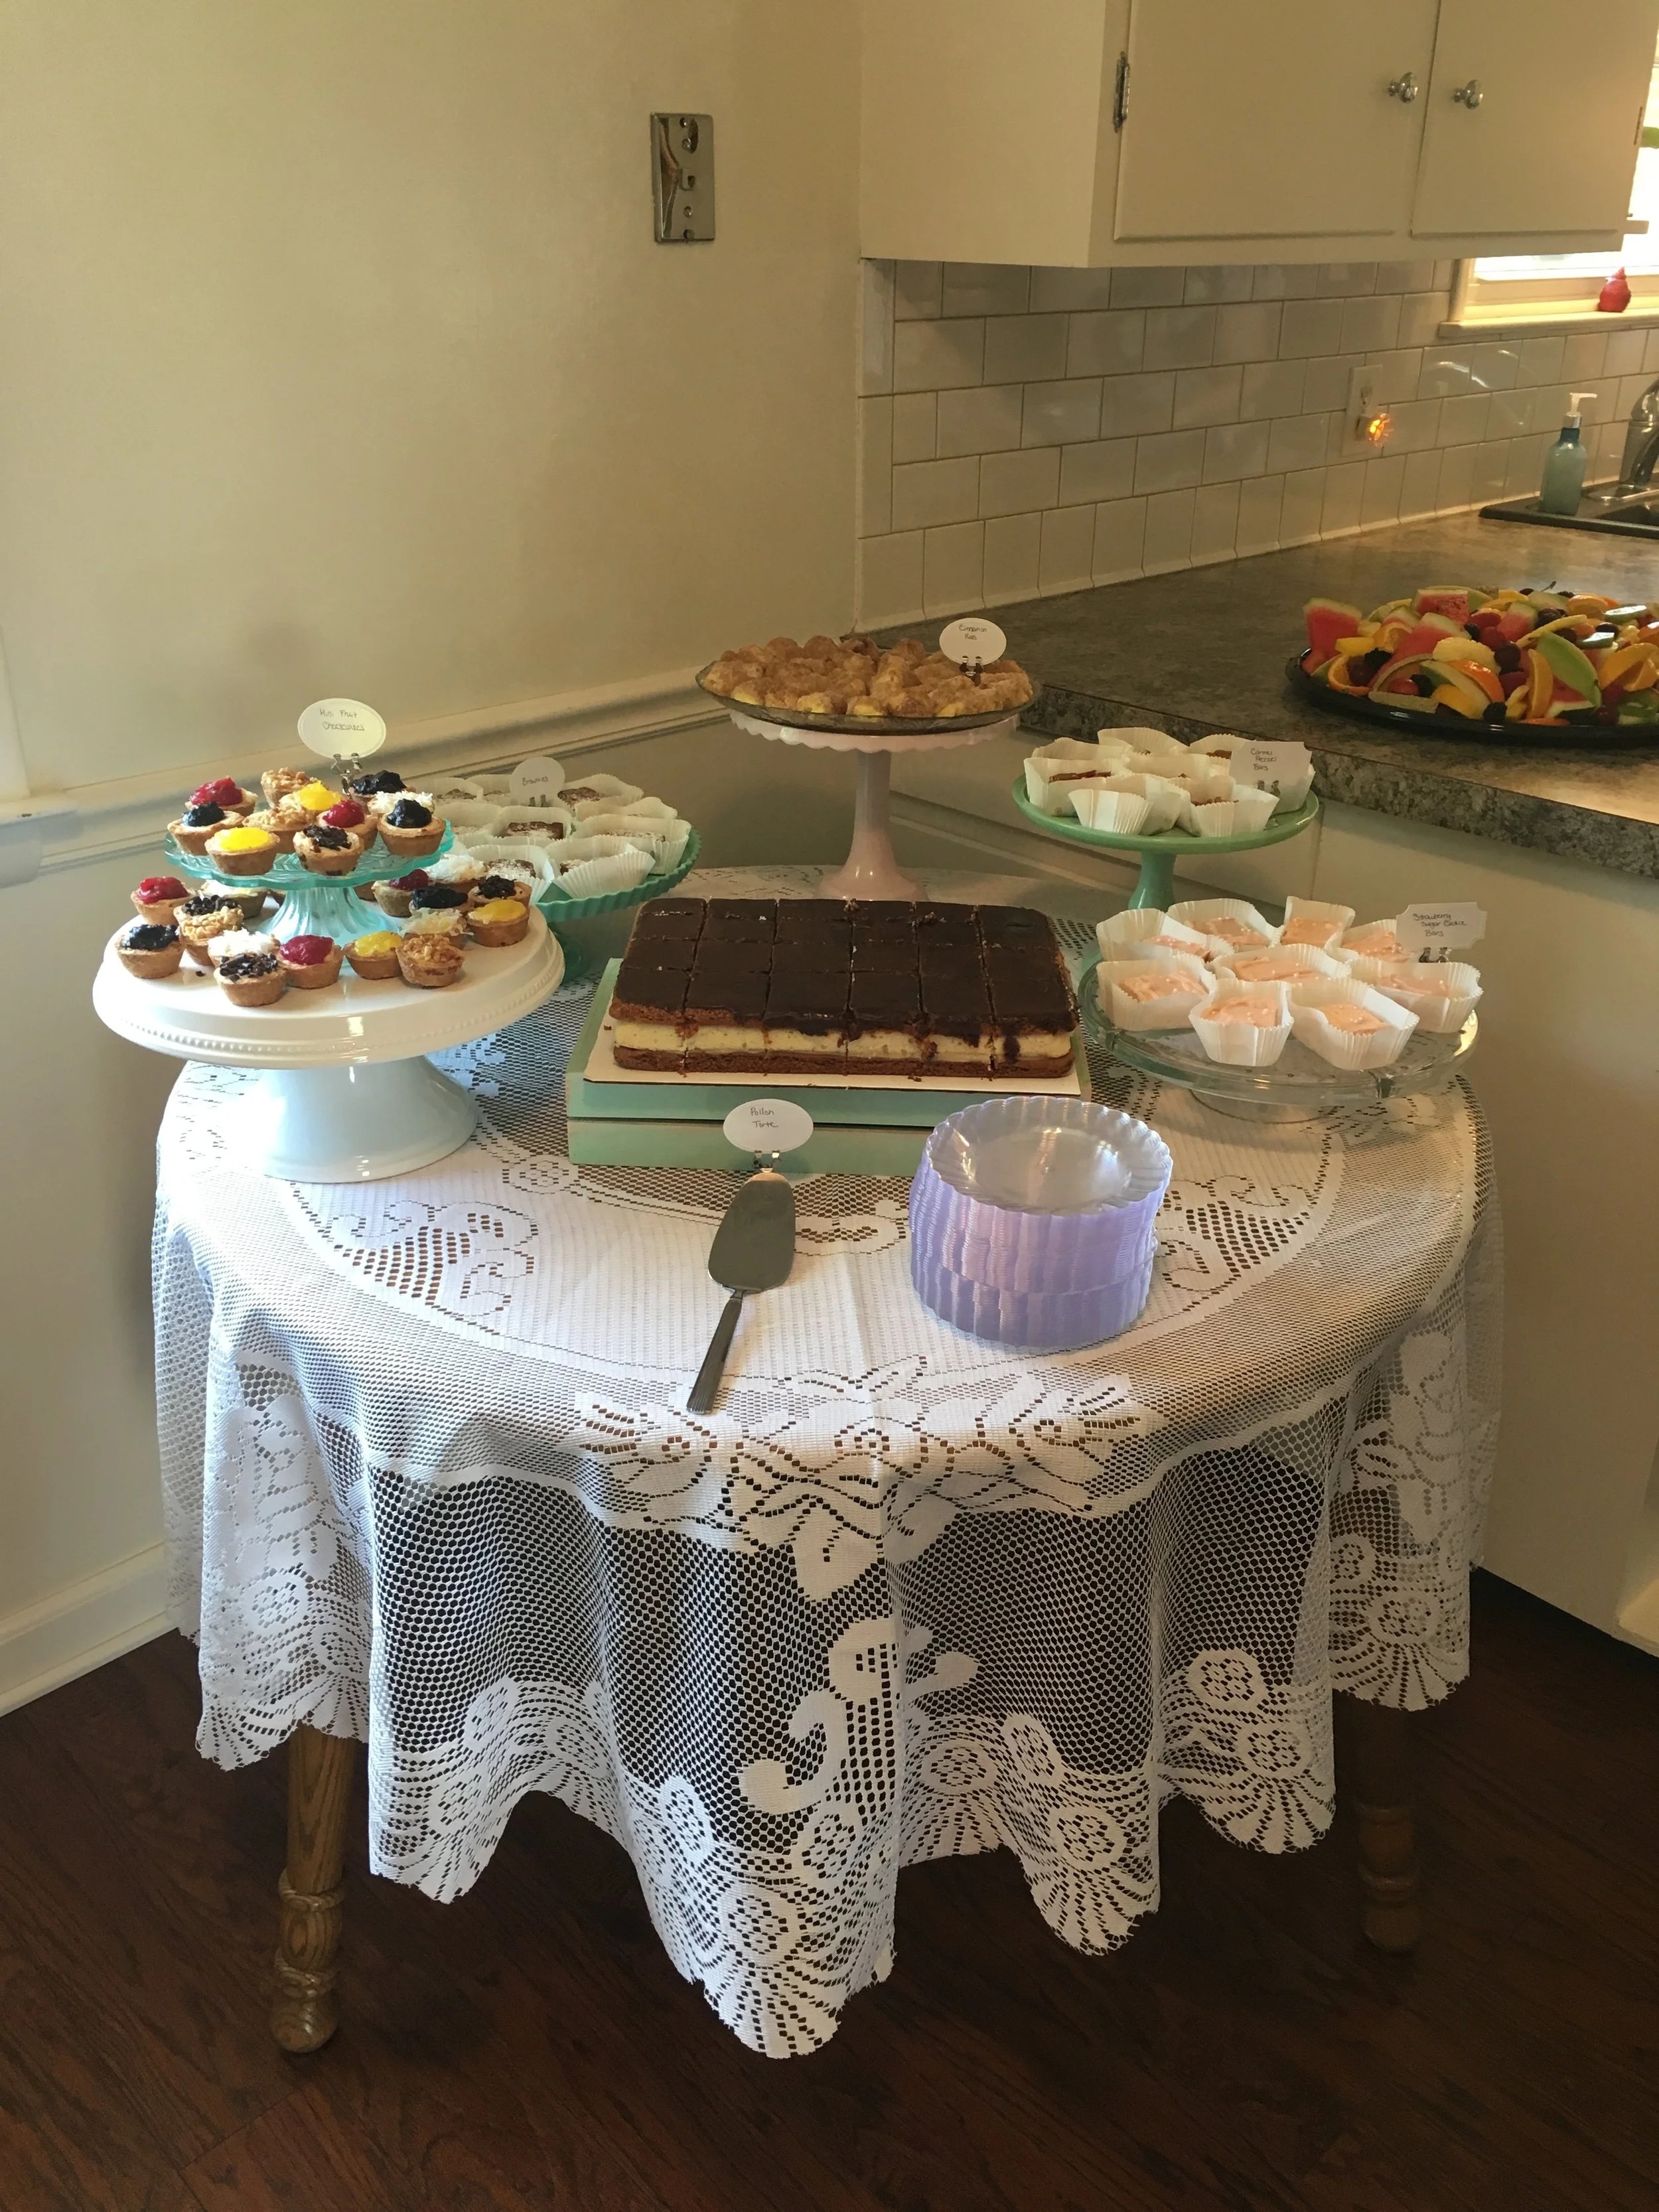
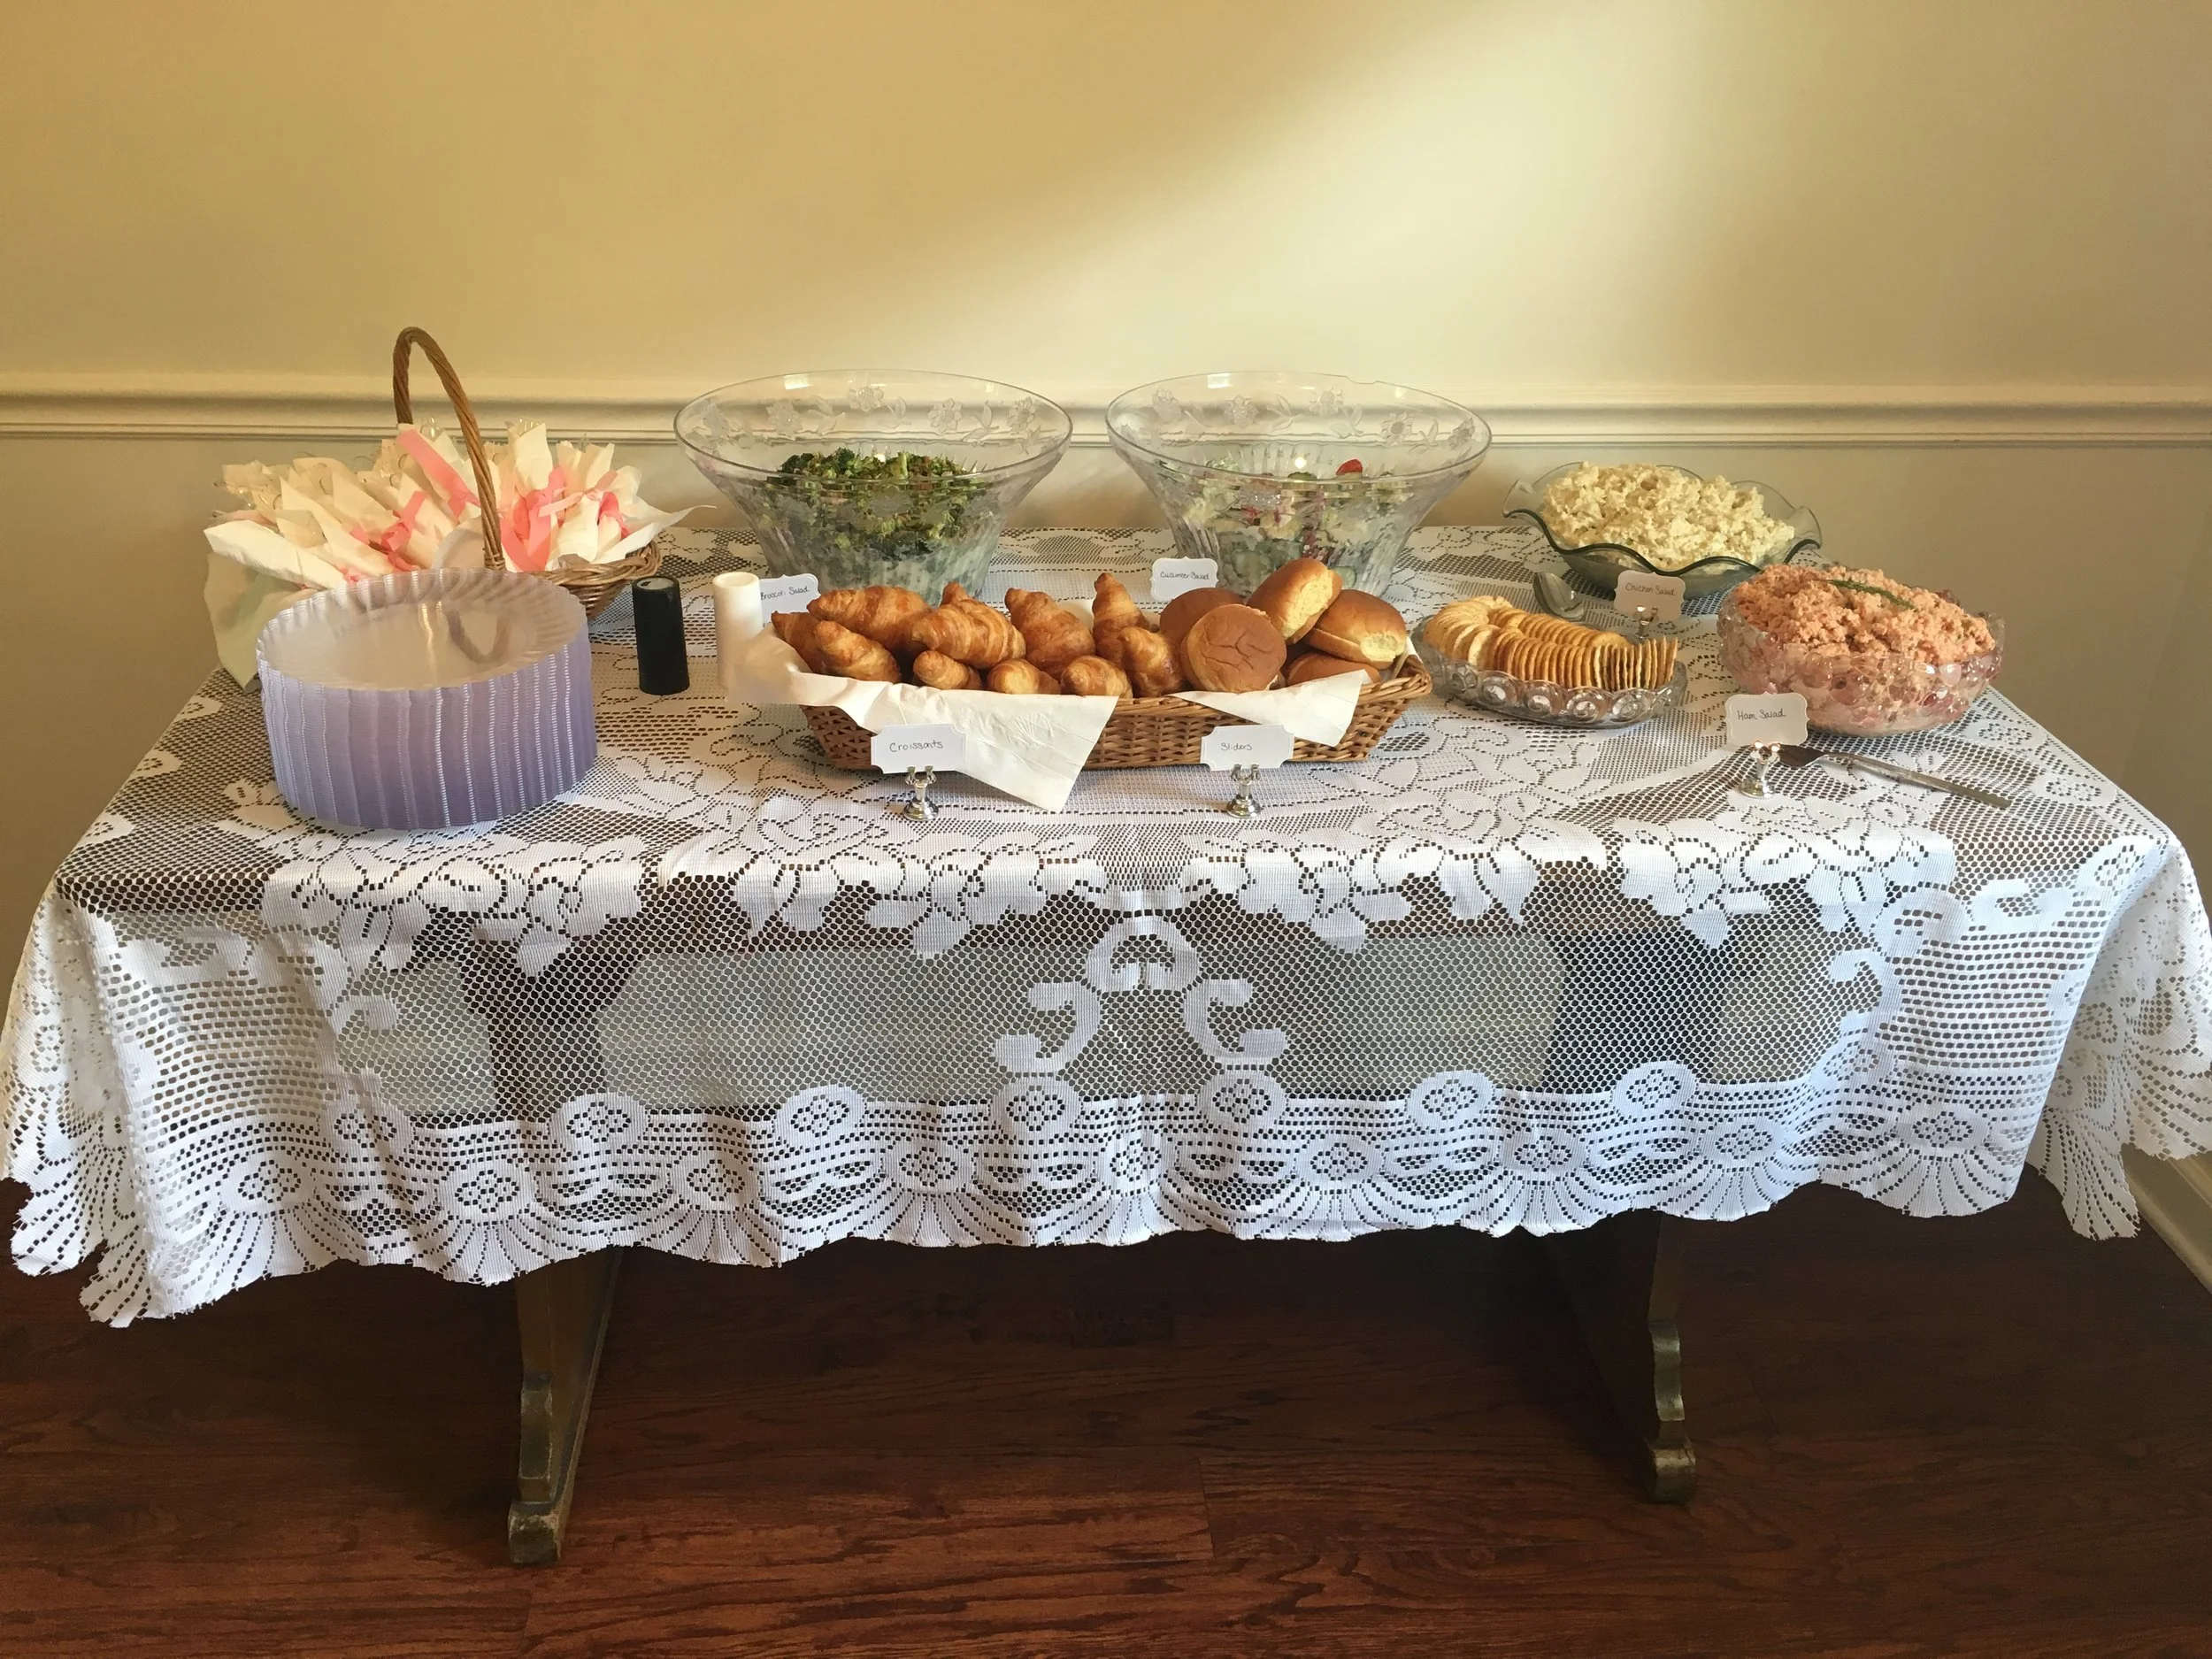
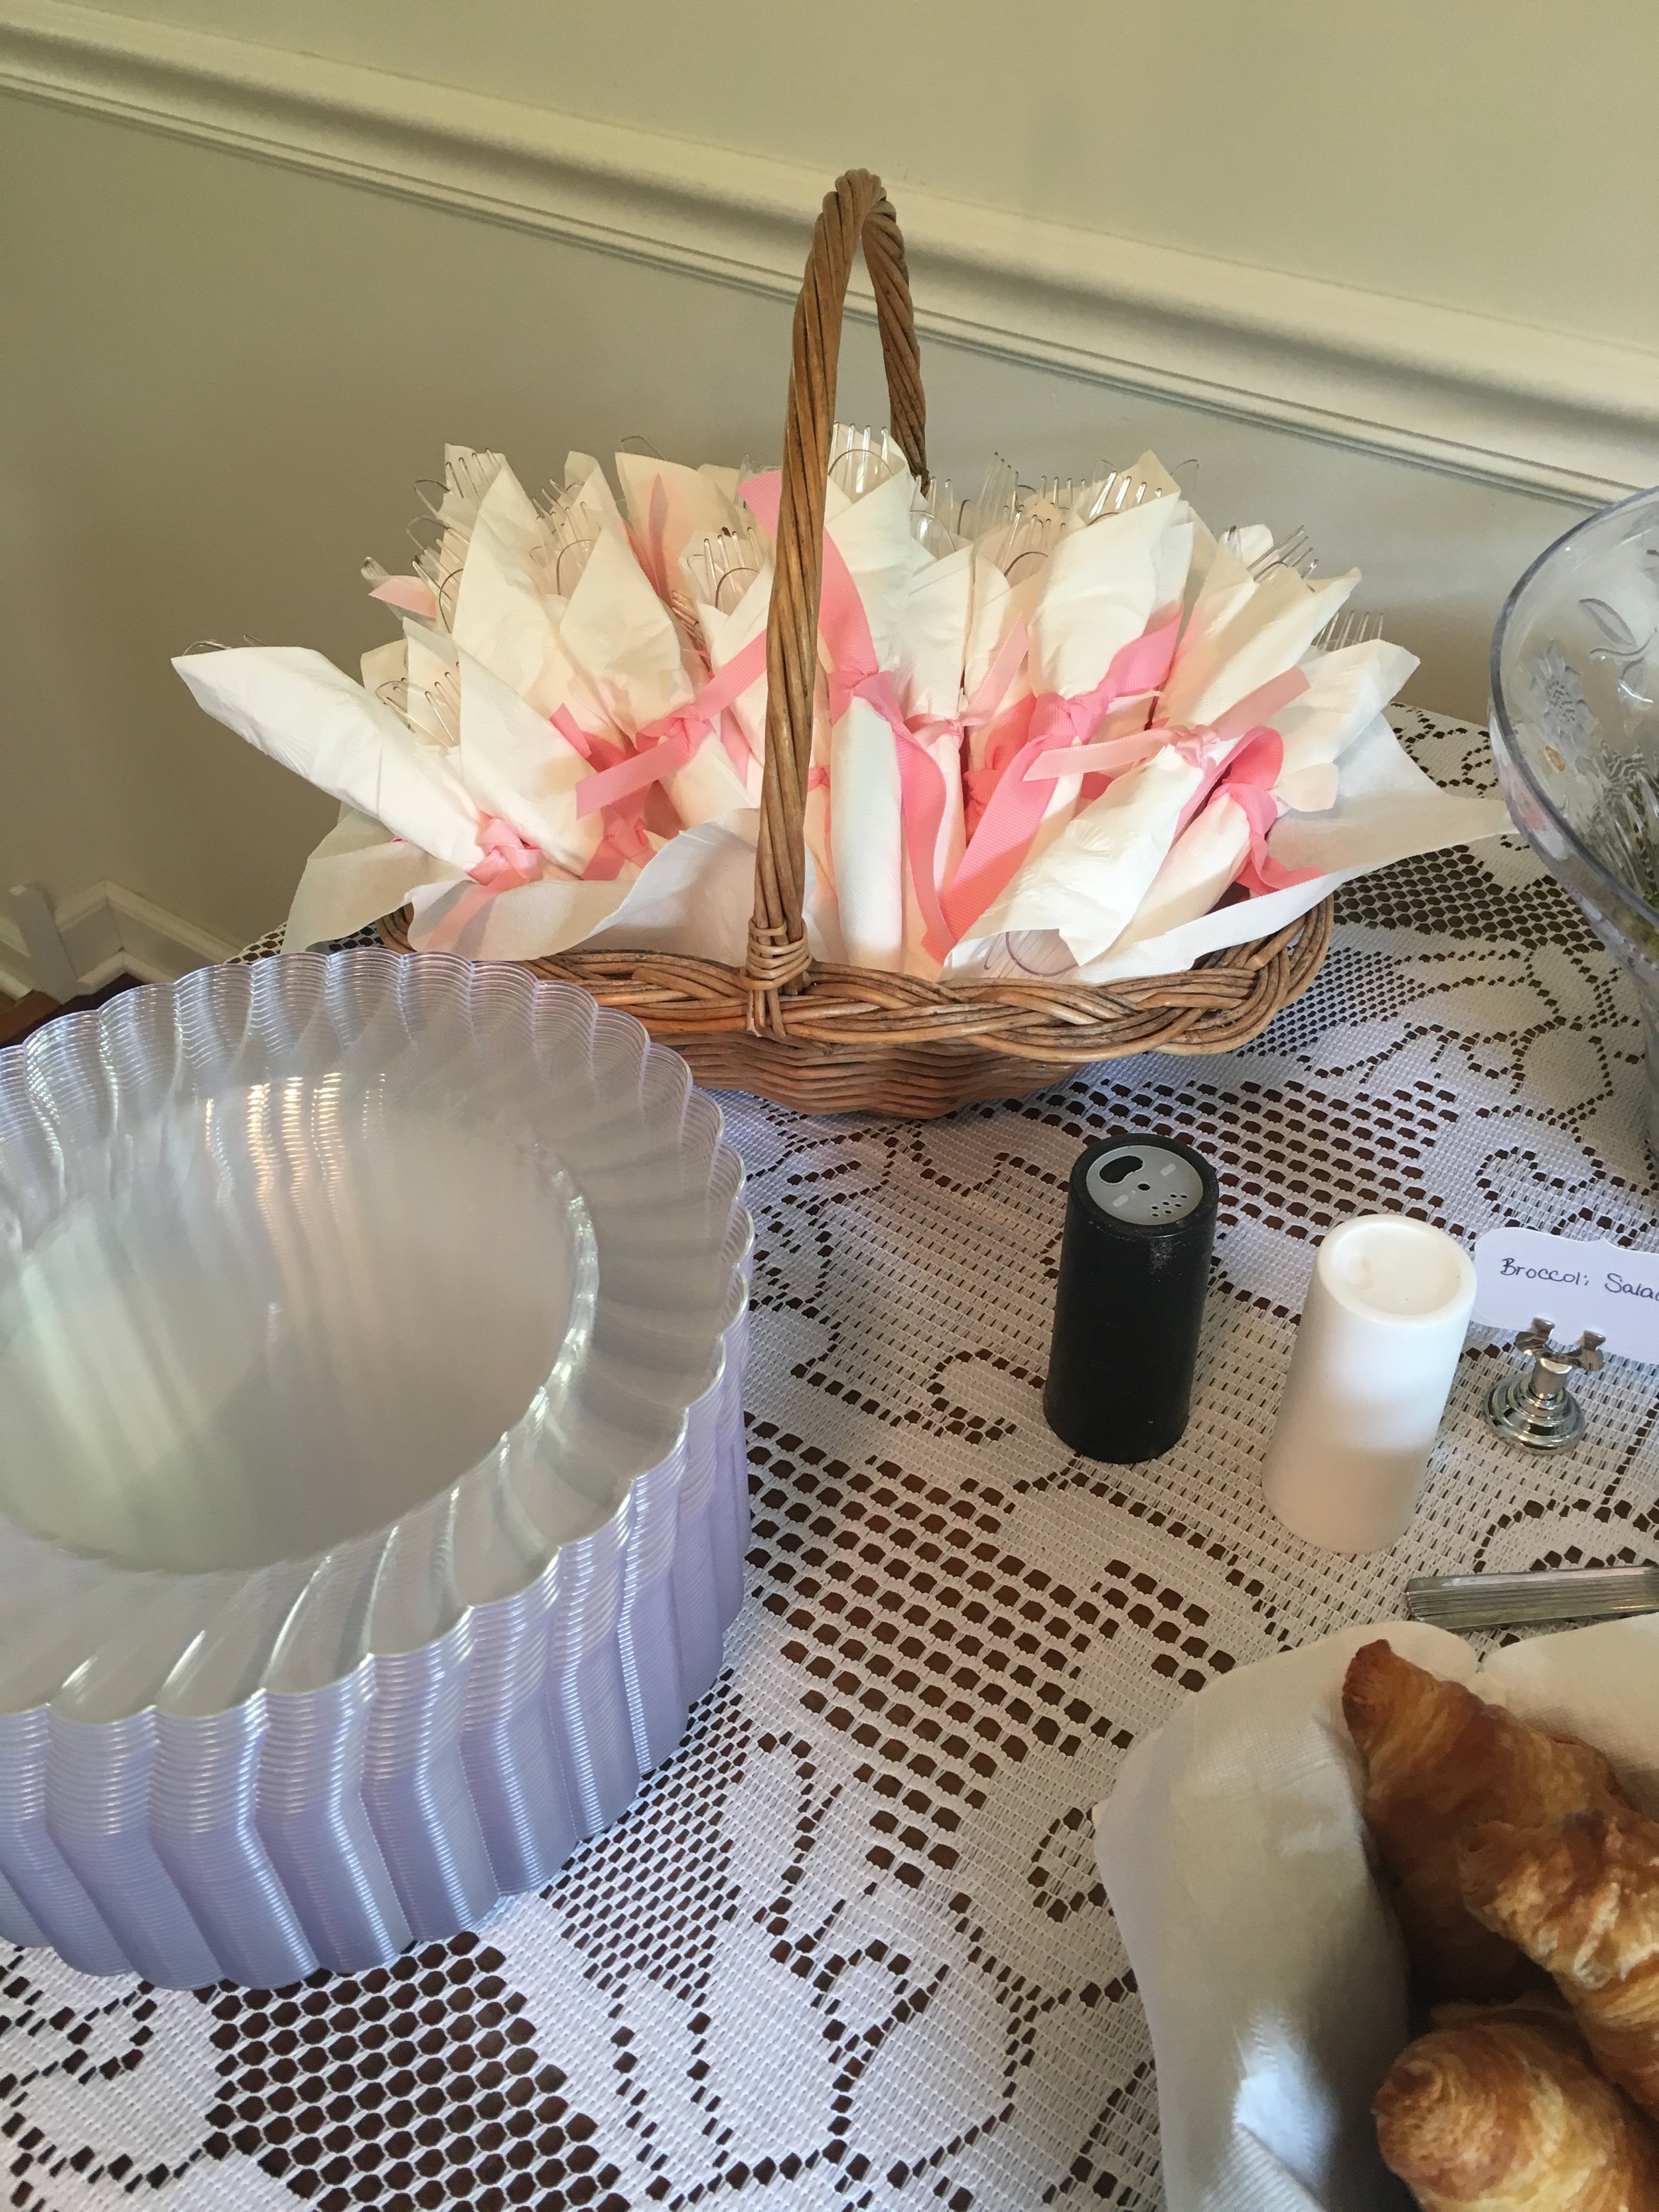
Inside was all the food. We had a dessert table set up with a lace tablecloth and cake stands. The food table also had a lace tablecloth and each food item had a label. The utensils were wrapped in the napkins with pink ribbons tied around them. The drinks were in glass dispensers and displayed on an old wooden crate. They had lemonade and fruit infused water. 


I had so much fun designing this party! 

I will be adding event styling storyboards to my services soon! If you are interested in having some help designing your next party, let me know! I would love to put together a storyboard for you! 

Thanks for reading! 
Pork Tacos with Pineapple Salsa

I love trying new recipes and using leftover food from the night before. I made a pork roast in the crockpot the other night with some onions and apples and it was delicious!  It was so tender and juicy. Giant Eagle had a sale buy one get one free for the roasts so I had to get two! We had a decent amount left over from the crockpot meal so I wanted to use it the next night. My mom gave me the idea to make pork tacos and they were delicious and so easy!


The meat was already done so the hard part was over. I made the pineapple salsa, and added some cilantro to Johns (I don't like cilantro, I think it tastes like soap :p), and squeezed some lime juice on top! So easy and so delicious! 

Here is the recipe:


Pulled pork (mine was leftover from the roast in the crockpot)

Salt to taste

Pineapple salsa

-fresh pineapple diced up (about 1/4 cup)

-half of a sweet onion diced

-drizzle of olive oil

-about 1/4 cup corn kernels

-squeeze of lime juice

-pinch of salt

Corn or flour tortillas (I used corn)

Squeeze of lime juice

Sprinkle of cilantro

*Could add avocado, cheese, or sour cream


These tacos were so good, I will definitely be making them again soon! 

Thanks for reading! 

Shiplap Tutorial

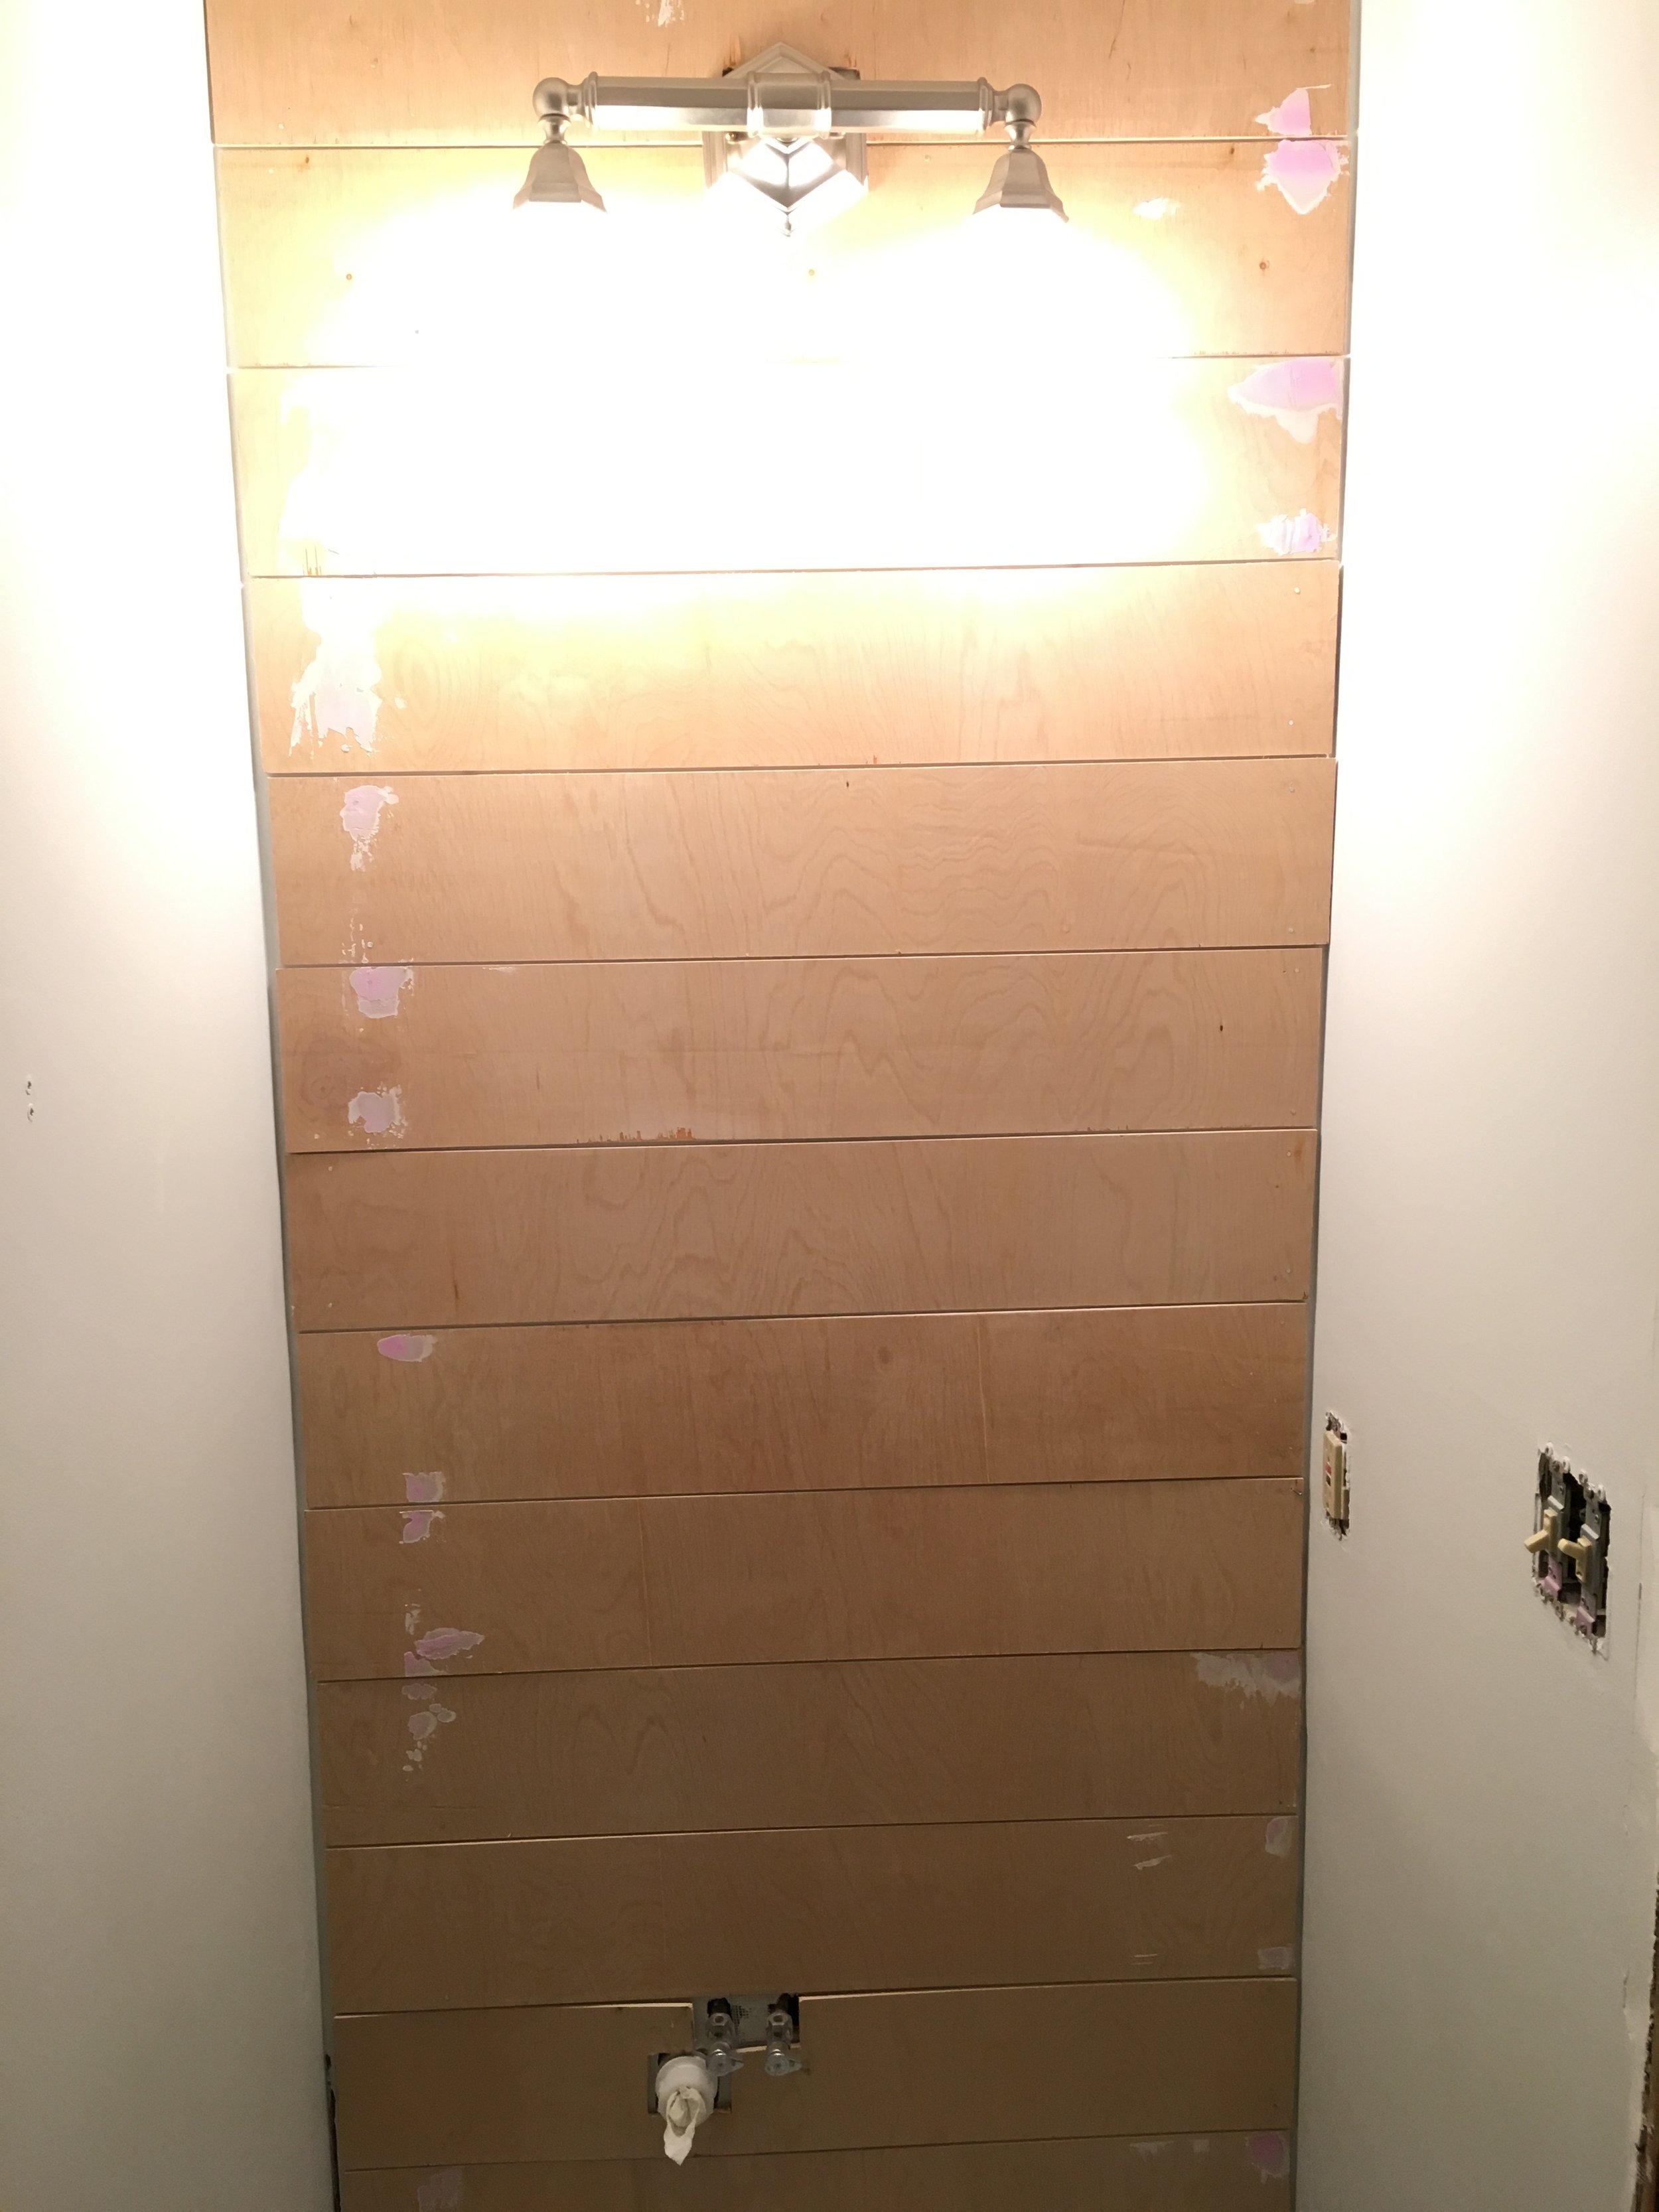
I am so excited to write this post because it's about SHIPLAP! I love shiplap and was so excited when we decided to put some in our half bath remodel. I told you when I shared our after photos that I would do a tutorial so here it is! We are not experts and this was our first time doing it but I wanted to share with you all how we did it and show you that you can do it too! Enjoy!


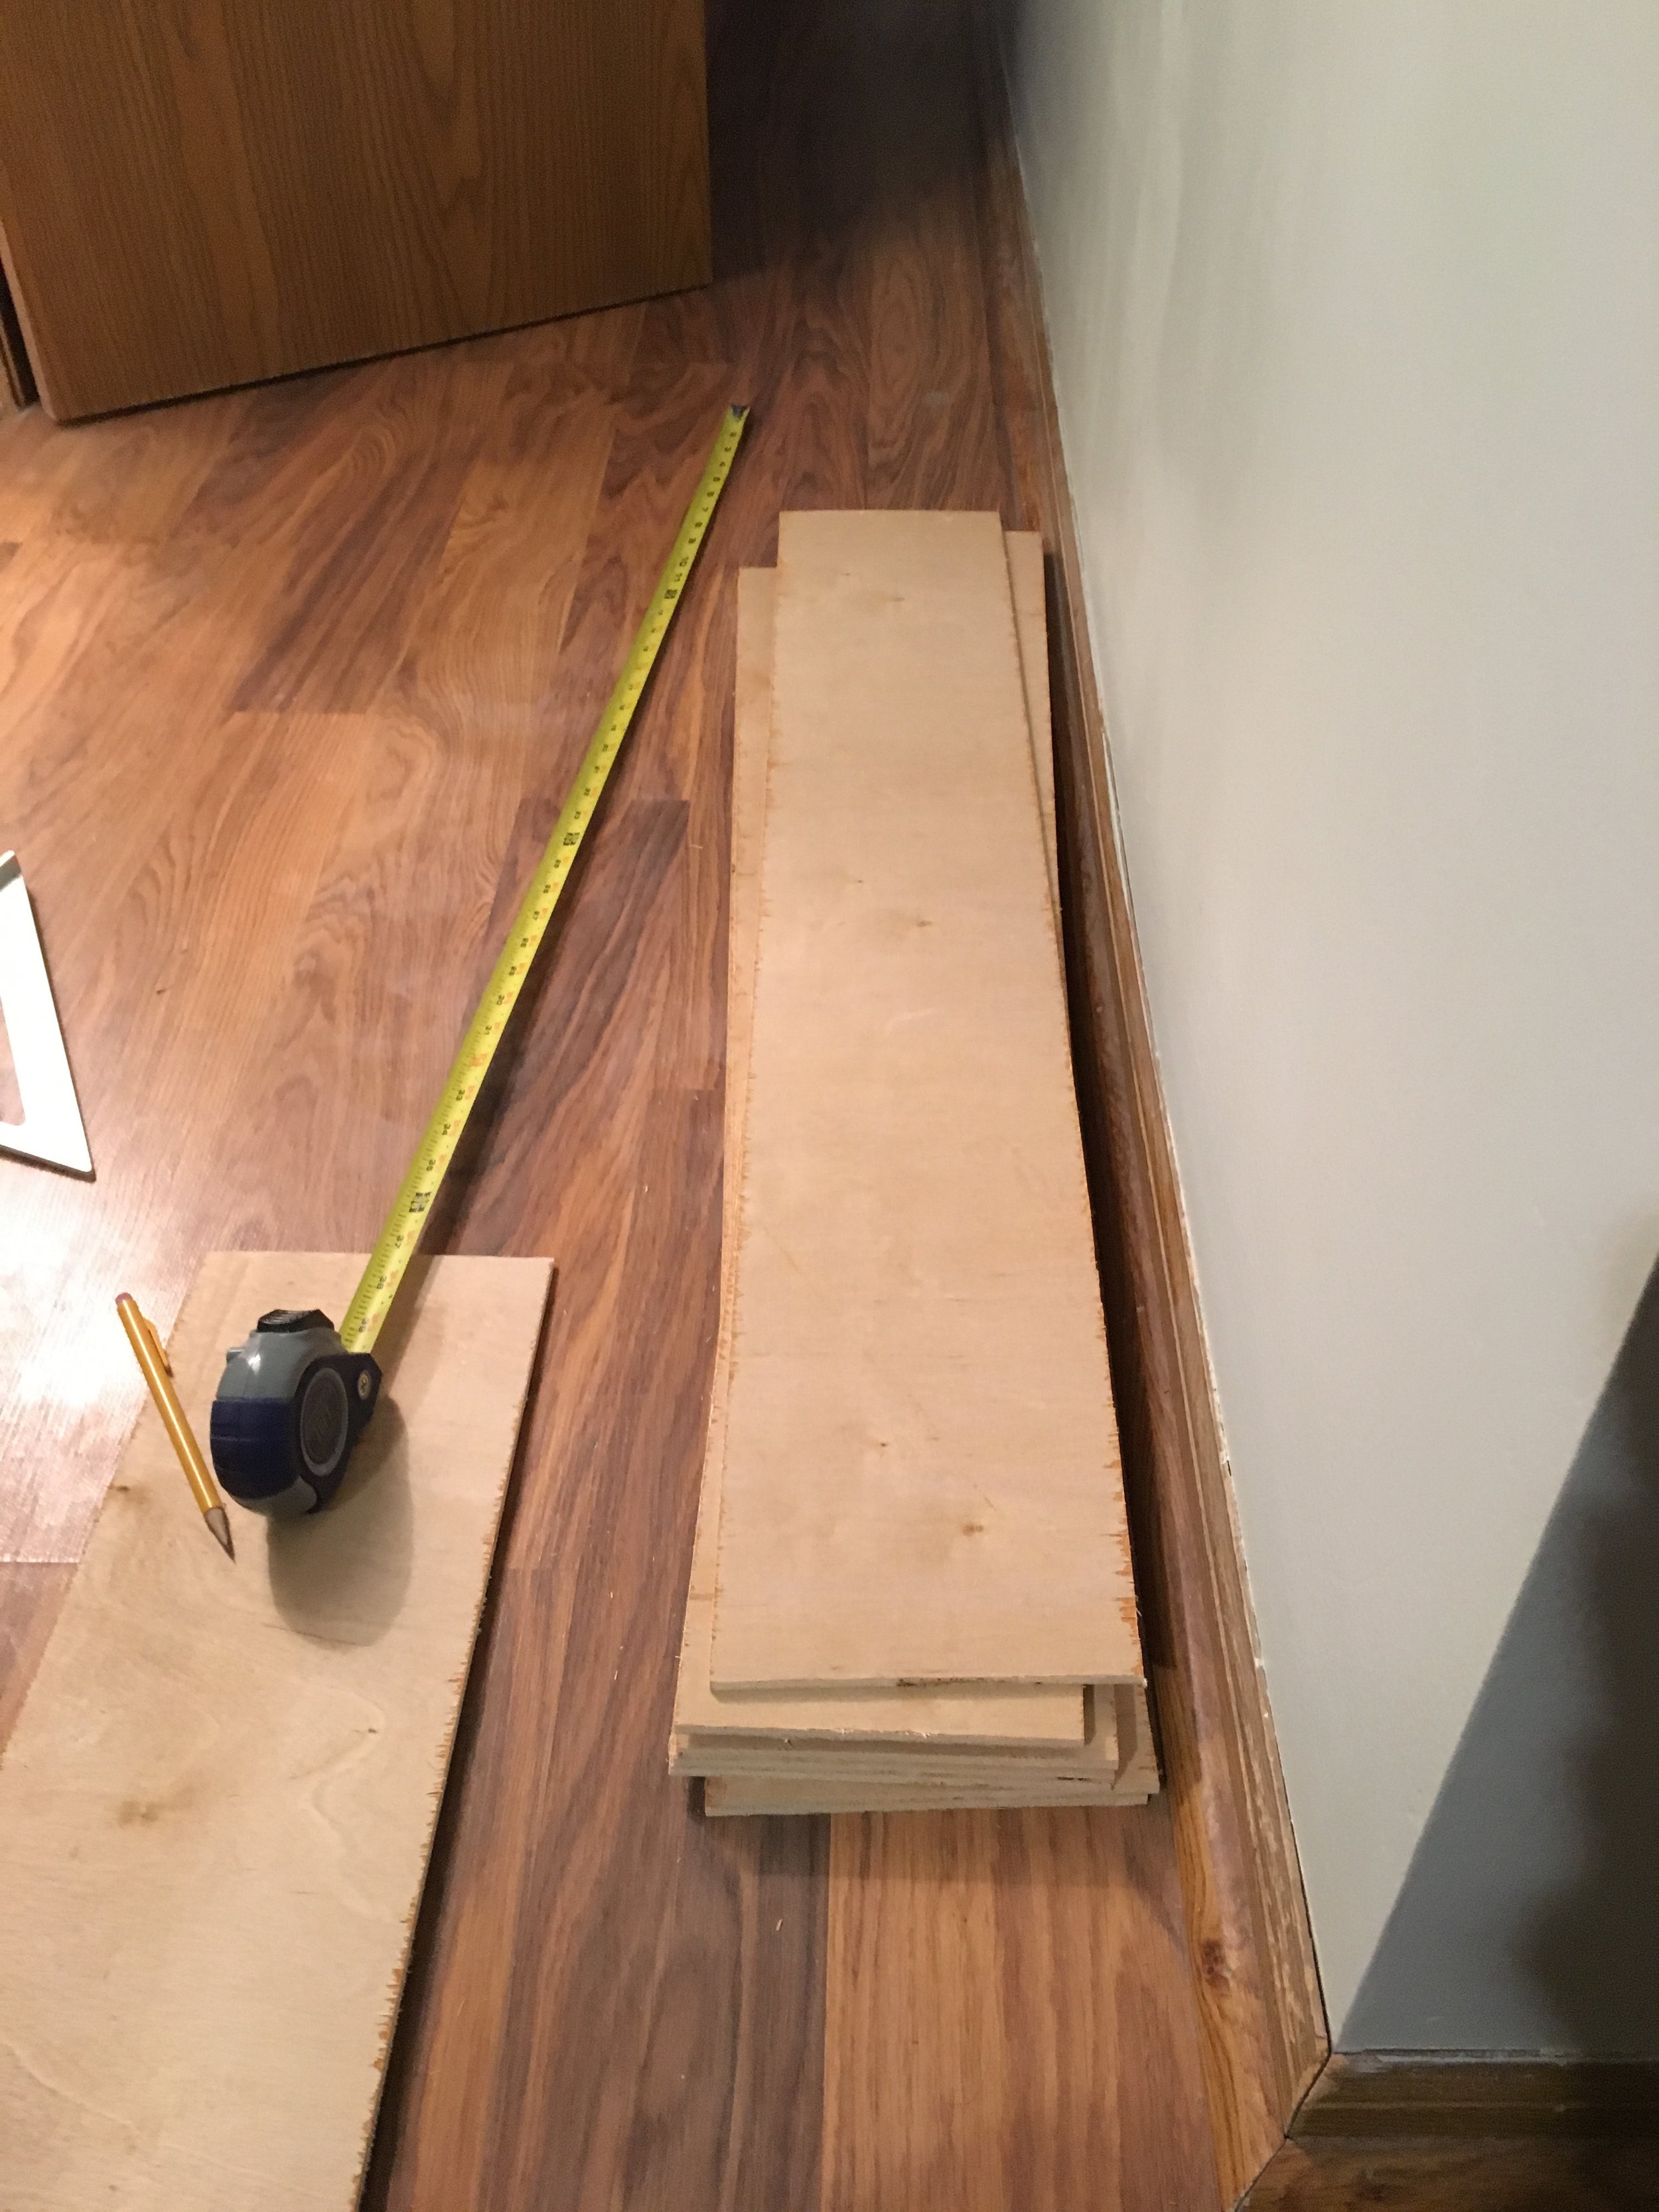
First off you want to measure the wall that you will be installing the shiplap on. You want to measure the height and width. Once you have those measurements it's time to head to the store. We used a plywood that was 5 mm thick but you could really use whatever. We wanted our boards to be cut into 6 in. wide strips so that each plank was 6 in. They will cut it for you at Home Depot, which is a huge help. We also had them cut the board down to about 4 ft. long. So we left with boards measuring 6 in x 4 ft. 

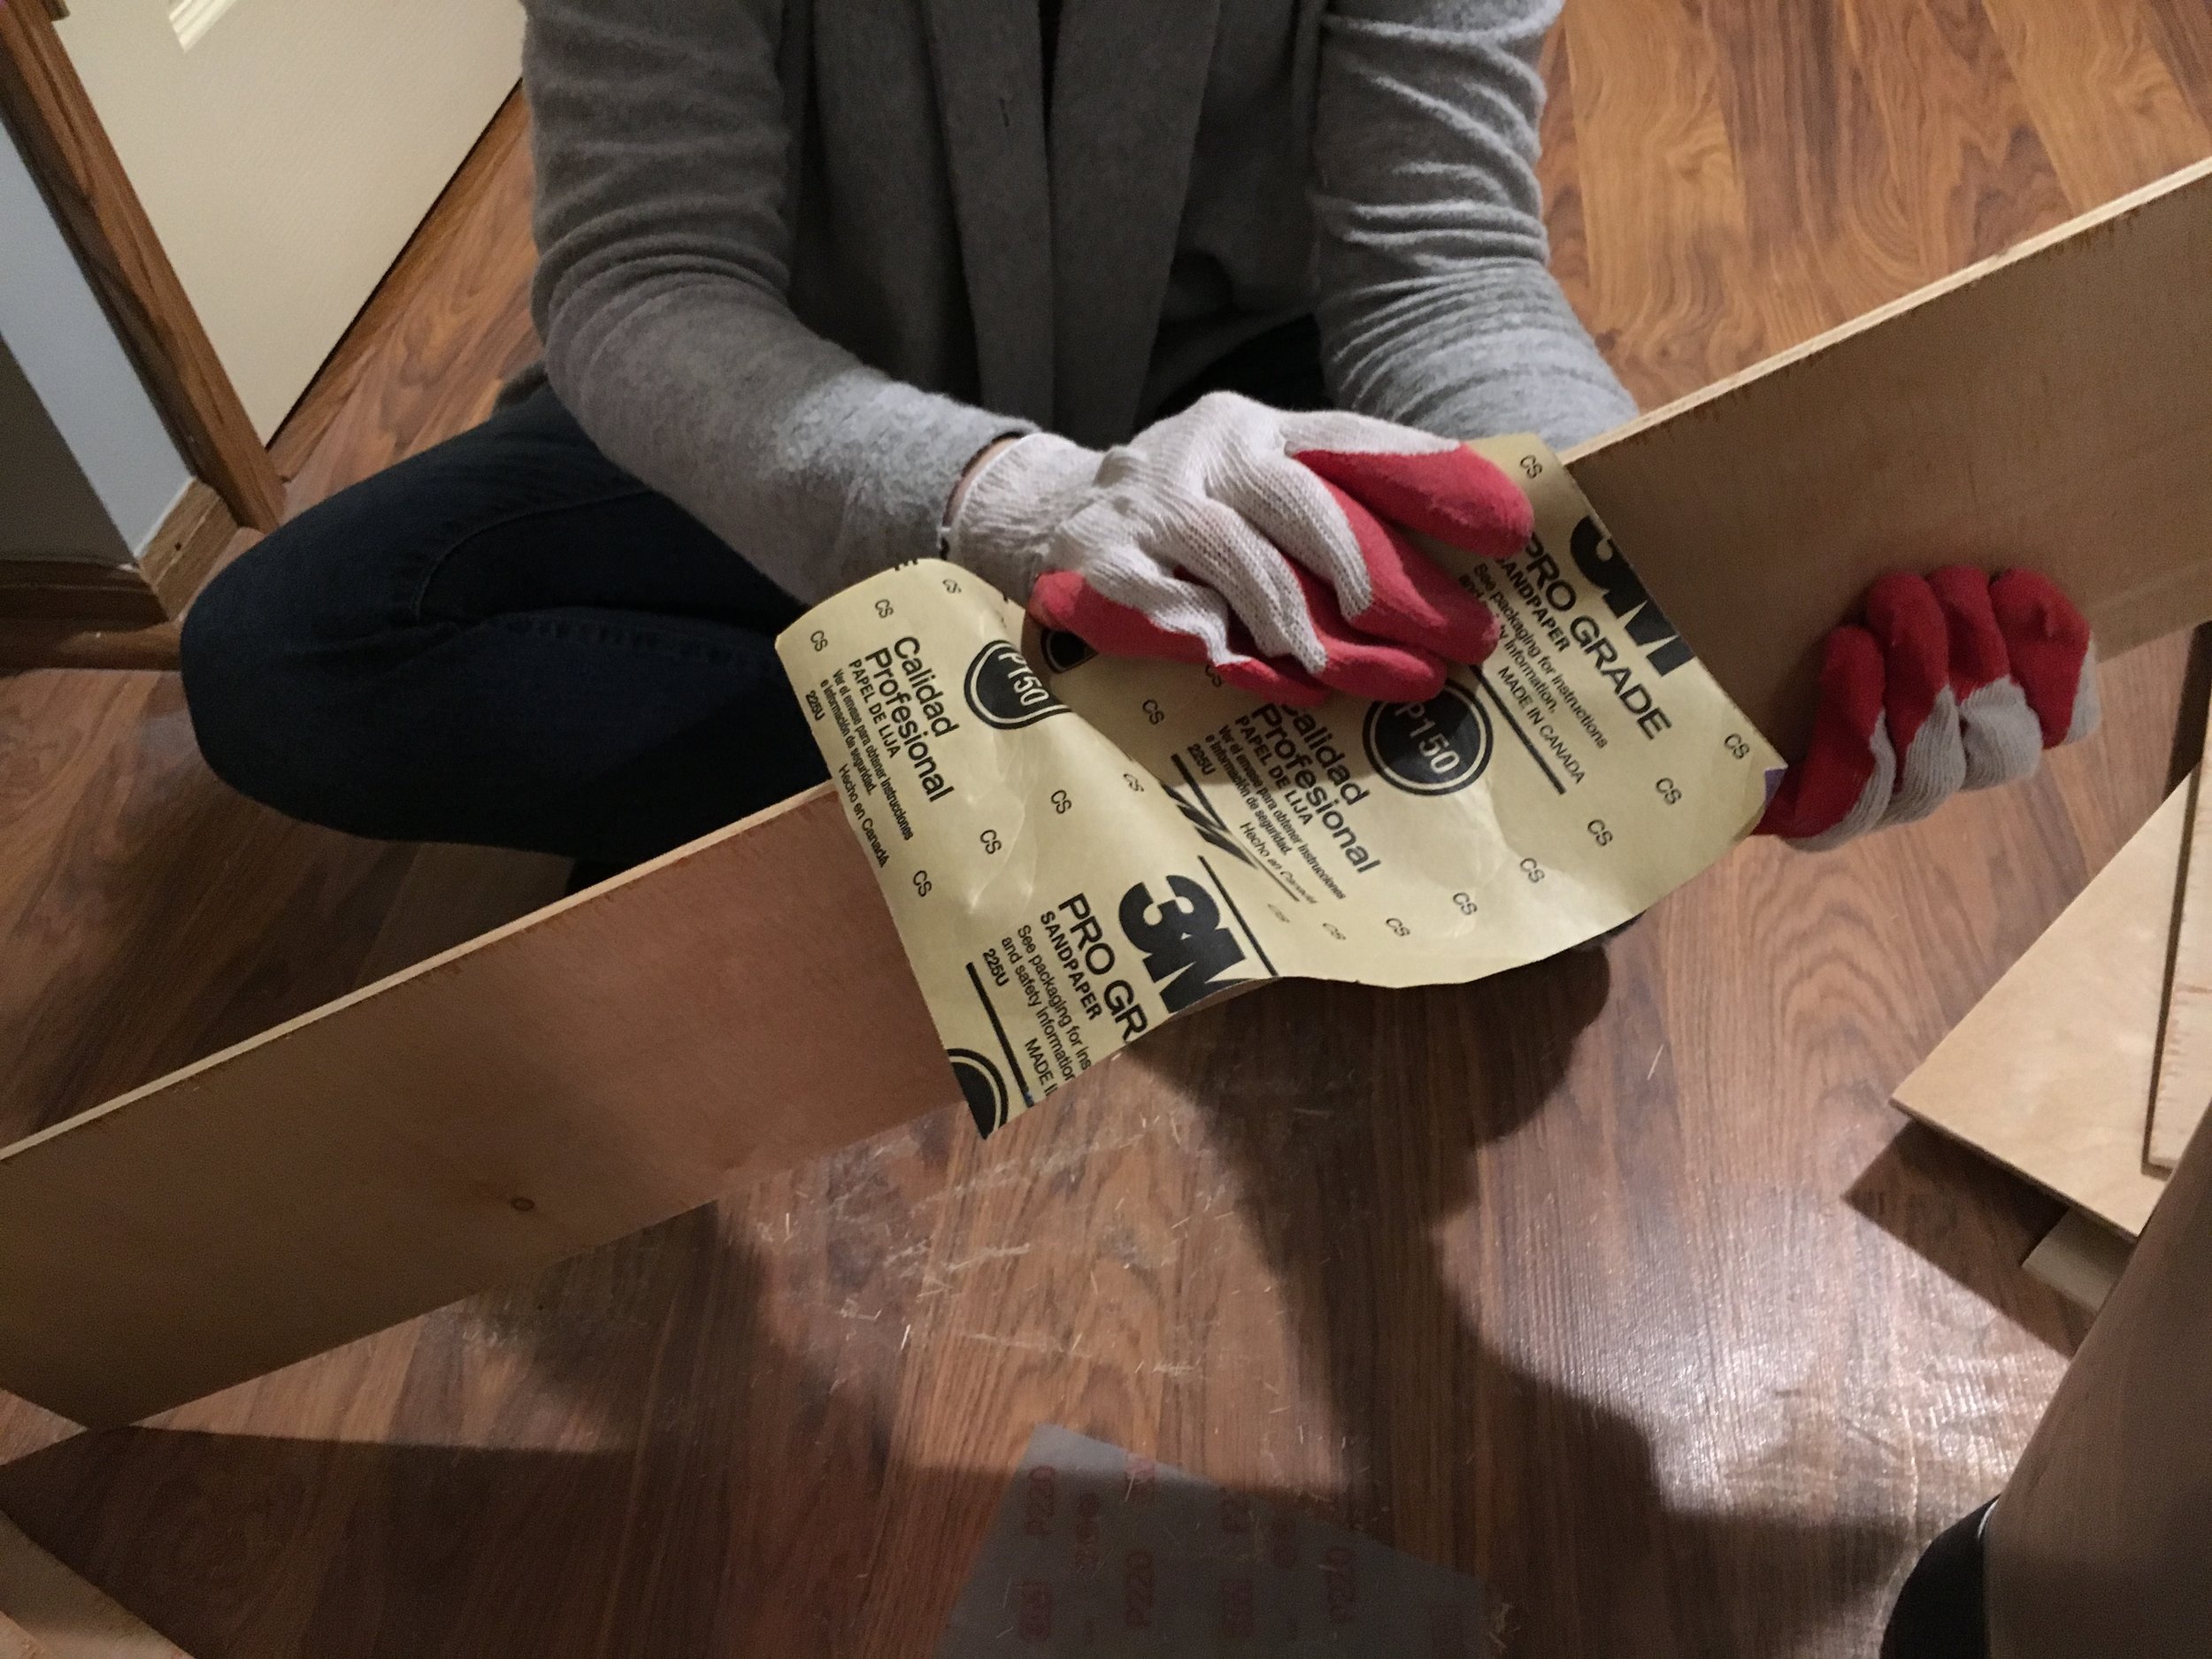
Once we got home we cut those stips down even more to the correct length, I believe ours were about 3 feet long. Once you have the strips cut down to the correct size, it's time to sand. 

You want to sand down the edges to make them as smooth as possible. 

Next it's time to nail them up!

We didn't have a nail gun to use so we did it the old fashion way. By hand. We tried using spacers to make the space in between the boards even, but they kept falling out. I've seen where some people use quarters as spacers, whatever works for you. We were able to kind of eye ball the spaces to make them even. 

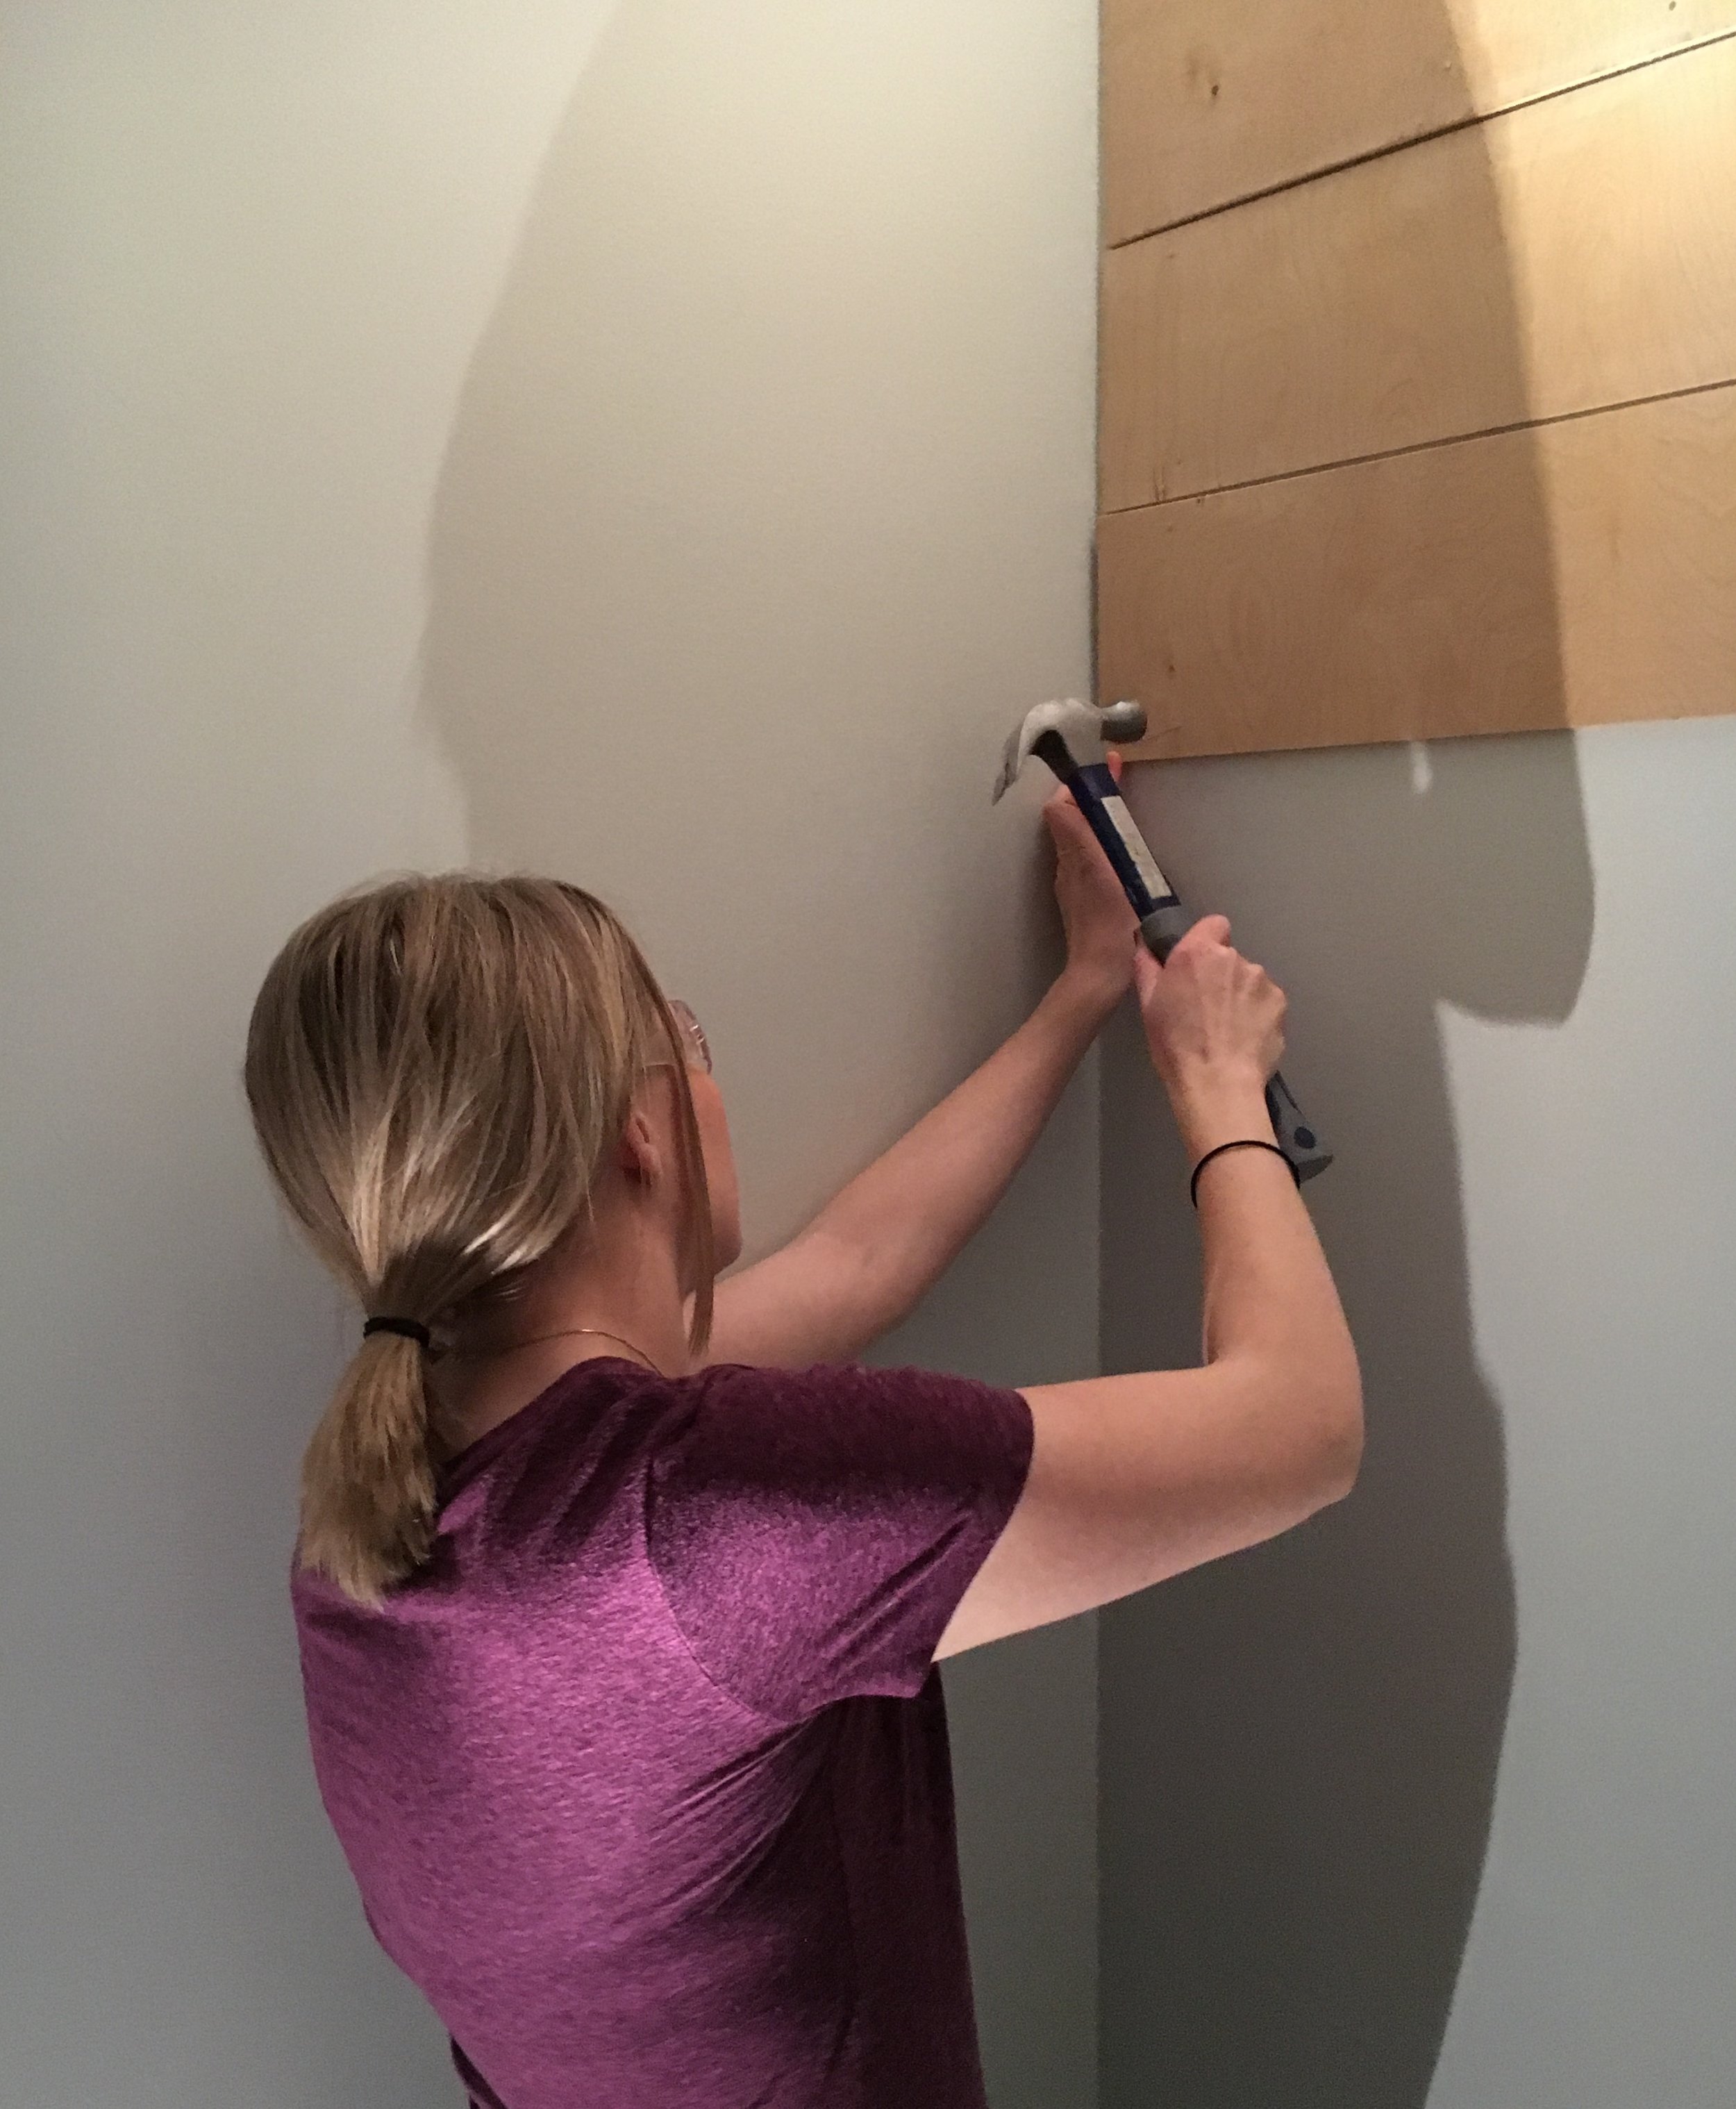
I started off doing some and I had big ambitions. I thought, I can nail a few boards to the wall. Easy. 

Not easy. It's hard nailing them each by hand. My first tip would be to get a nail gun. It would go a lot quicker and you will be a lot less frustrated. 

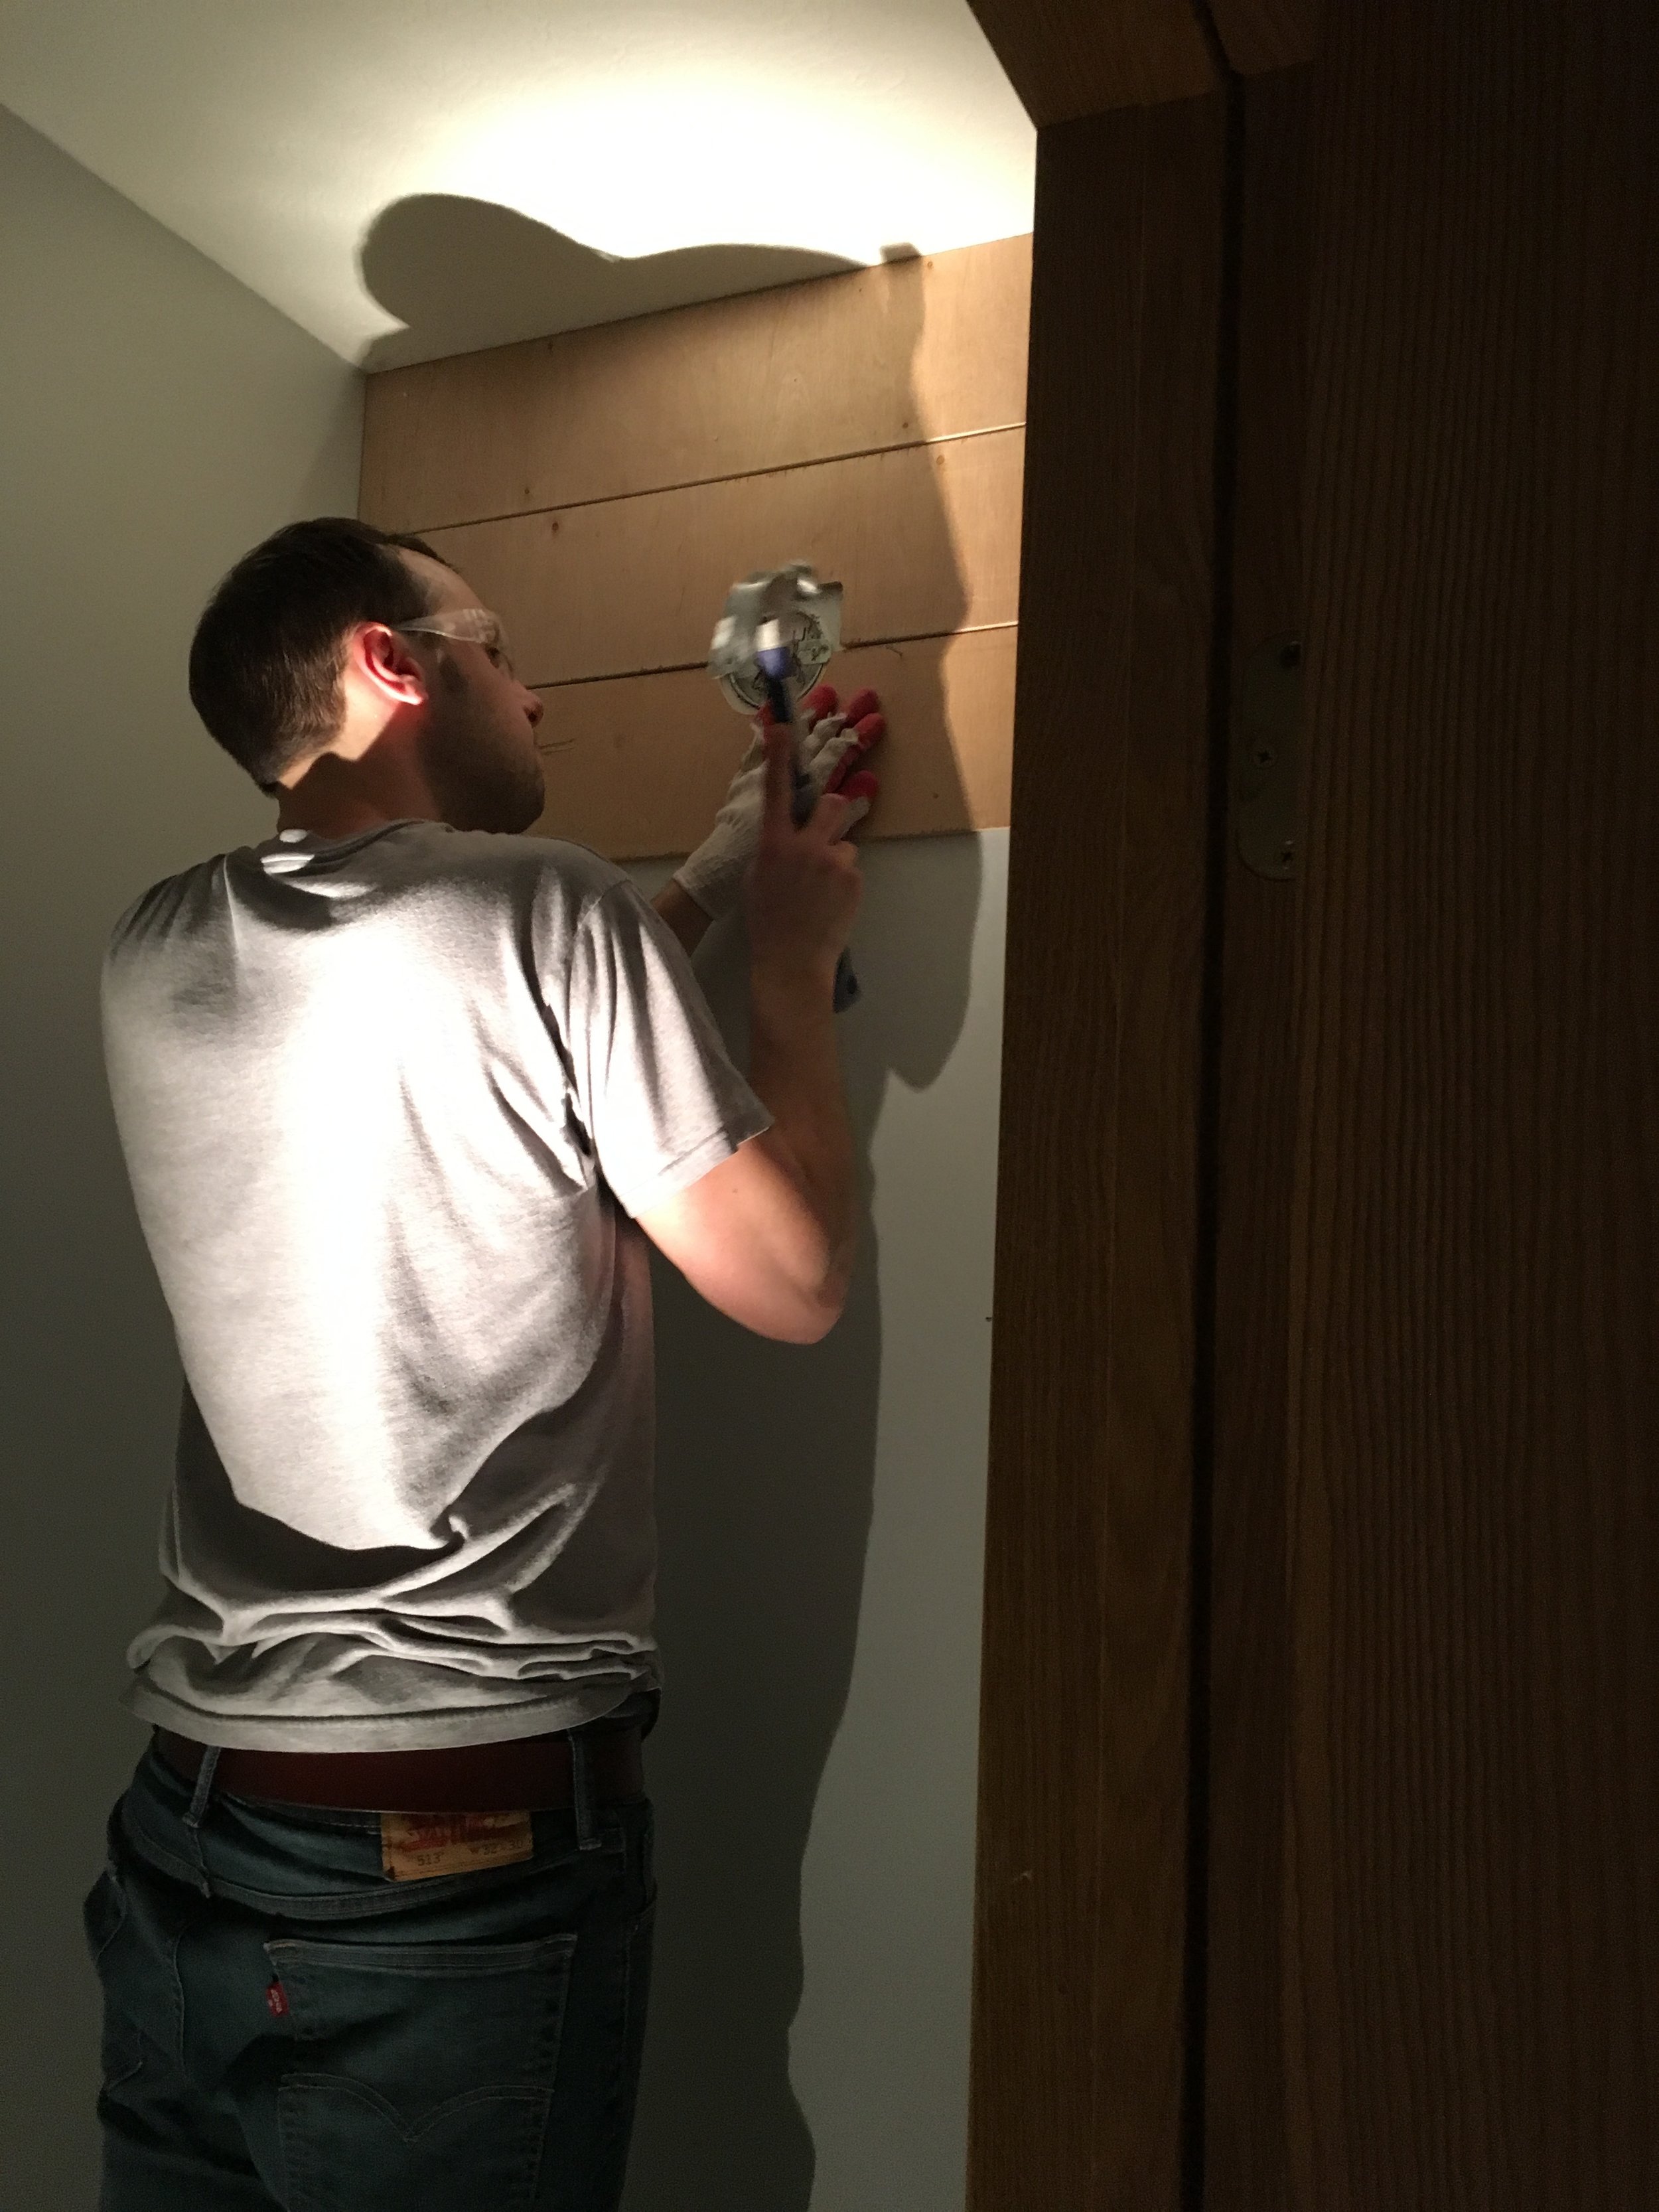
So after I nailed a few in, I handed the hammer over to John. 


When you are nailing the boards to the wall you want to be nailing into the studs. You can use a stud finder or just knock on the wall to find them. Nailing them into the studs will make the boards more secure to the wall. 

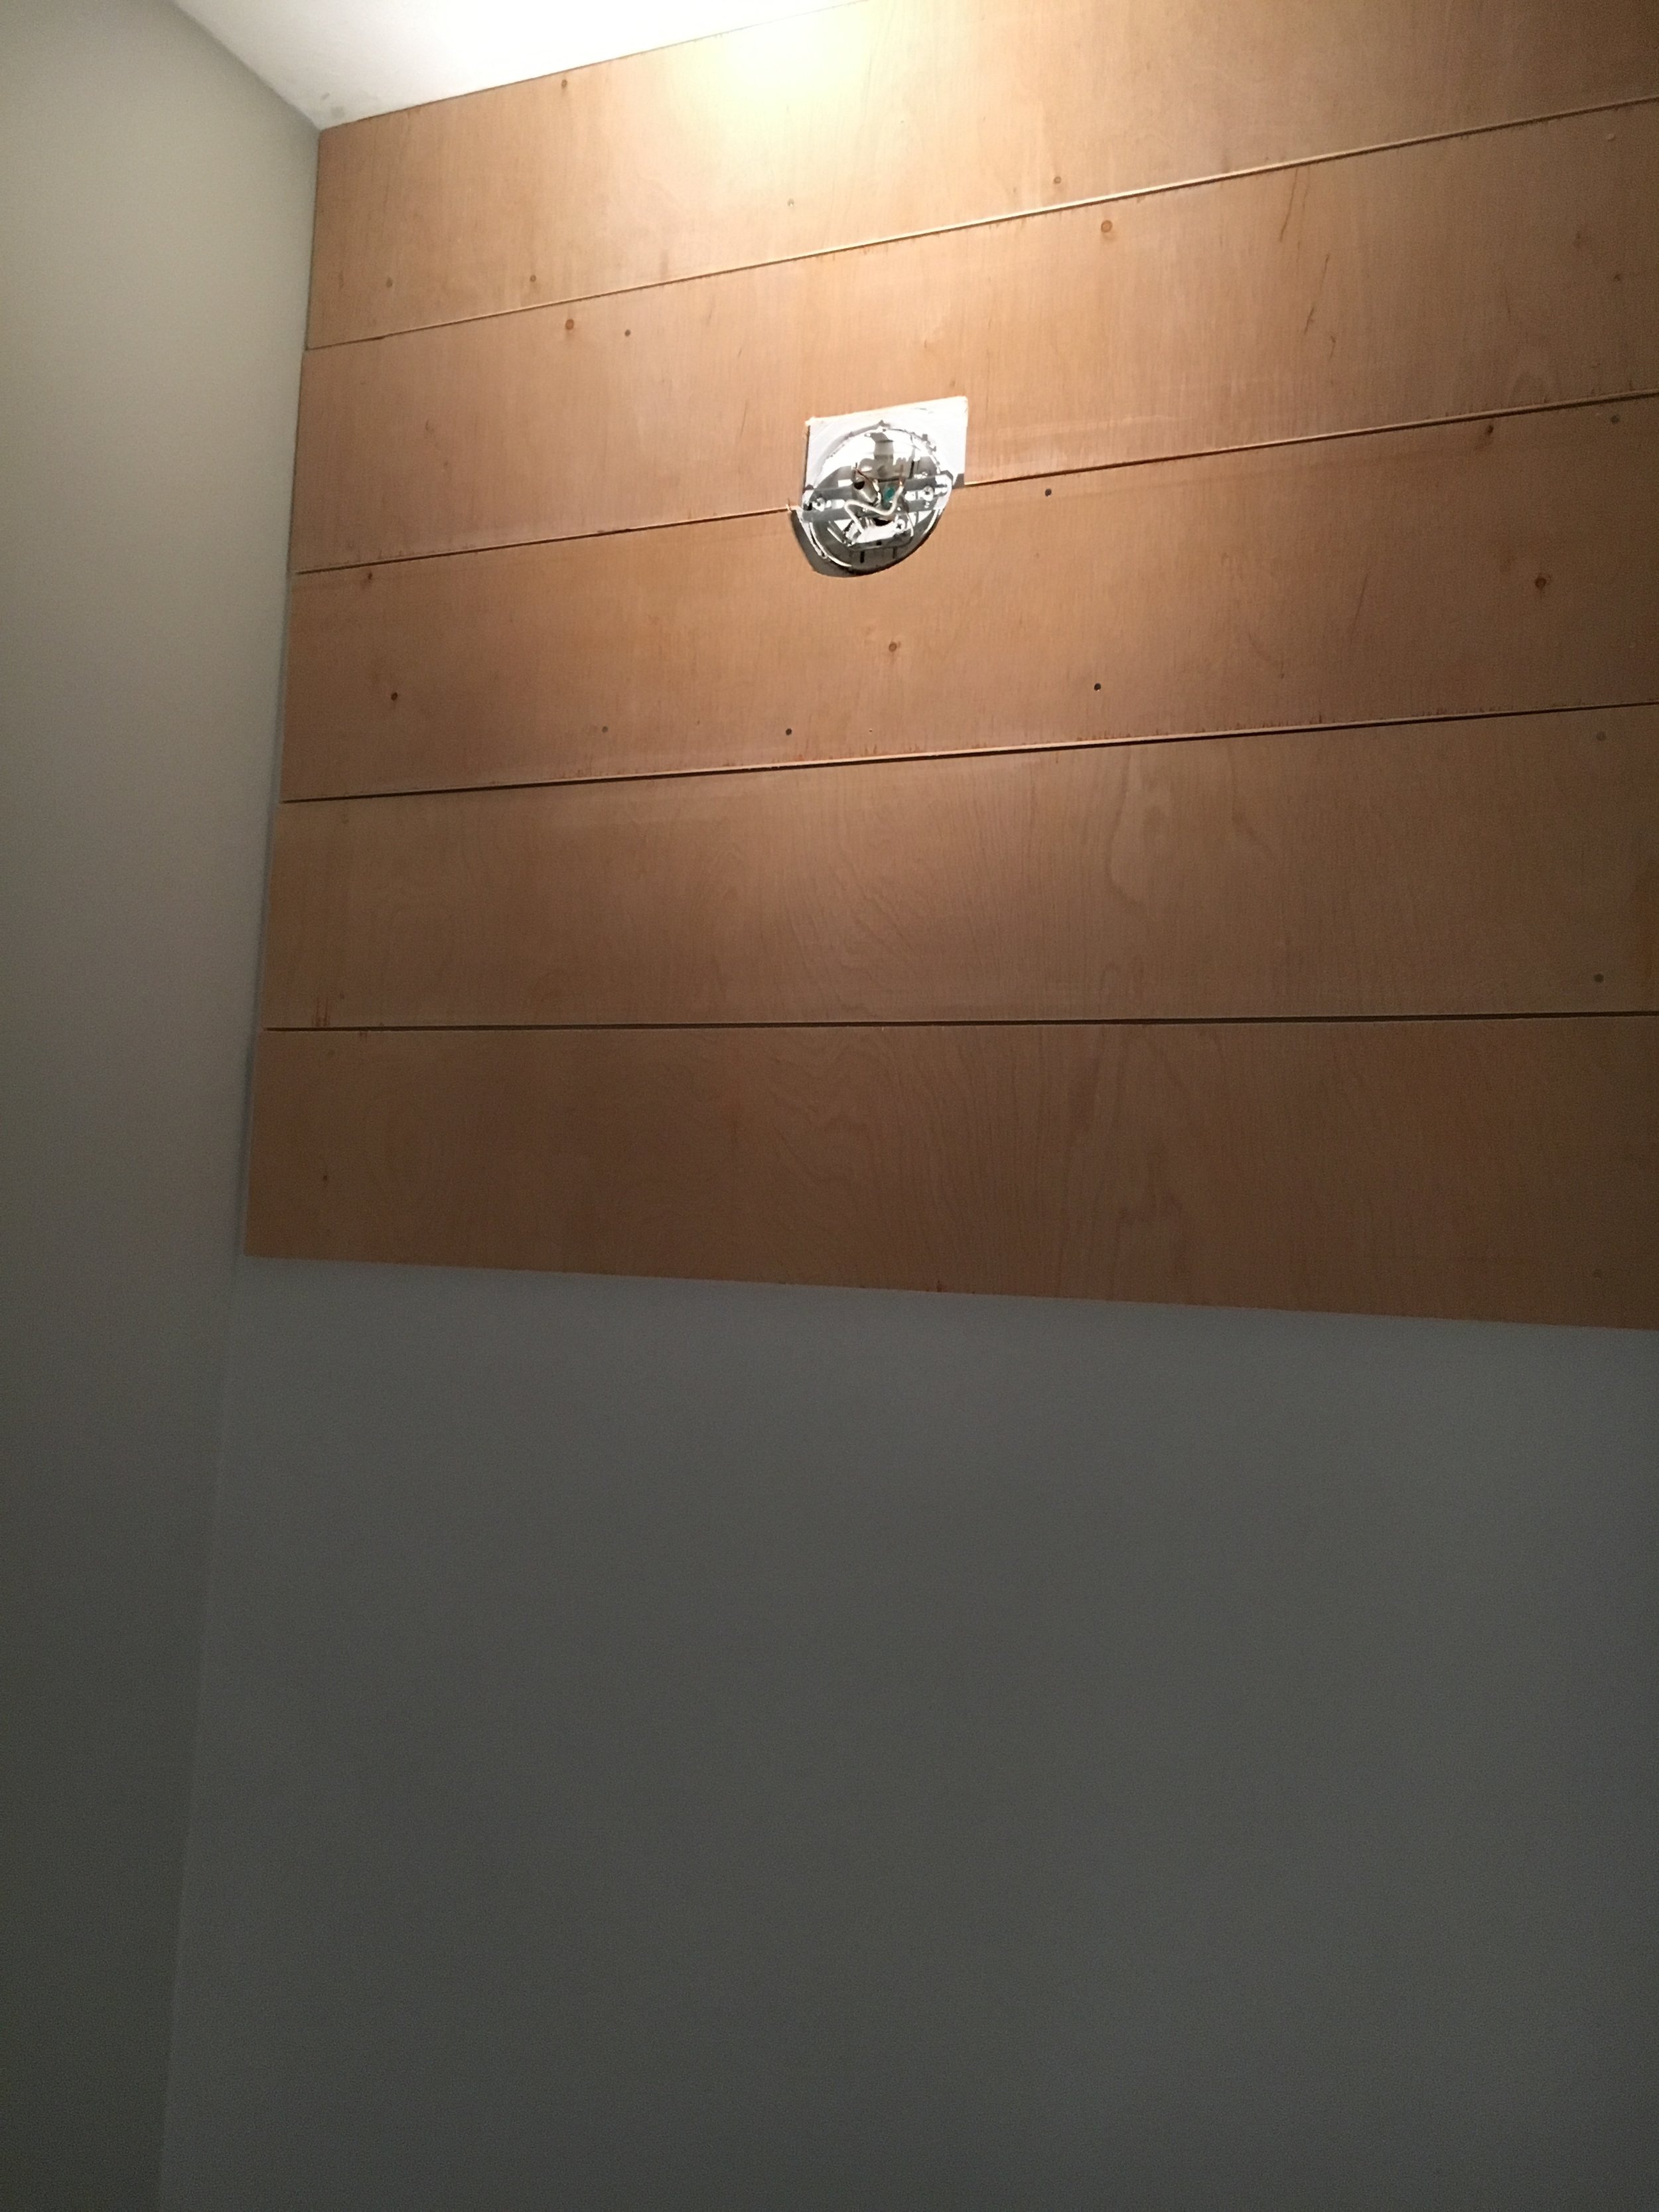
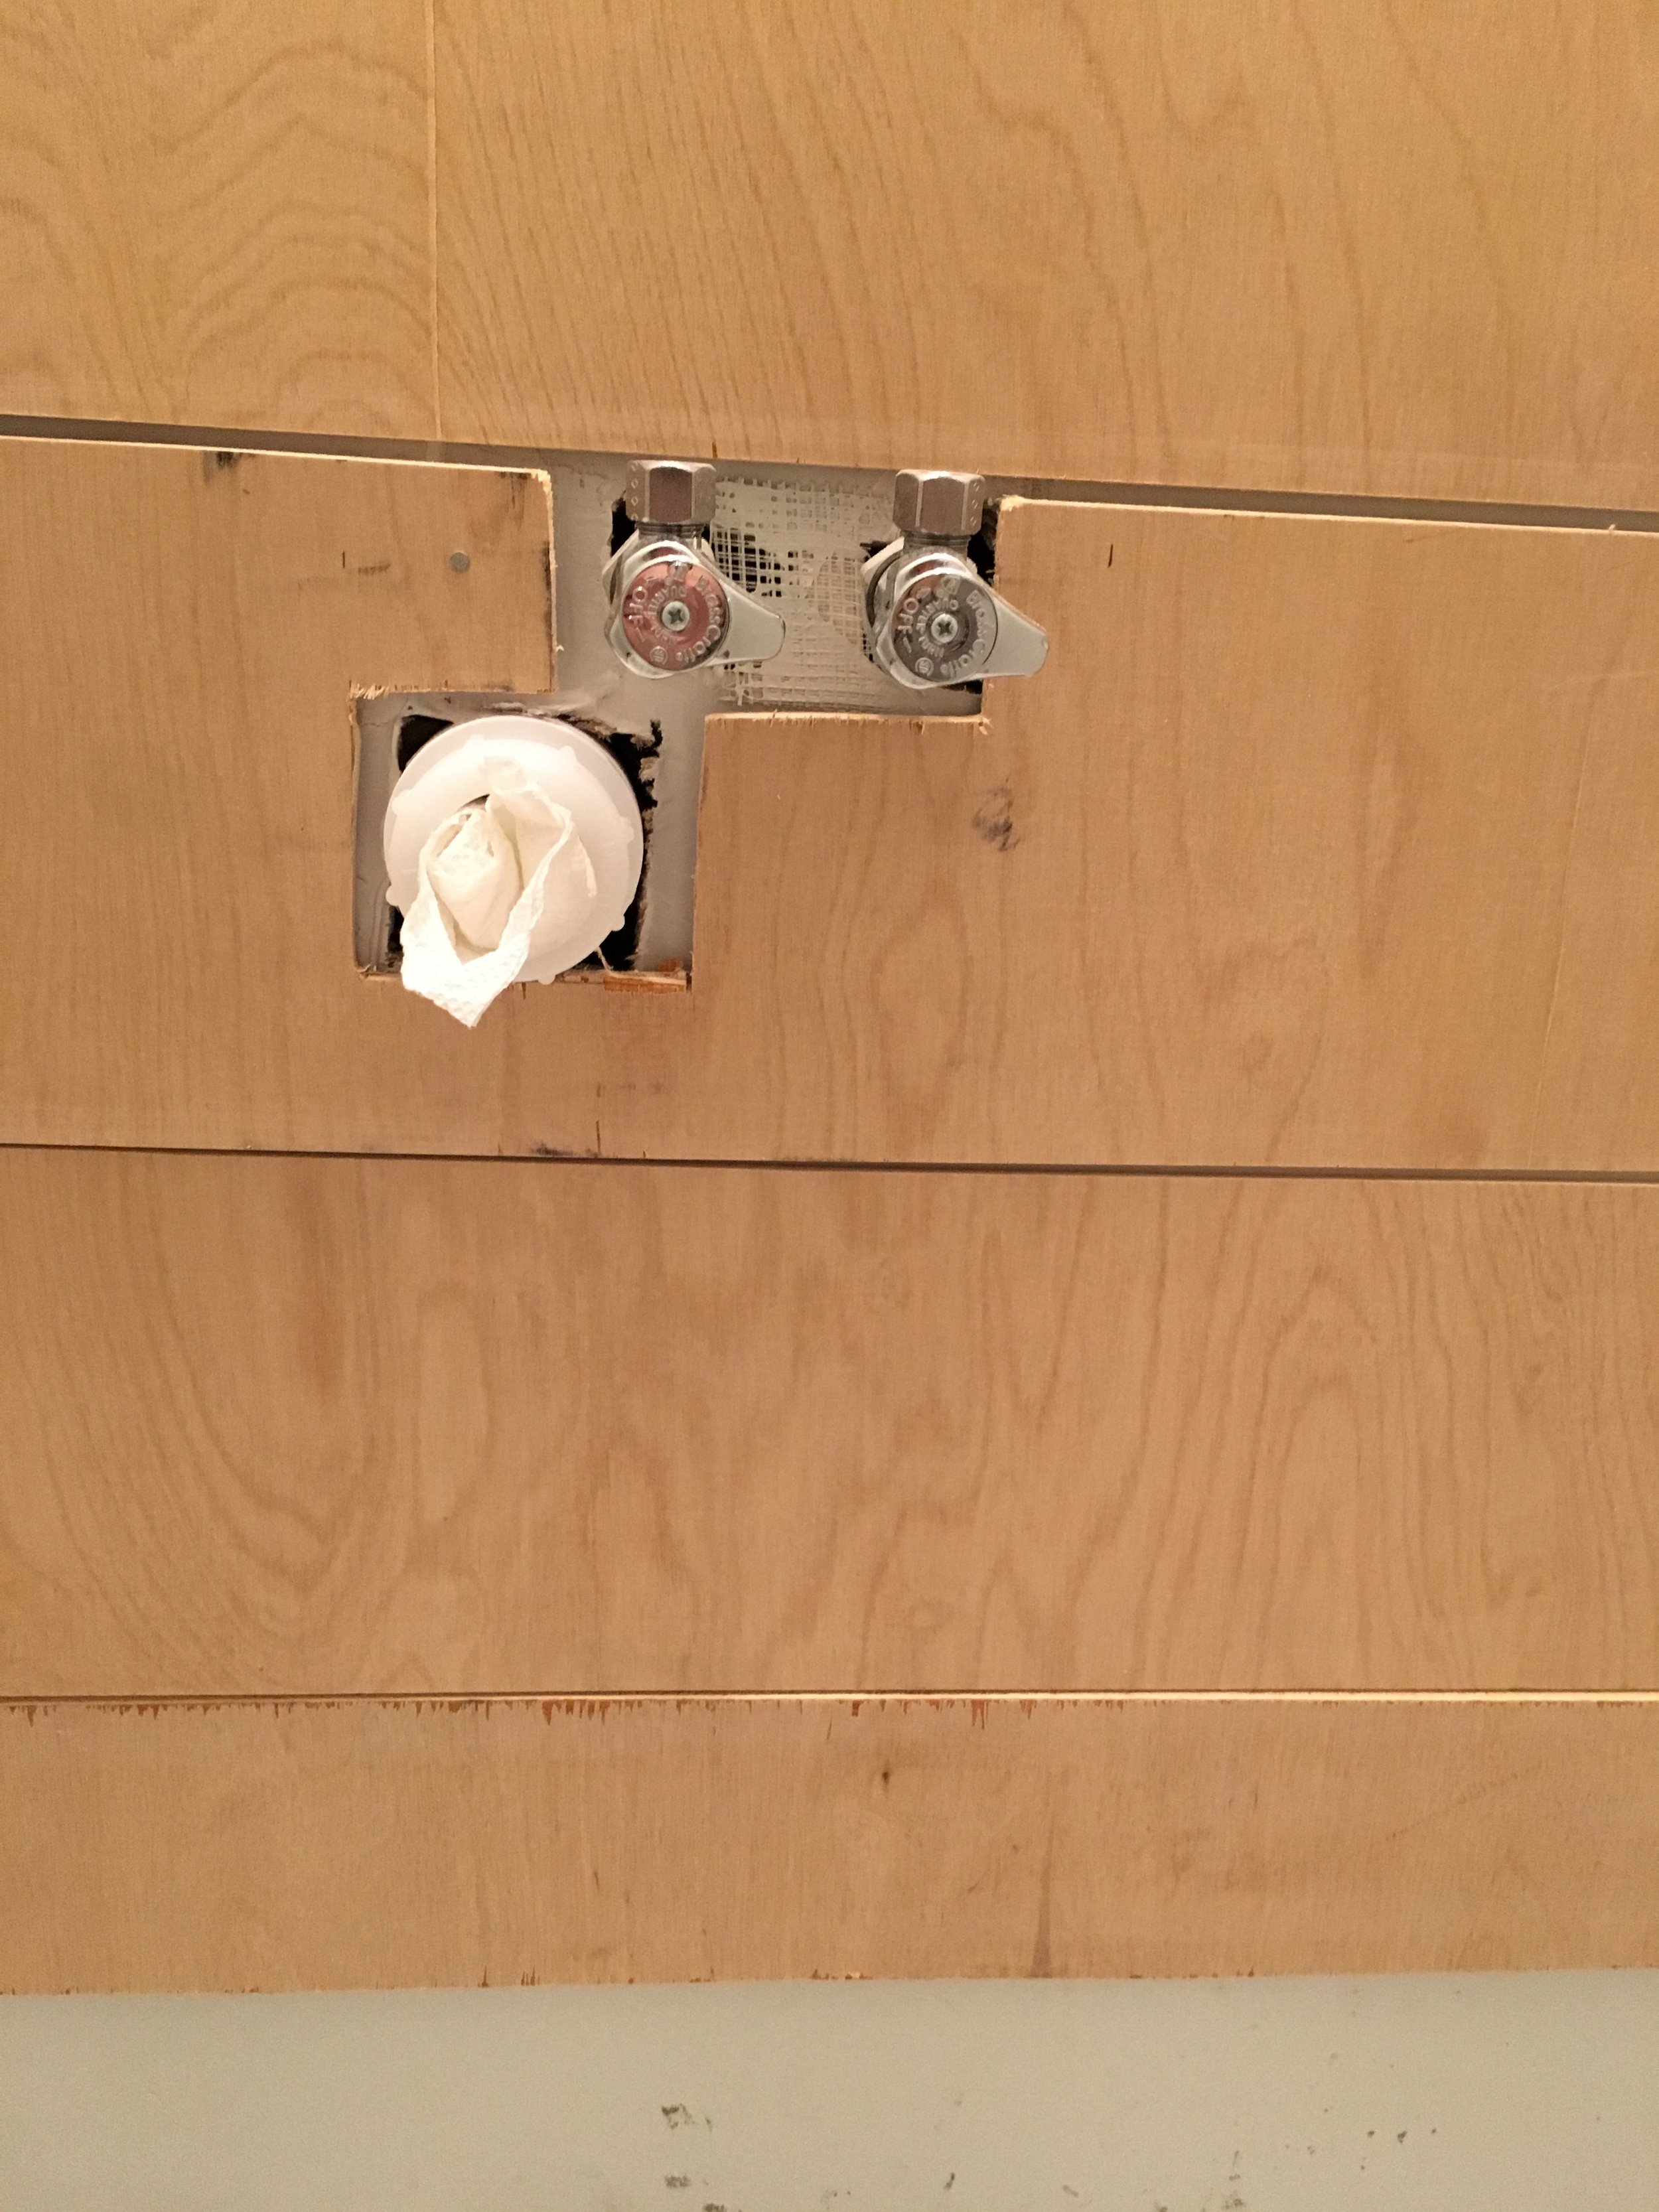
We were doing our wall in the half bath that had the light fixture and plumbing so we needed to cut holes out for those. 

Once everything is nailed up, it's time to fill in the nail holes. We used a wood filler from Home Depot and it was easy and dried quickly. Once that's dry you want to sand that down so that it's smooth. 


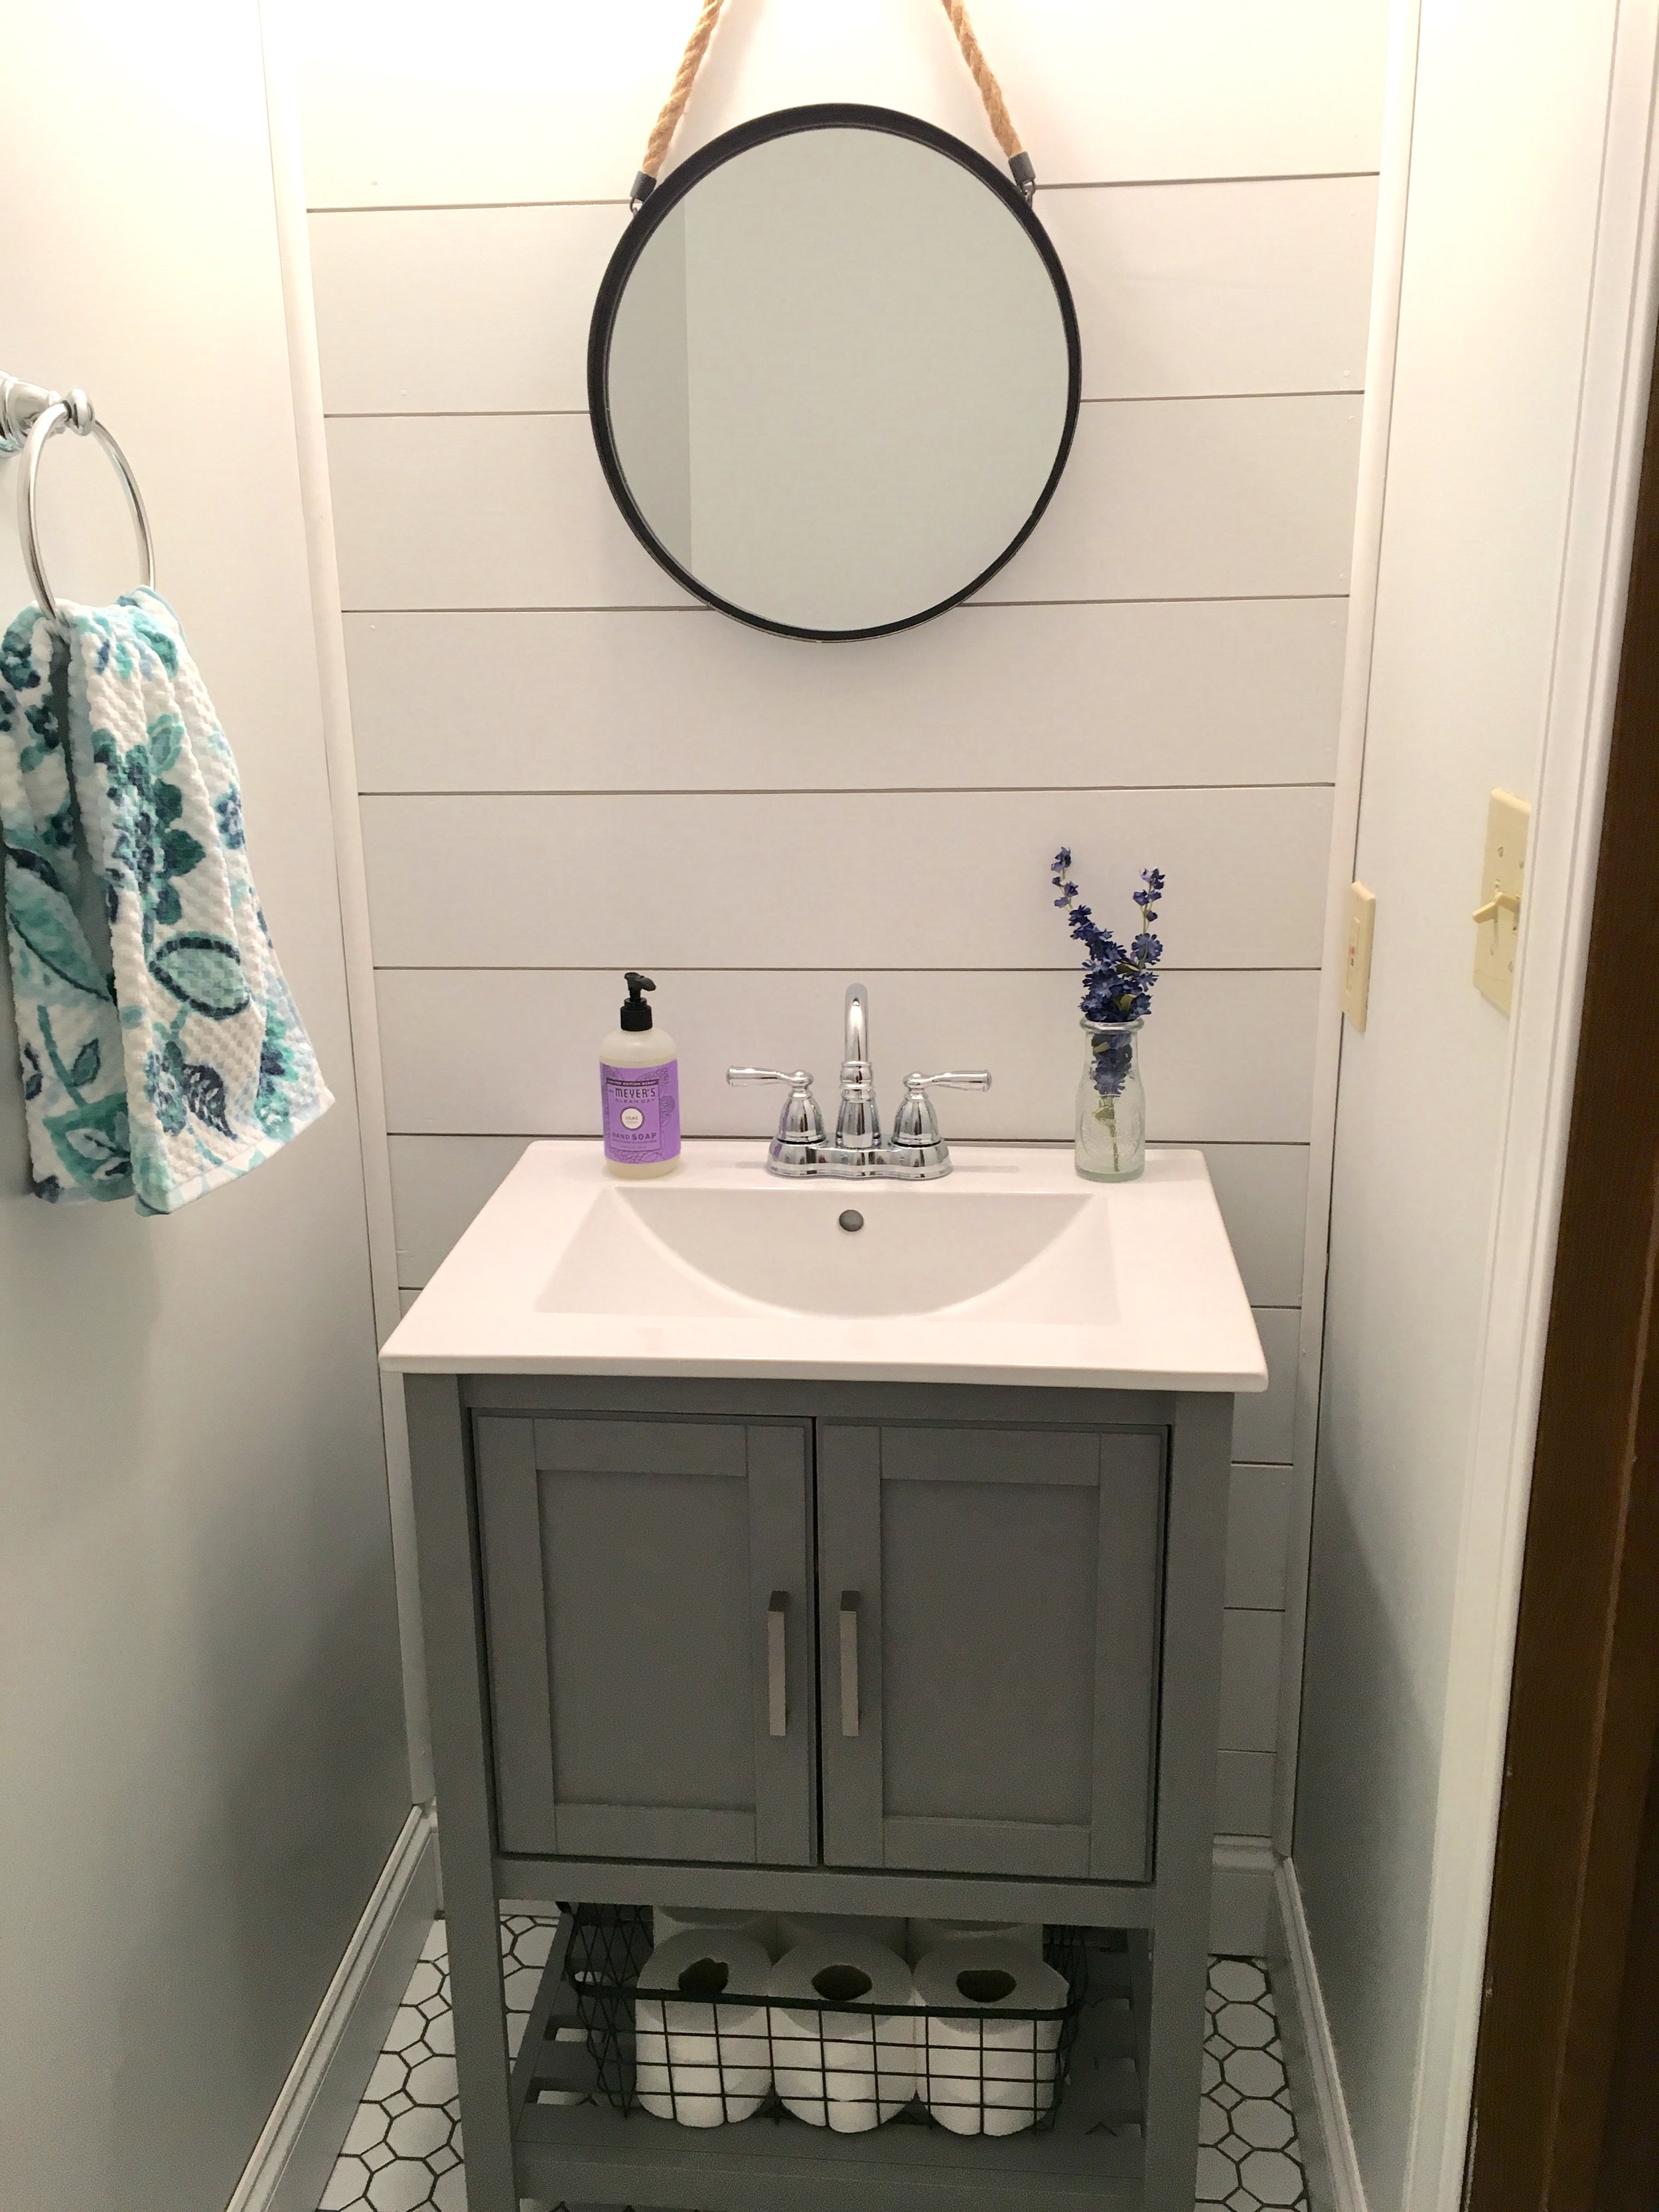
After sanding it's time to paint! We painted ours white. I believe the color was Extra White by Sherwin Williams. 

The final steps would then be to add your baseboards and the quarter round in the corners and you are done! 

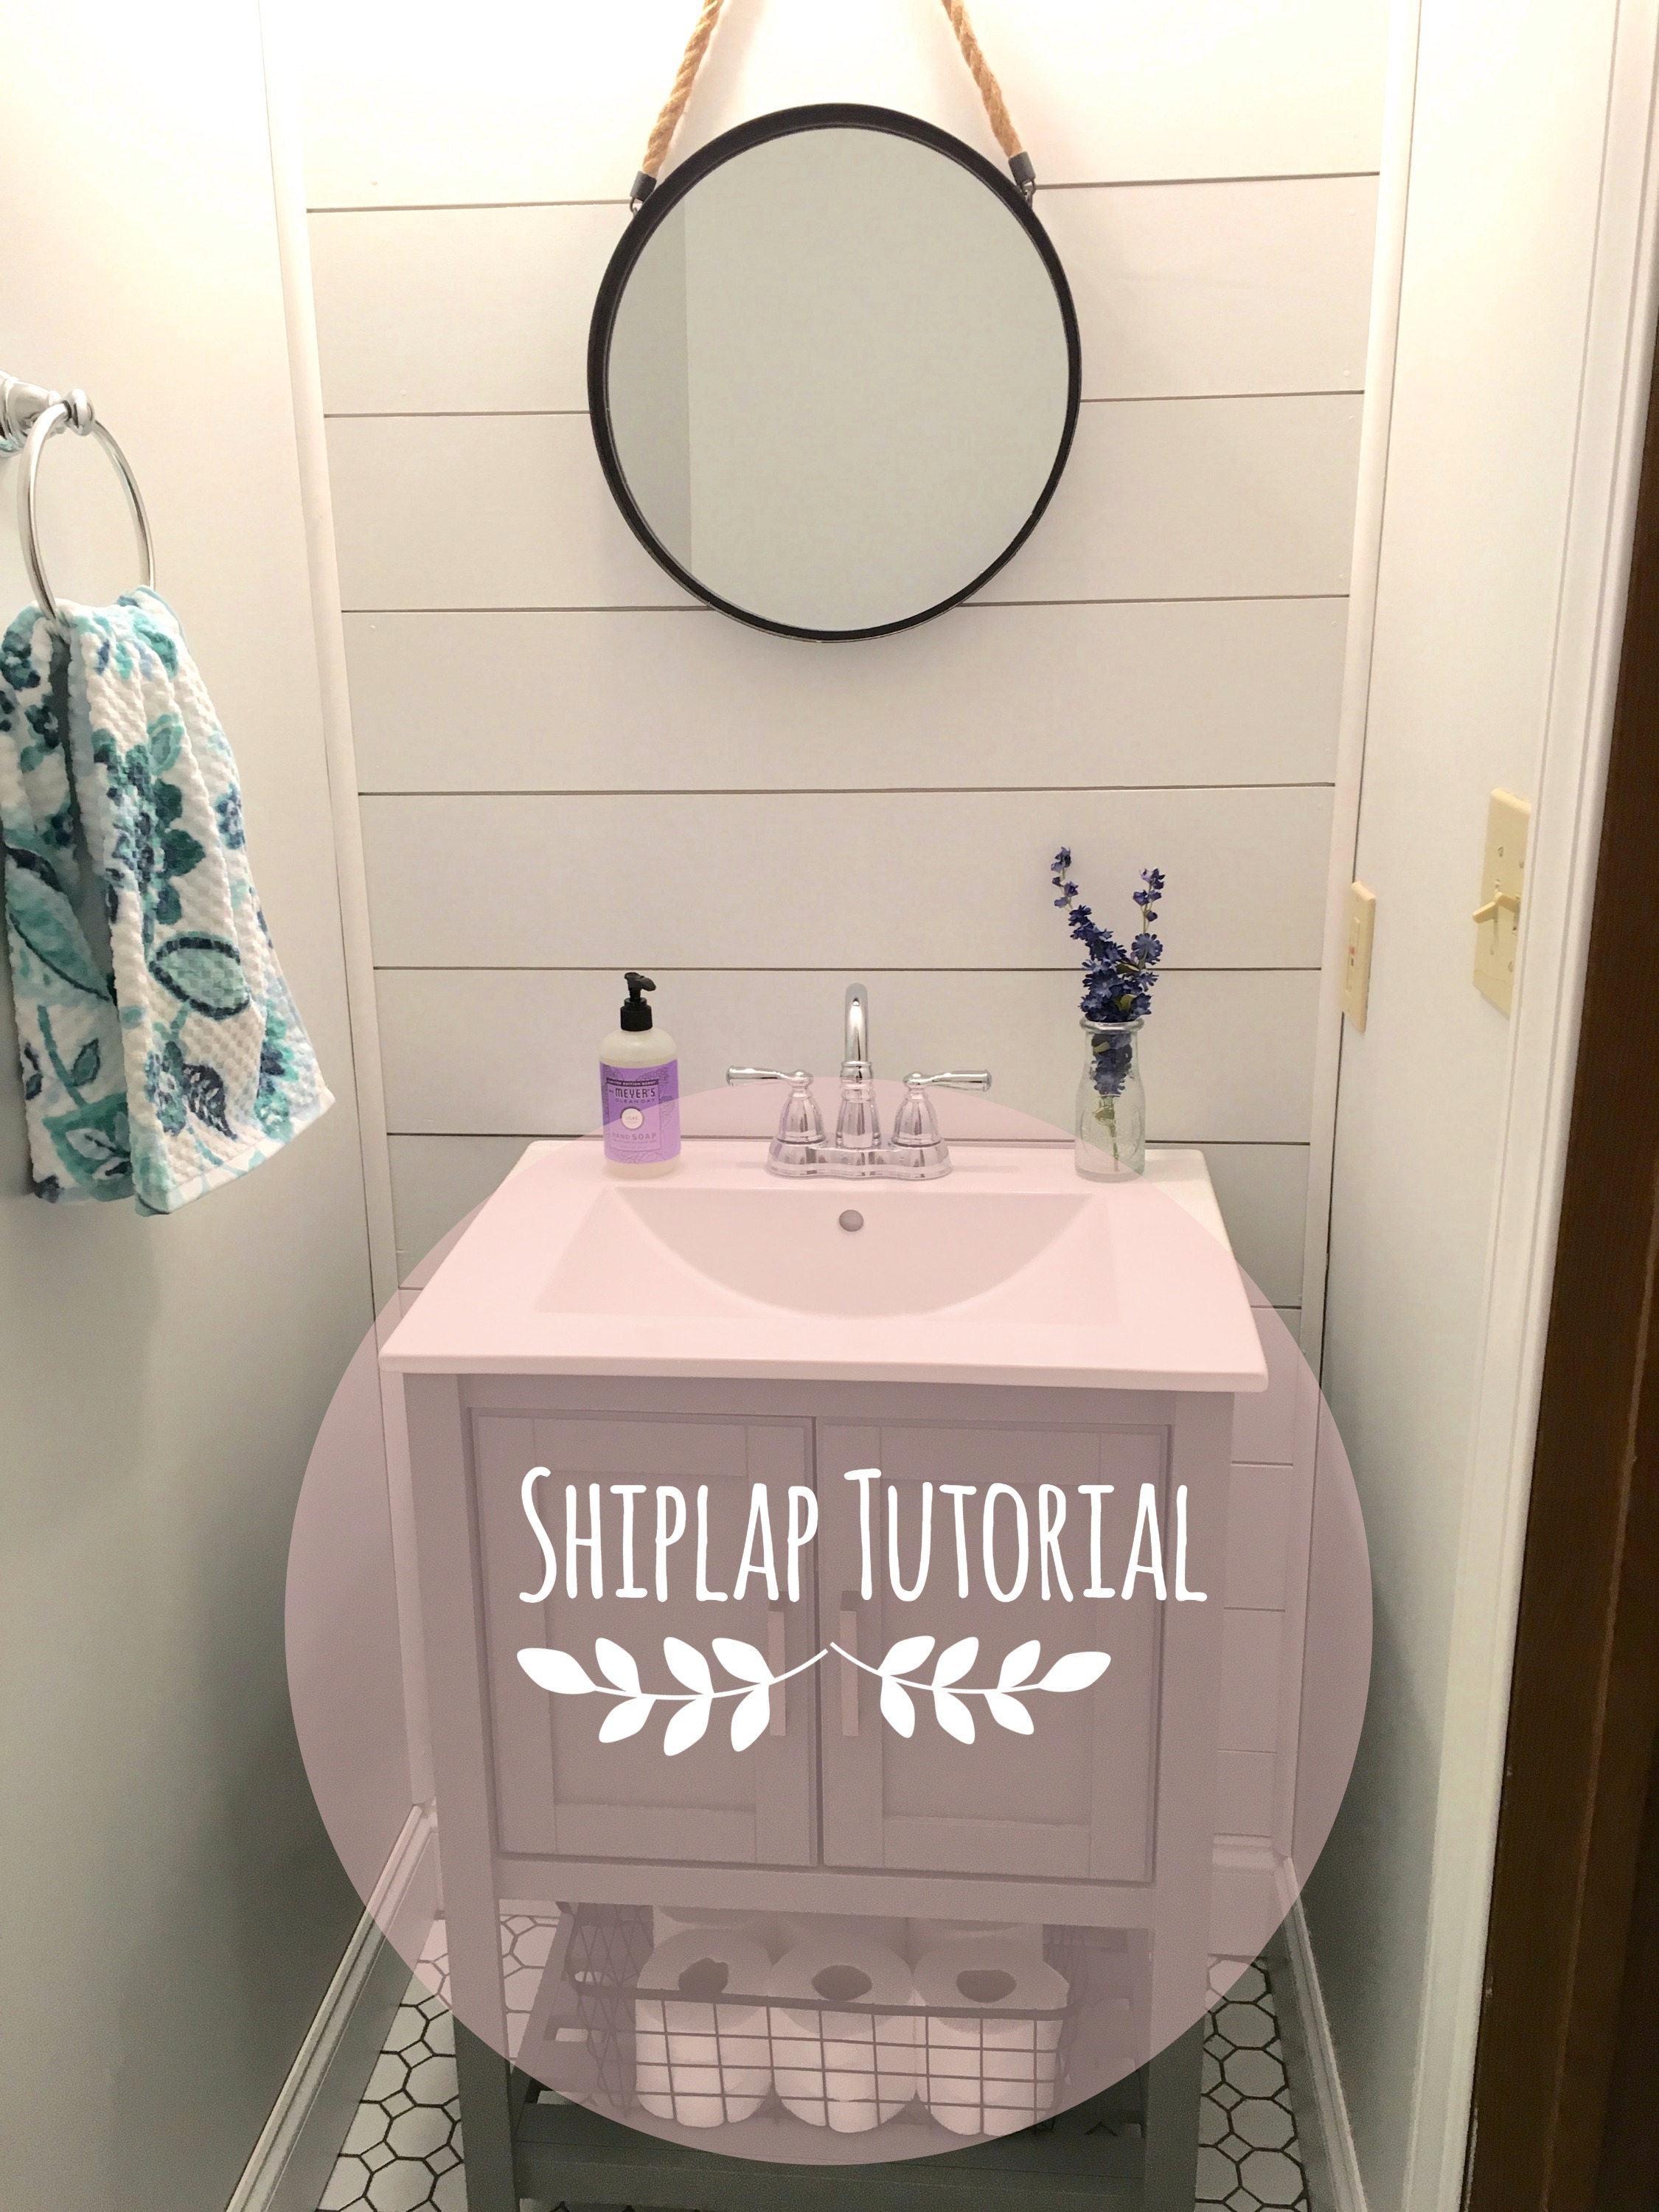
Here is the final product! I am so happy with the way it turned out! It was a lot of work, and we did a small wall, but it was worth it. I am now thinking of other places we can install some shiplap in our home! :) 

I hope this tutorial was helpful and not too confusing. Like I said before, this was our first time doing it and we are not experts. I just wanted to share with you all how we did it and give you a little step by step if you are interested in installing some shiplap of your own!

Thanks for reading! 

5 Tips to Help You be More Productive

I am not an expert at productivity. Not even close. I struggle with this all the time. However, I have found a few things that help me be more productive and I hope they help you too. 

Most of these tips would be applicable to someone who works from home, because let's face it, it's difficult to get stuff done when there's a kitchen to clean and laundry to do. However, these tips would be helpful to anyone trying to be more productive. 

1. Start your day early

It's important to wake up at a reasonable time. I notice that when I get up relatively early I get more done than I do when I sleep in. It is so easy to constantly hit snooze, but it ruins my productivity. I am not a morning person, at all, but I like to challenge myself to get up early and start my day off right. I get a lot more done when I do. 

2. Get dressed for the day

This may sound silly, like of course I'm going to get dressed, however, I don't mean putting on some yoga pants and a tee shirt. I'm talking getting ready for the day. This means showering, putting on presentable clothes and doing your makeup, if that's what makes you feel good. This will make you feel better and feel like it's time to work. I notice that when I get ready for the day I get a lot more work done. It's easy to wear sweatpants and a tee shirt when you're working from home, but it's important not to. Dress as though you are meeting friends for lunch. Whatever makes you feel good is what will make you want to be more productive. 

3. Have a designated work area

This doesn't necessarily have to be an office, just somewhere that is yours and preferably away from distractions, such as the tv. Again, when you're working from home is easy to get pulled into all the distractions, so when your work area is away from those distractions it will make getting your work done so much easier. 

4. Play music

This is a hit and miss for me. It depends on what I'm doing. If I'm writing, I can't have music on, it distracts me. However, If I'm shopping for a client online or doing other things that don't require writing I love to have Pandora on. This is a great tip for cleaning as well. I love to have music on while I'm cleaning the house. It makes the time fly by. 

5. Set a schedule

This doesn't have to be so in depth that everything is planned down to the minute, but have some sort of plan for your day. It could look as simple as this:

8:00 Wake up

-Eat

-Shower and get ready

9:30 Work

1:00 Lunch break

2:00 Work

5:00 Start dinner

You just want to have a general idea of what your day is going to look like. This way you're not putting off working and you set a time to get it all done. It's so important to have a schedule when you work from home. As I said above, it's easy to get sucked into every distraction imaginable. However, making a schedule will help distinguish when it's time to work. 

Well there you have it, my five tips to being more productive. I hope this helped you if you're struggling with being productive and getting stuff done. I am still working on it myself, but these five things help me a lot with it. If you have any tips that help you get stuff done and be more productive, I would love to hear them! Comment below!

Thanks for reading!